
When I think of Easter, I think of Spring and with Spring comes bunnies, flowers and chicks. I love all things spring and Madeline loves all things crafty, so I thought what a better way to spend a sunny Saturday then to craft with my feisty five year old.
Last week while I was walking down the aisles of the Dollarama, I came across these paper Easter eggs in a pack with multiple colors. I thought they were cute and I could do something with them some day and I bought them.
Fast forward to the next day while on my Face book group for east Coast Media Mom’s and I HOP that I wanted to join (that was full) suddenly had a spot available and it was for Easter crafts that involved some form of an Easter egg!! (Insert happy dance) So I thought I would show you step by step, the sweet little Easter Egg chick we made using those paper Easter eggs and hand prints!


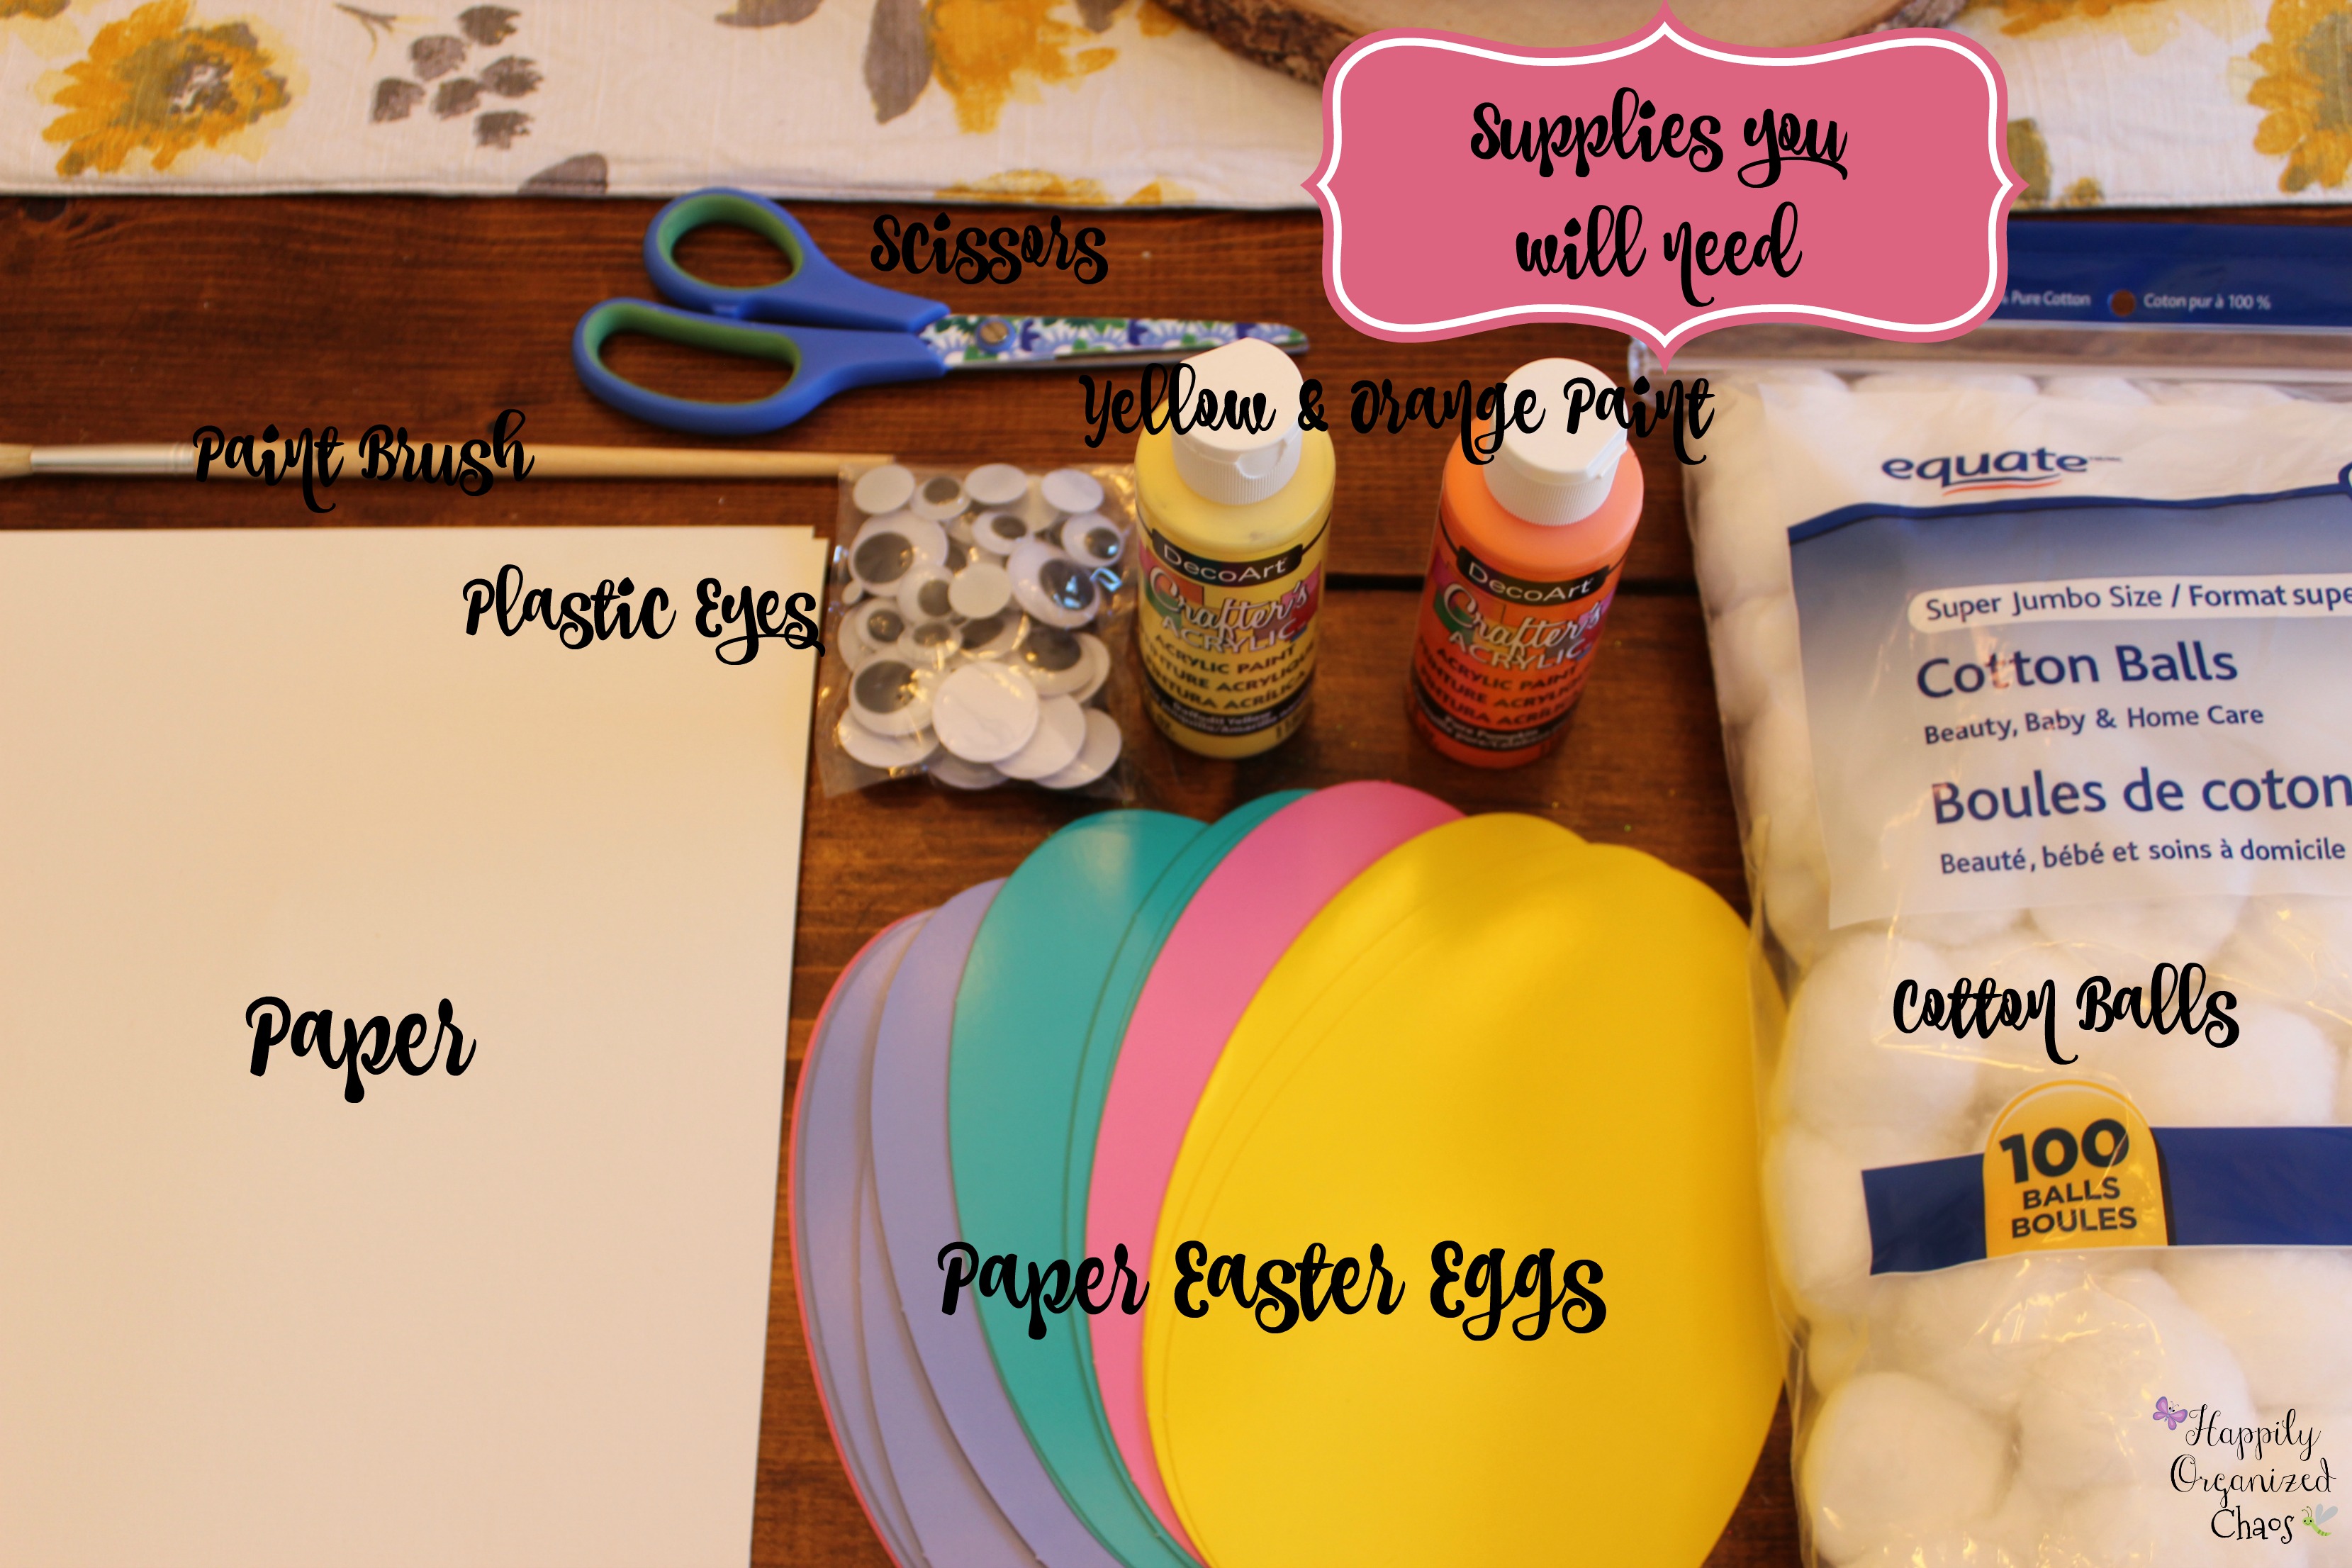
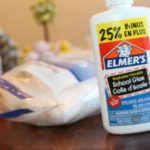
I wanted to start by saying that you also need glue as well! (for some reason it wasn’t included in my picture 🙂
This is my first time doing a craft tutorial, so please excuse me if I do not explain things very well 😉
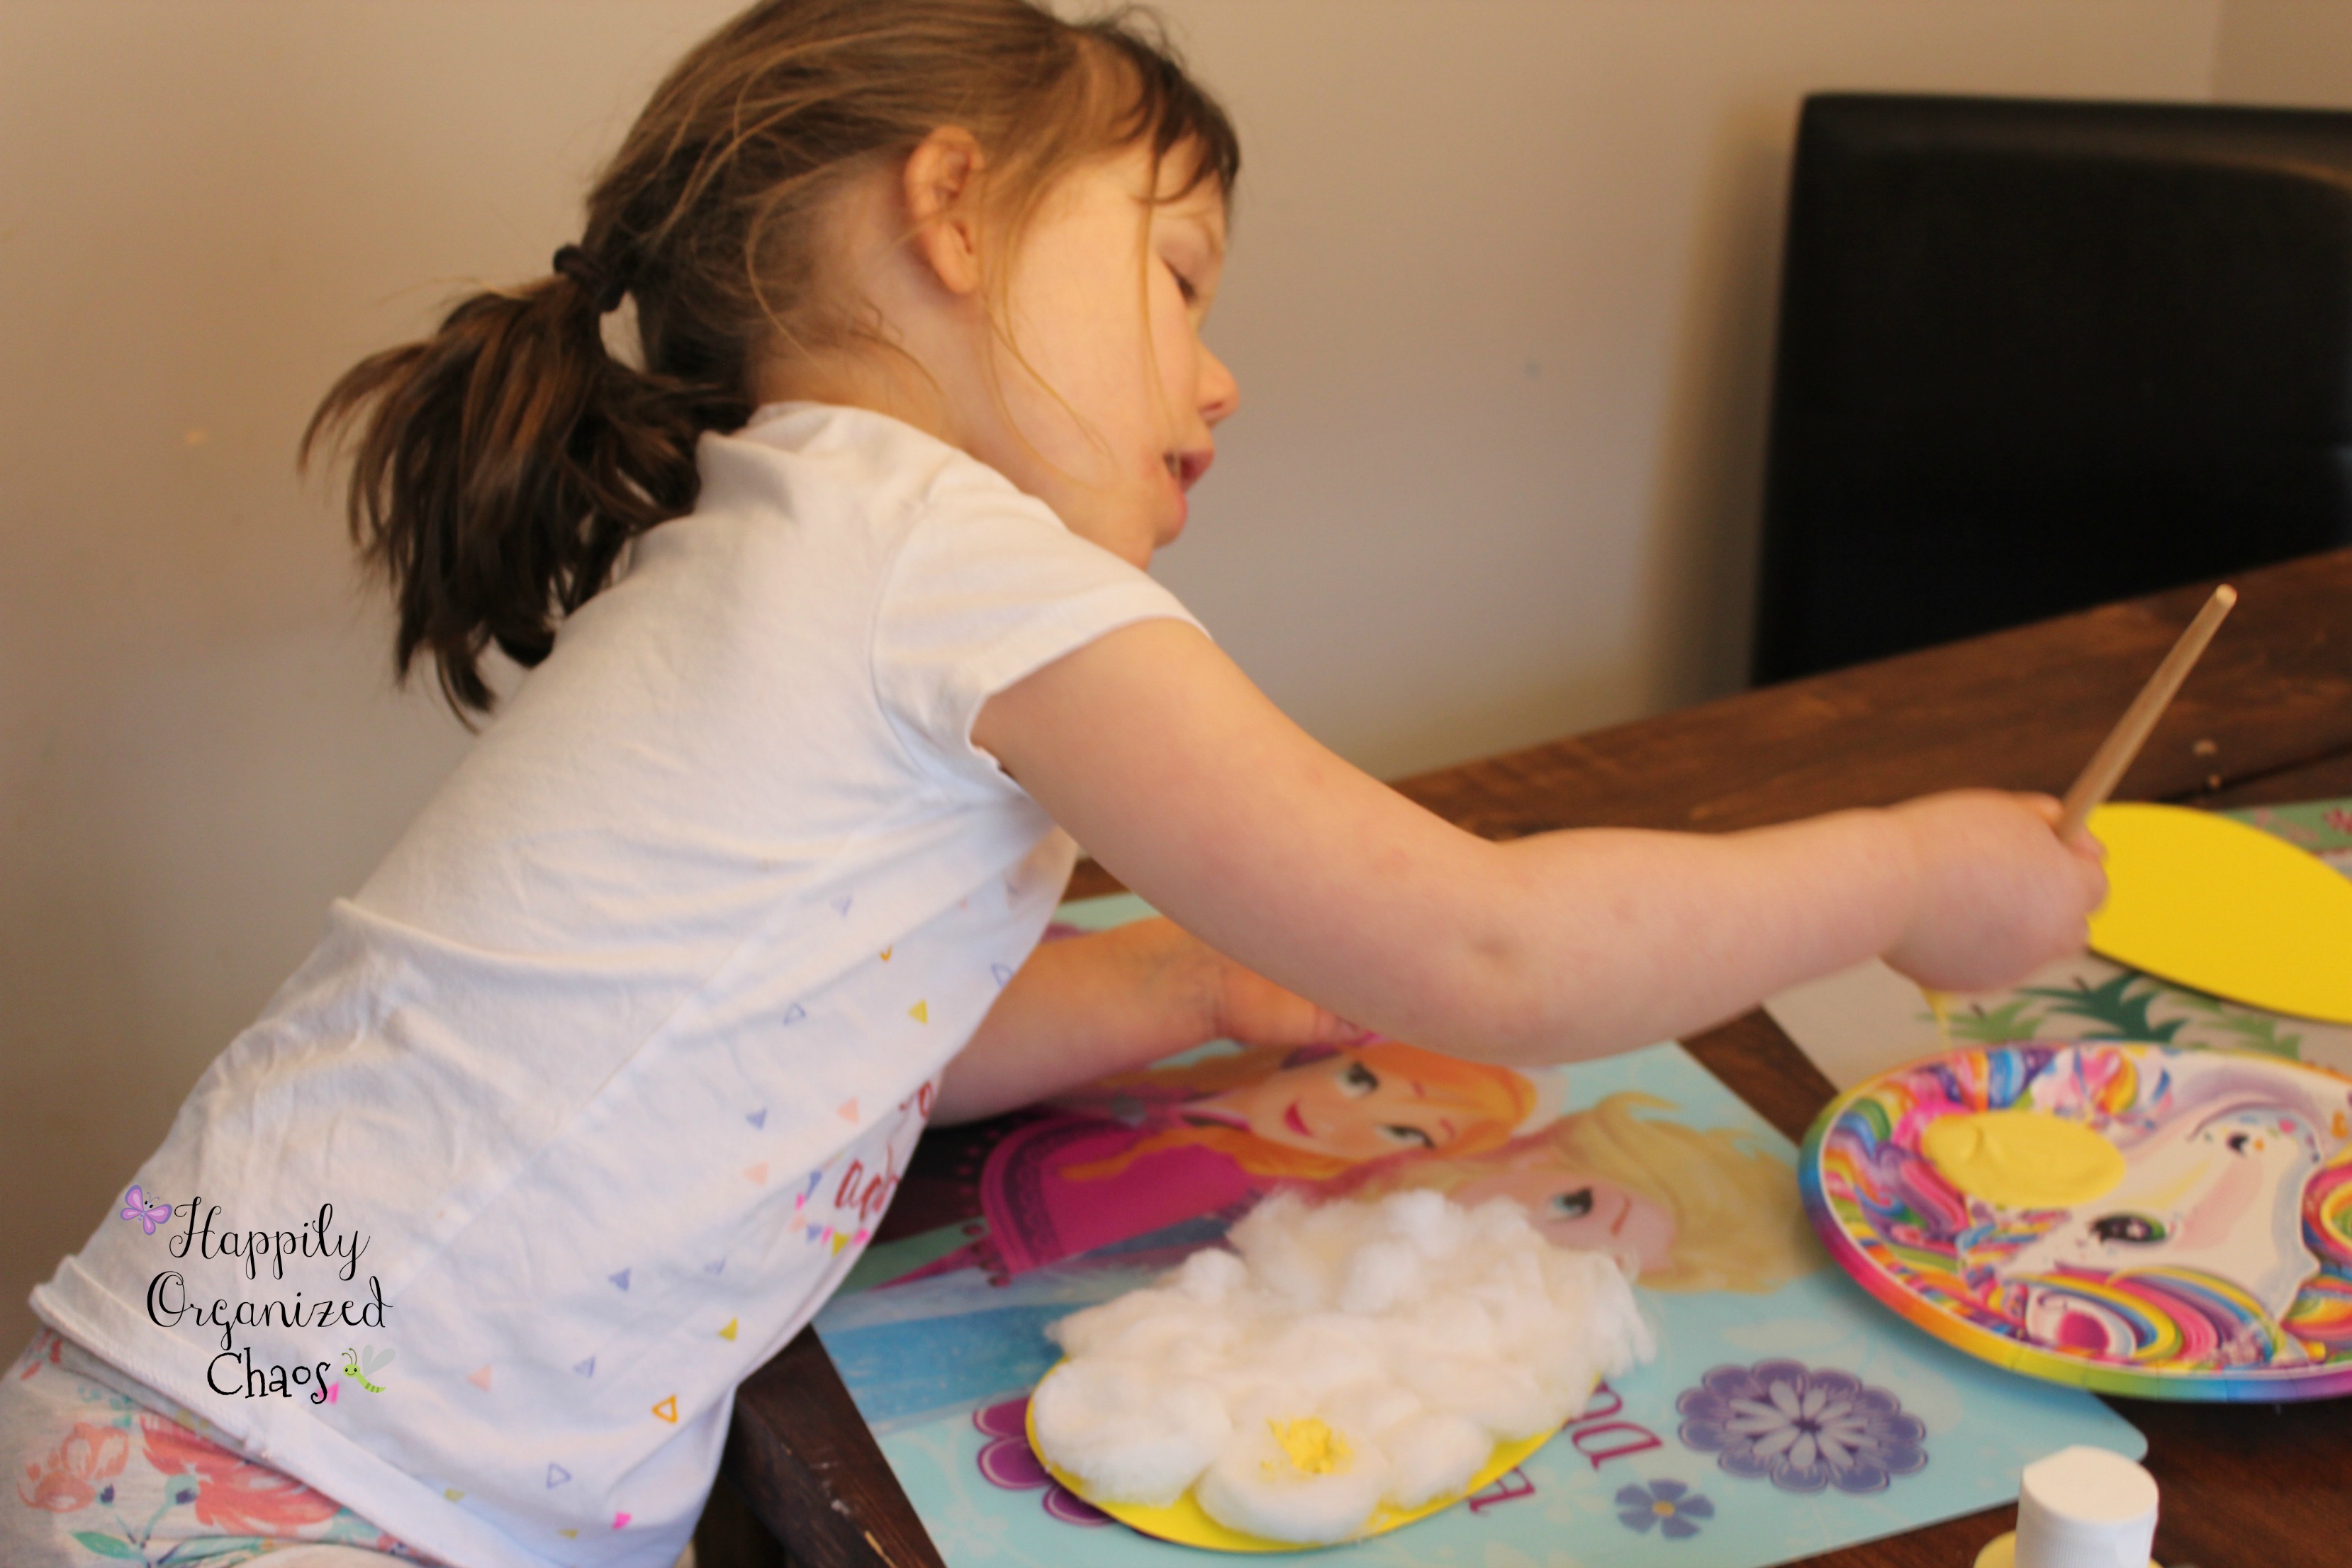
I started by giving Madeline some cotton balls, glue and a yellow Easter egg. She started to glue the cotton balls on to the Easter egg.
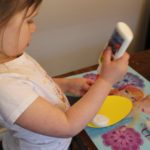

Then once she finished gluing those on, I put the yellow paint onto a paper plate (don’t you love this unicorn plate left over from her birthday party?!!)
 Yellow Paint
Then she started to paint away, basically just dabbing the paint onto the cotton balls. She covered the whole egg, except for where the eyes will be glued.

Then we applied some glue to the backs of the eyes and placed them onto the white area of the egg.

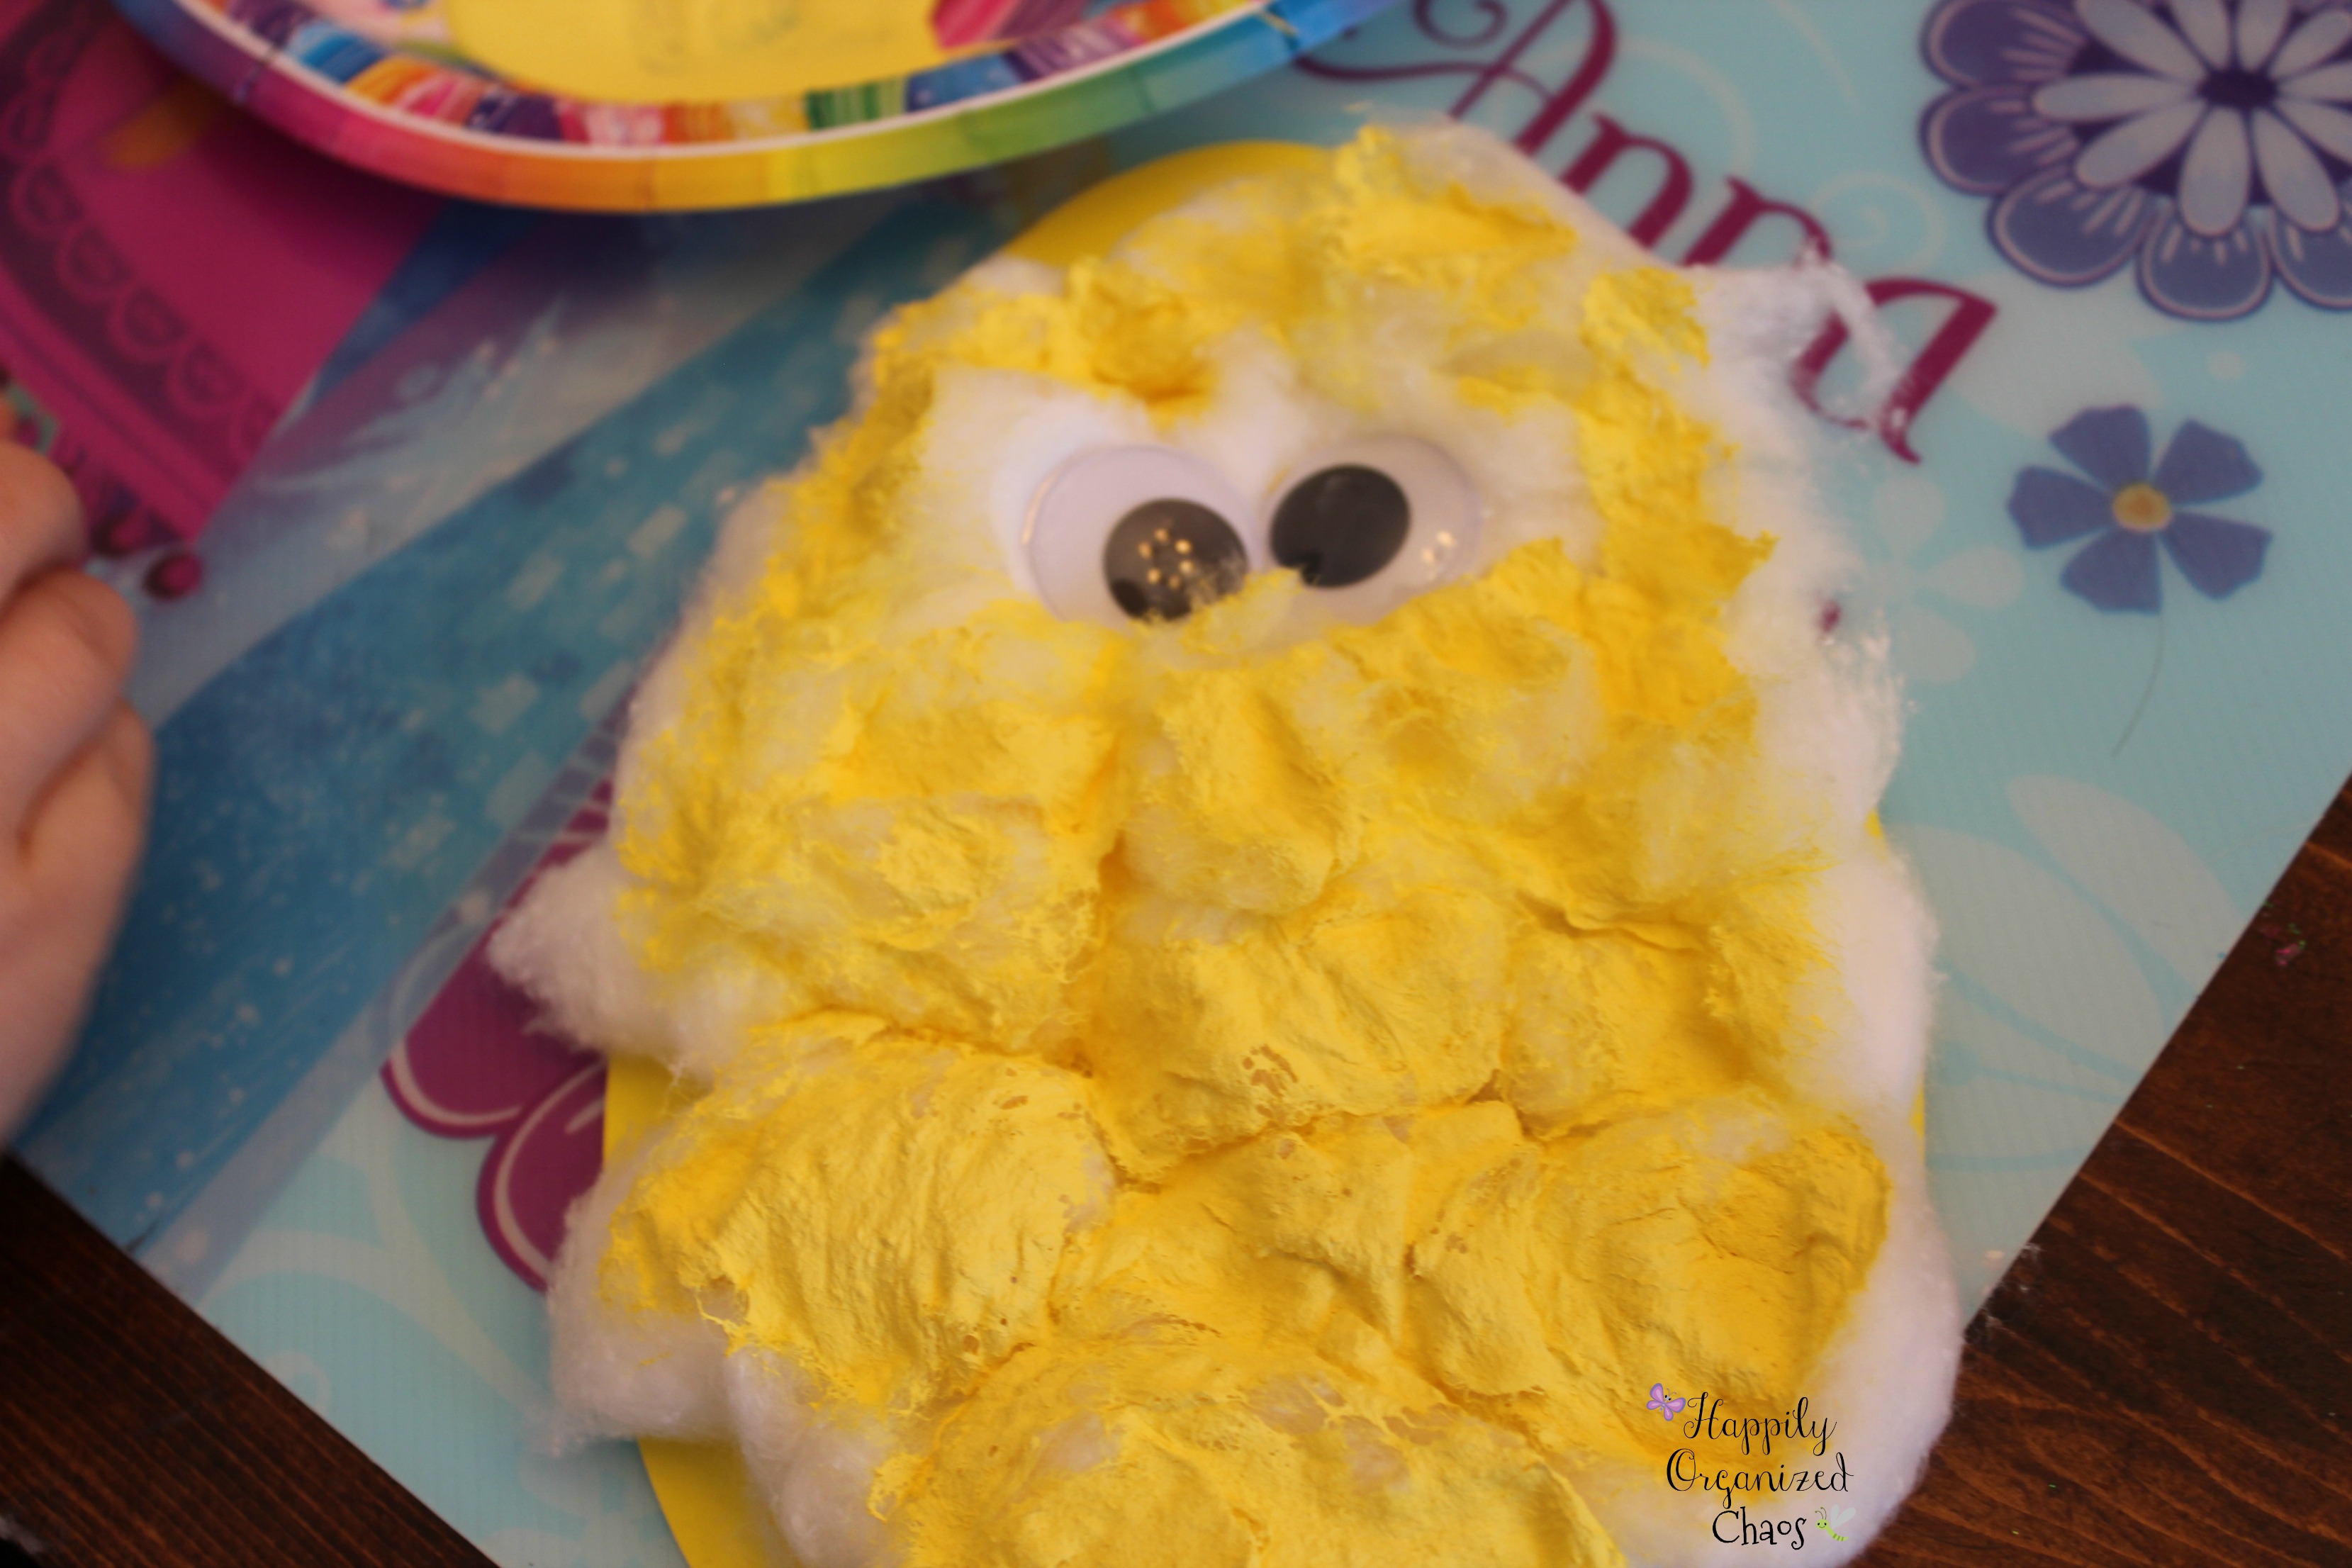 How cute is he now?!
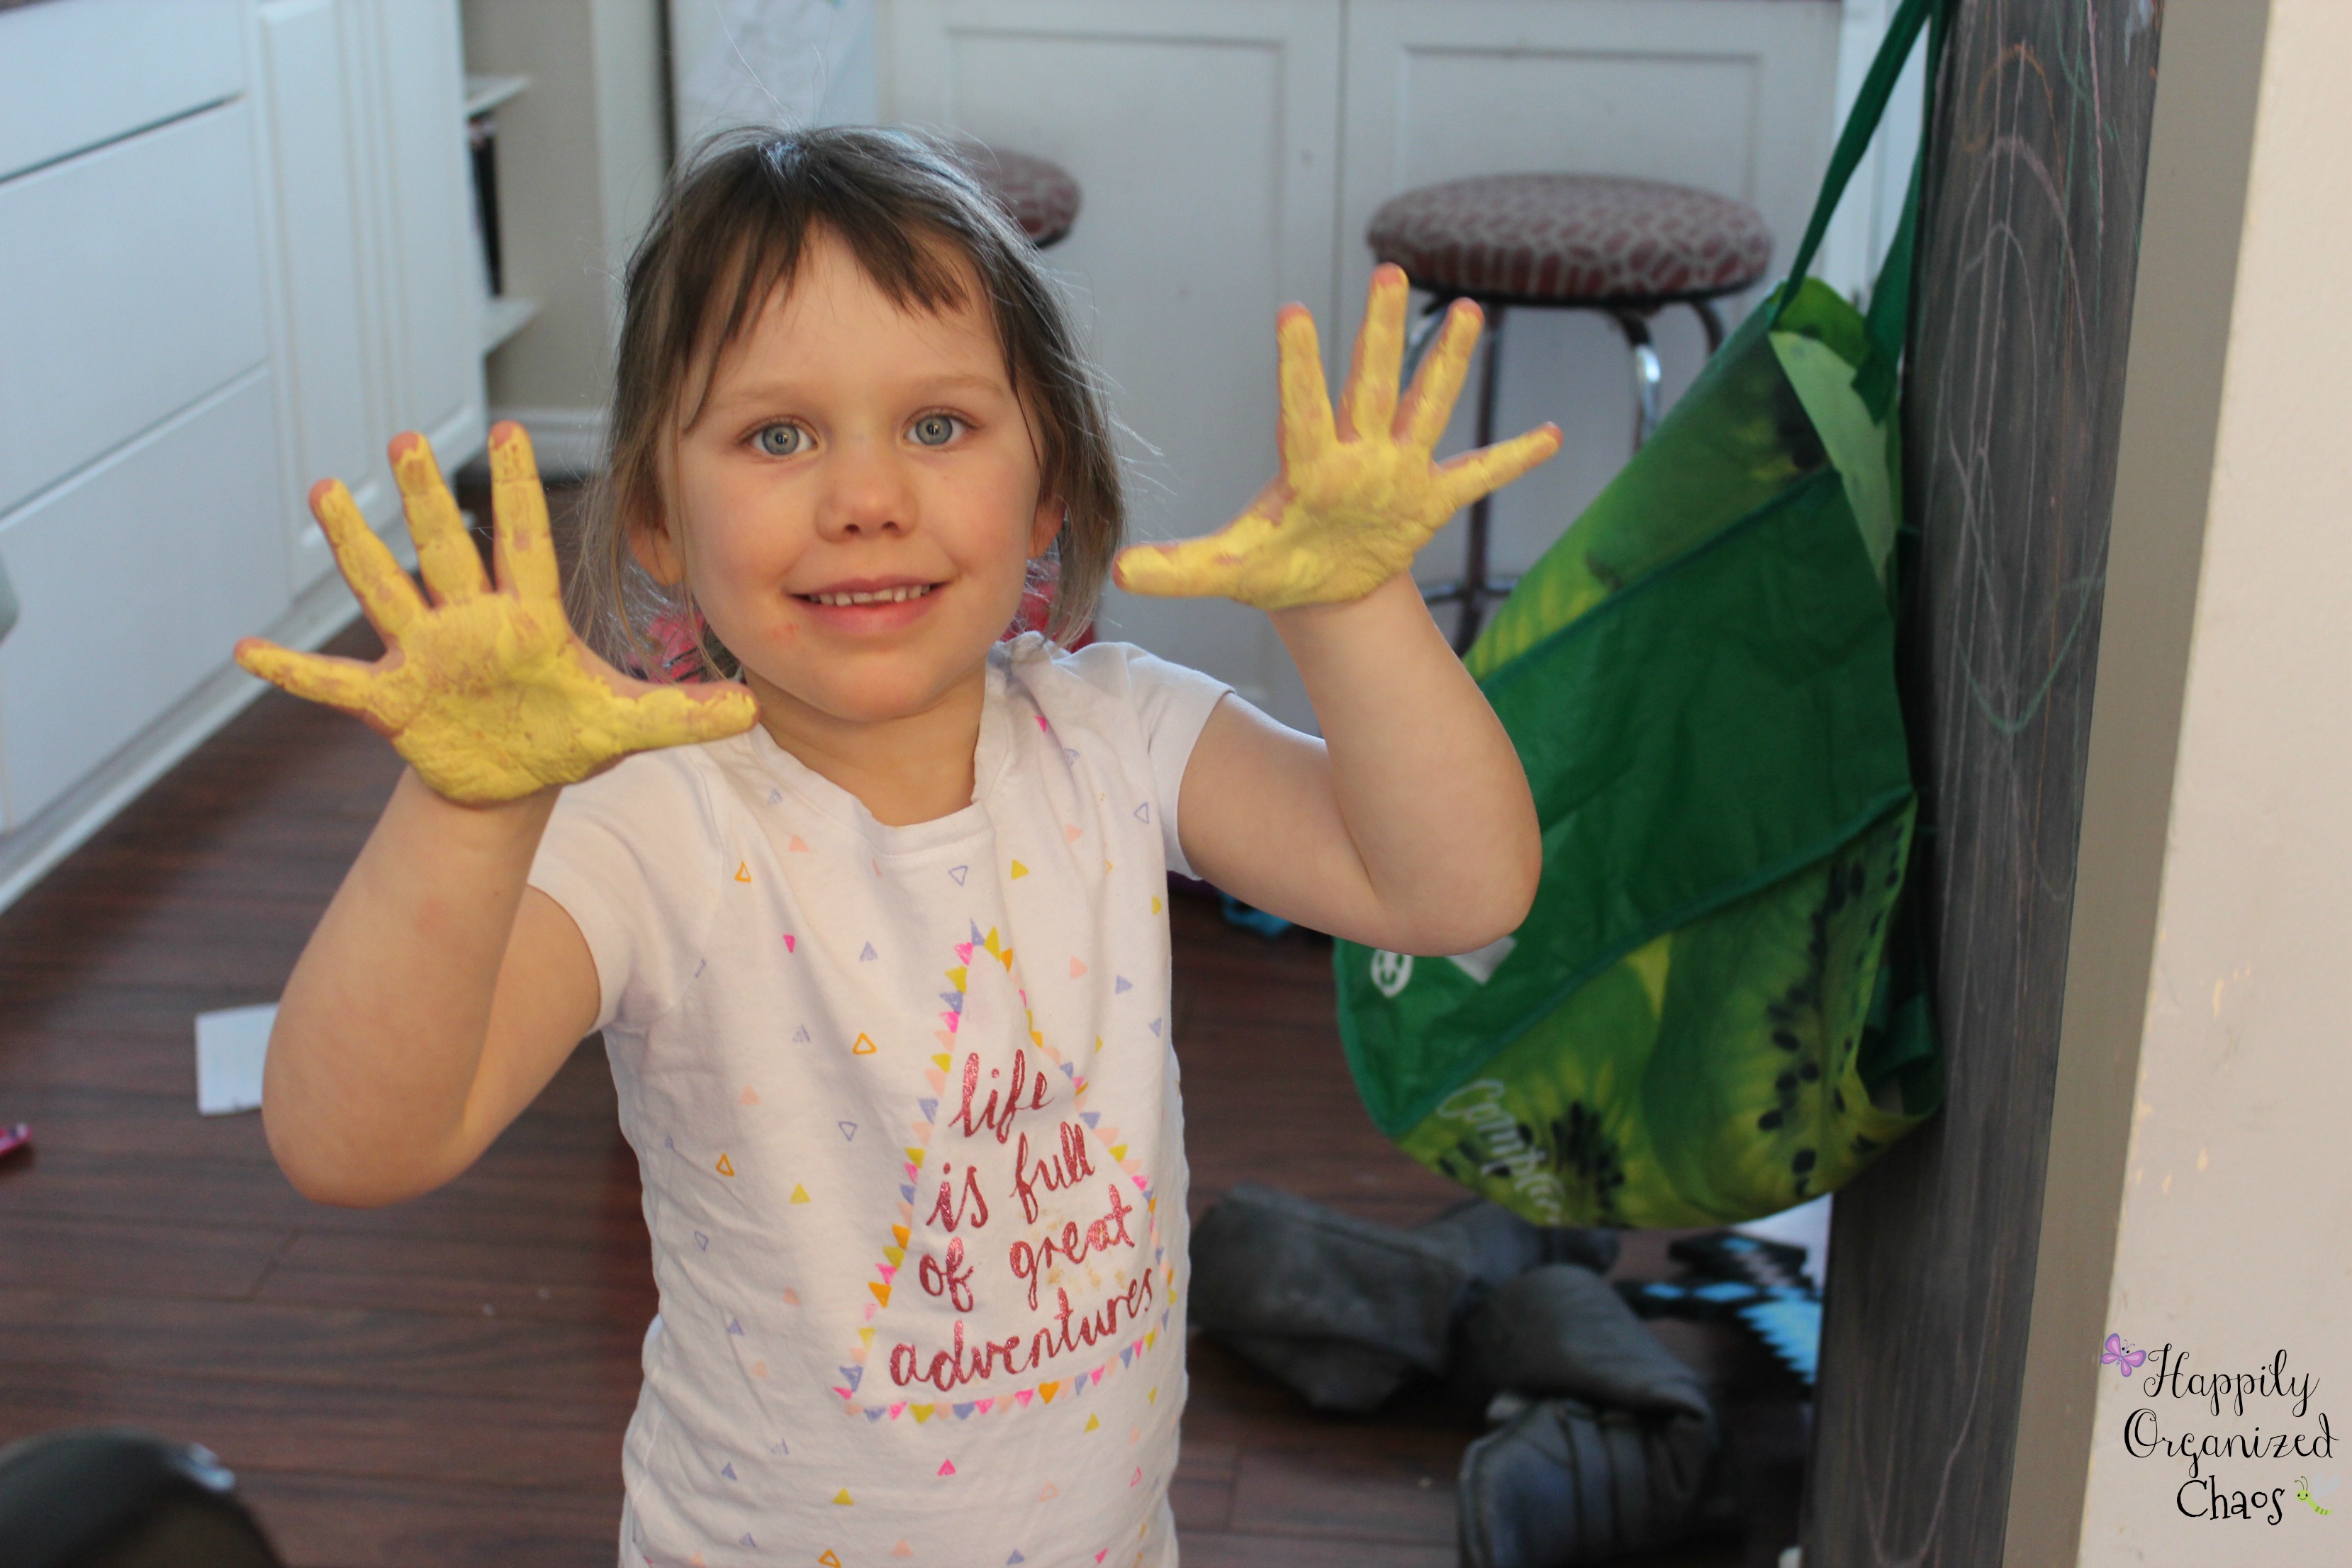
Once the eyes are glued then you place that part of the project aside and move onto step 2, which is the hand prints. Start by painting your hand yellow and then placing it down onto the piece of paper (you want to do this with both hands)

Watch out because this part is messy and you will want to wash your hands directly after you finish!!
Now onto the cutting part. I allowed Madeline to cut her hands out herself because she has been using scissors for a long time and is very familiar with how to use them safely. You can always cut your child’s hands out if you would rather.

When cutting you want to make sure you leave a bunch of blank space on the bottom of the hand so you can apply the glue to that for securing onto the back of the egg.

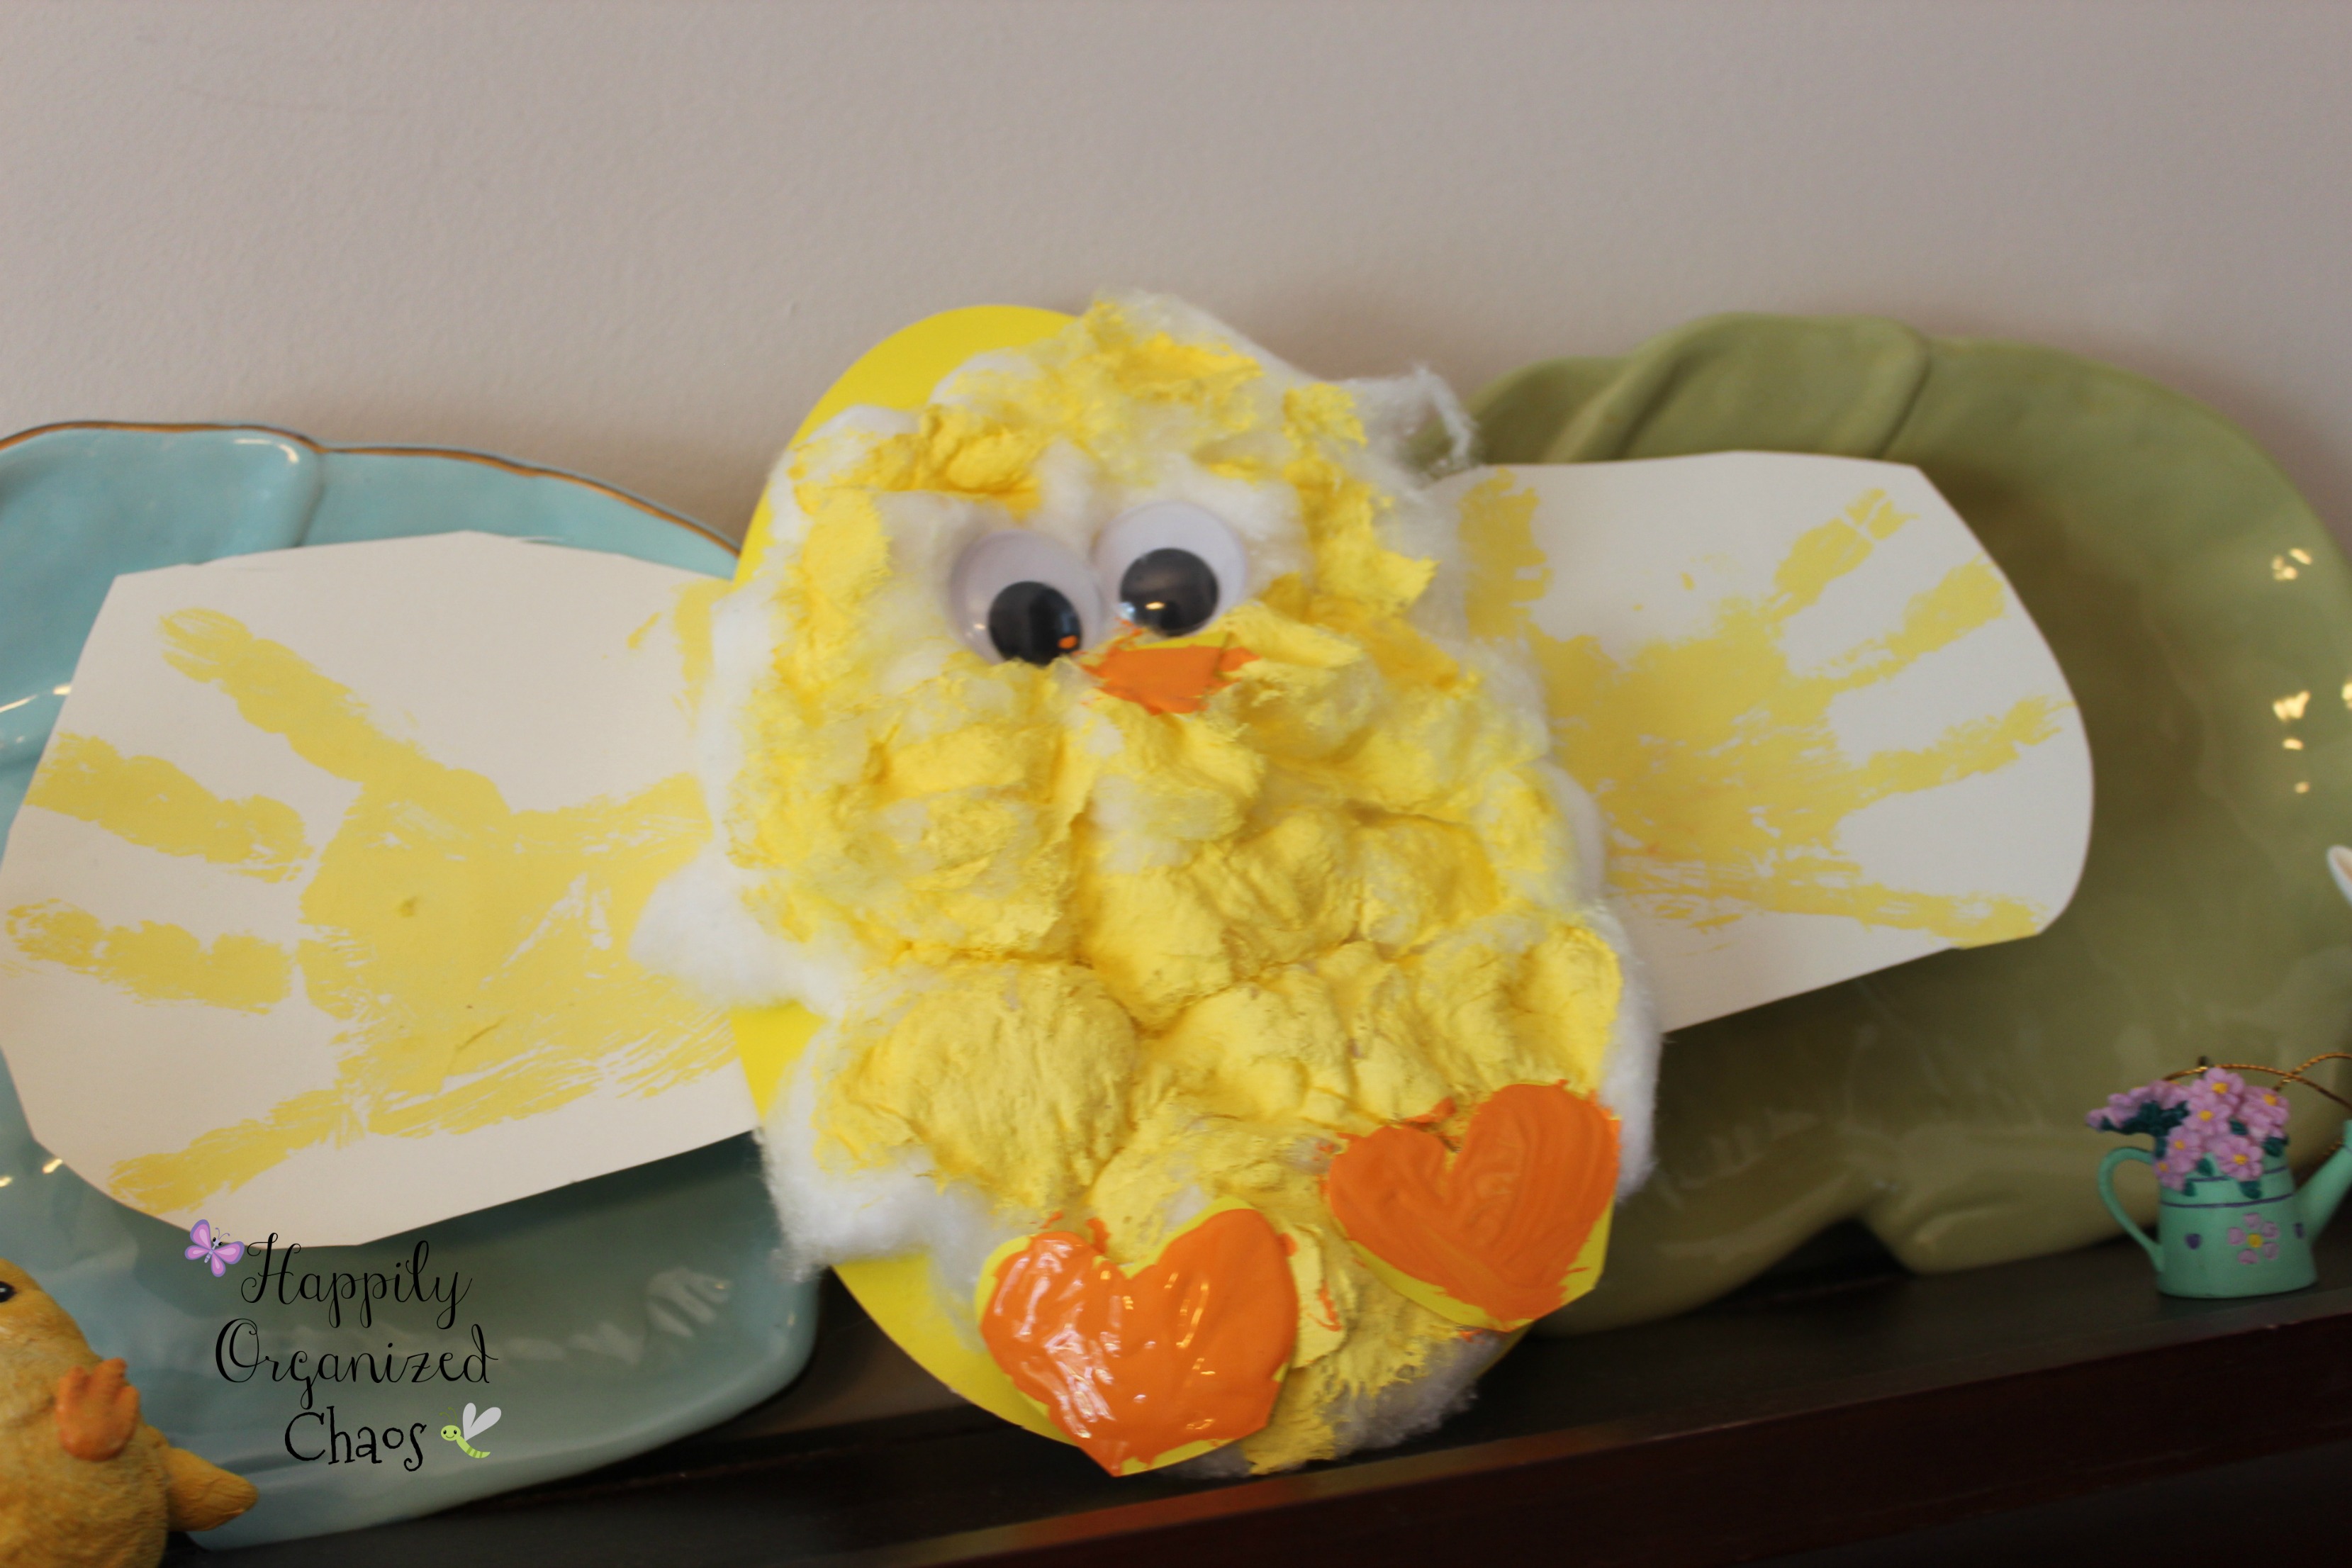
Then place the egg on top of the glue and press firmly. Then you are going to cut out some hearts and a triangle.

Glue the hearts to the bottom of the egg (the feet) and the triangle will be the beak.

Start painting the feet orange and then the beak. Then viola! You have a super adorable yellow easter “egg” hand print chick, just in time for Easter 🙂
Thank you everyone for stopping by and taking the time to read this post. Please remember to check out all the other ladies that are participating in this HOP!!! I am pretty egg-xicited to see what they all came up with myself and I have no doubt I’ll be trying some of their ideas. So please, “hop” on by and check them out!!

Happy Crafting!!
xoxo,
Jen