So I’ve been reading blogs for years, from Young House Love to Bower Power, Centsational Girl and Rambling Renovators, these girls (and guys) know how to blog and were always my inspiration to become a blogger. As I was going through some of our saved pictures on my computer last night, I came across a pile that looked like it was “intended” for a blog post. Then I remembered that I DID start a blog years ago and then something happened and I stopped. That was 2013. Fast forward to now, 2017. Four years later and I really feel that I have this. Once I felt that my posts were not “good enough” but now I am just going to go with it and post what I am passionate about. One of those passions is decorating and interior design on a budget. As much as I sometimes wish I could go and buy new and beautiful, sometimes there is this satisfaction with reusing what you already have and giving it new life. So I am deciding to re-post this post even though my playroom is now longer in that location but this is one of the projects that I am super proud of.
I am sure you bloggers with children understand me when I saw children have A LOT of toys. Literally, they are everywhere. If your house is anything like mine, the toys start in one room and trickle into every.other.room! Seriously, I don’t know how my children do it. They start off in one room and the next thing you know is there is a Hansel and Gretel cookie toy trail down the hallway into the kitchen, dining room and living room (which also leads up the stairs to the bedrooms and surprisingly the bathroom as well) I just couldn’t take it anymore. We had a playroom, it just wasn’t working for us. There wasn’t enough storage space to host all those toys. I needed more shelves but really didn’t want to fork out the money to buy new white ones.
“Ah-ha” I had 3 laminate blonde colored bookcases down in my basement. They really weren’t serving a purpose. A while ago I had all of my teaching materials on them but then I got some new shelving and was using that. So I decided to search the lovely internet to find some tutorials on how to paint laminate products and I came across this one from Centsational Girl. She really sums it up nicely, so instead of me trying to go through the process step by step in great detail you should just go and visit her blog, she’s awesome!
I started by sanding my bookcases lightly (sorry no pic). Then I dusted off the, well, dust.
Like Kate says, make sure to use a good primer. I used Cover Stain BIN oil based primer and it went on as smooth as butt-er!
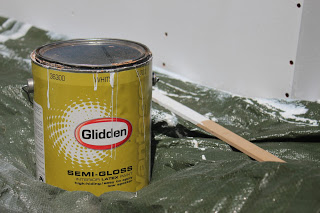
It was beautiful out so I was able to do my painting outside, made for quick drying!
I just laid down some tarp and started painting away.
I then let those dry overnight. I stored them in my barn. The next morning (after I dropped the kidlets off at preschool and the babysitters) I tackled the rest of this project. I used some left over paint that I had lying around to save some cash.
After I painted, I let them dry and since it was so darn hot out they dried within an hour. I then repeated this step twice. Once they were fully dried I wanted to add some “pop” of color to the backs. I couldn’t find a wallpaper in stock that I loved, nor could I find any fabric at the fabric store. So while I was at Wally World (Wal-Mart for those unaware) getting my necessary things I came across these outdoor table clothes on clearance for $2…Yup…SCORE! I loved the geometric print and it was navy blue. Perfecto.
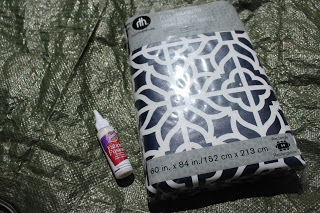
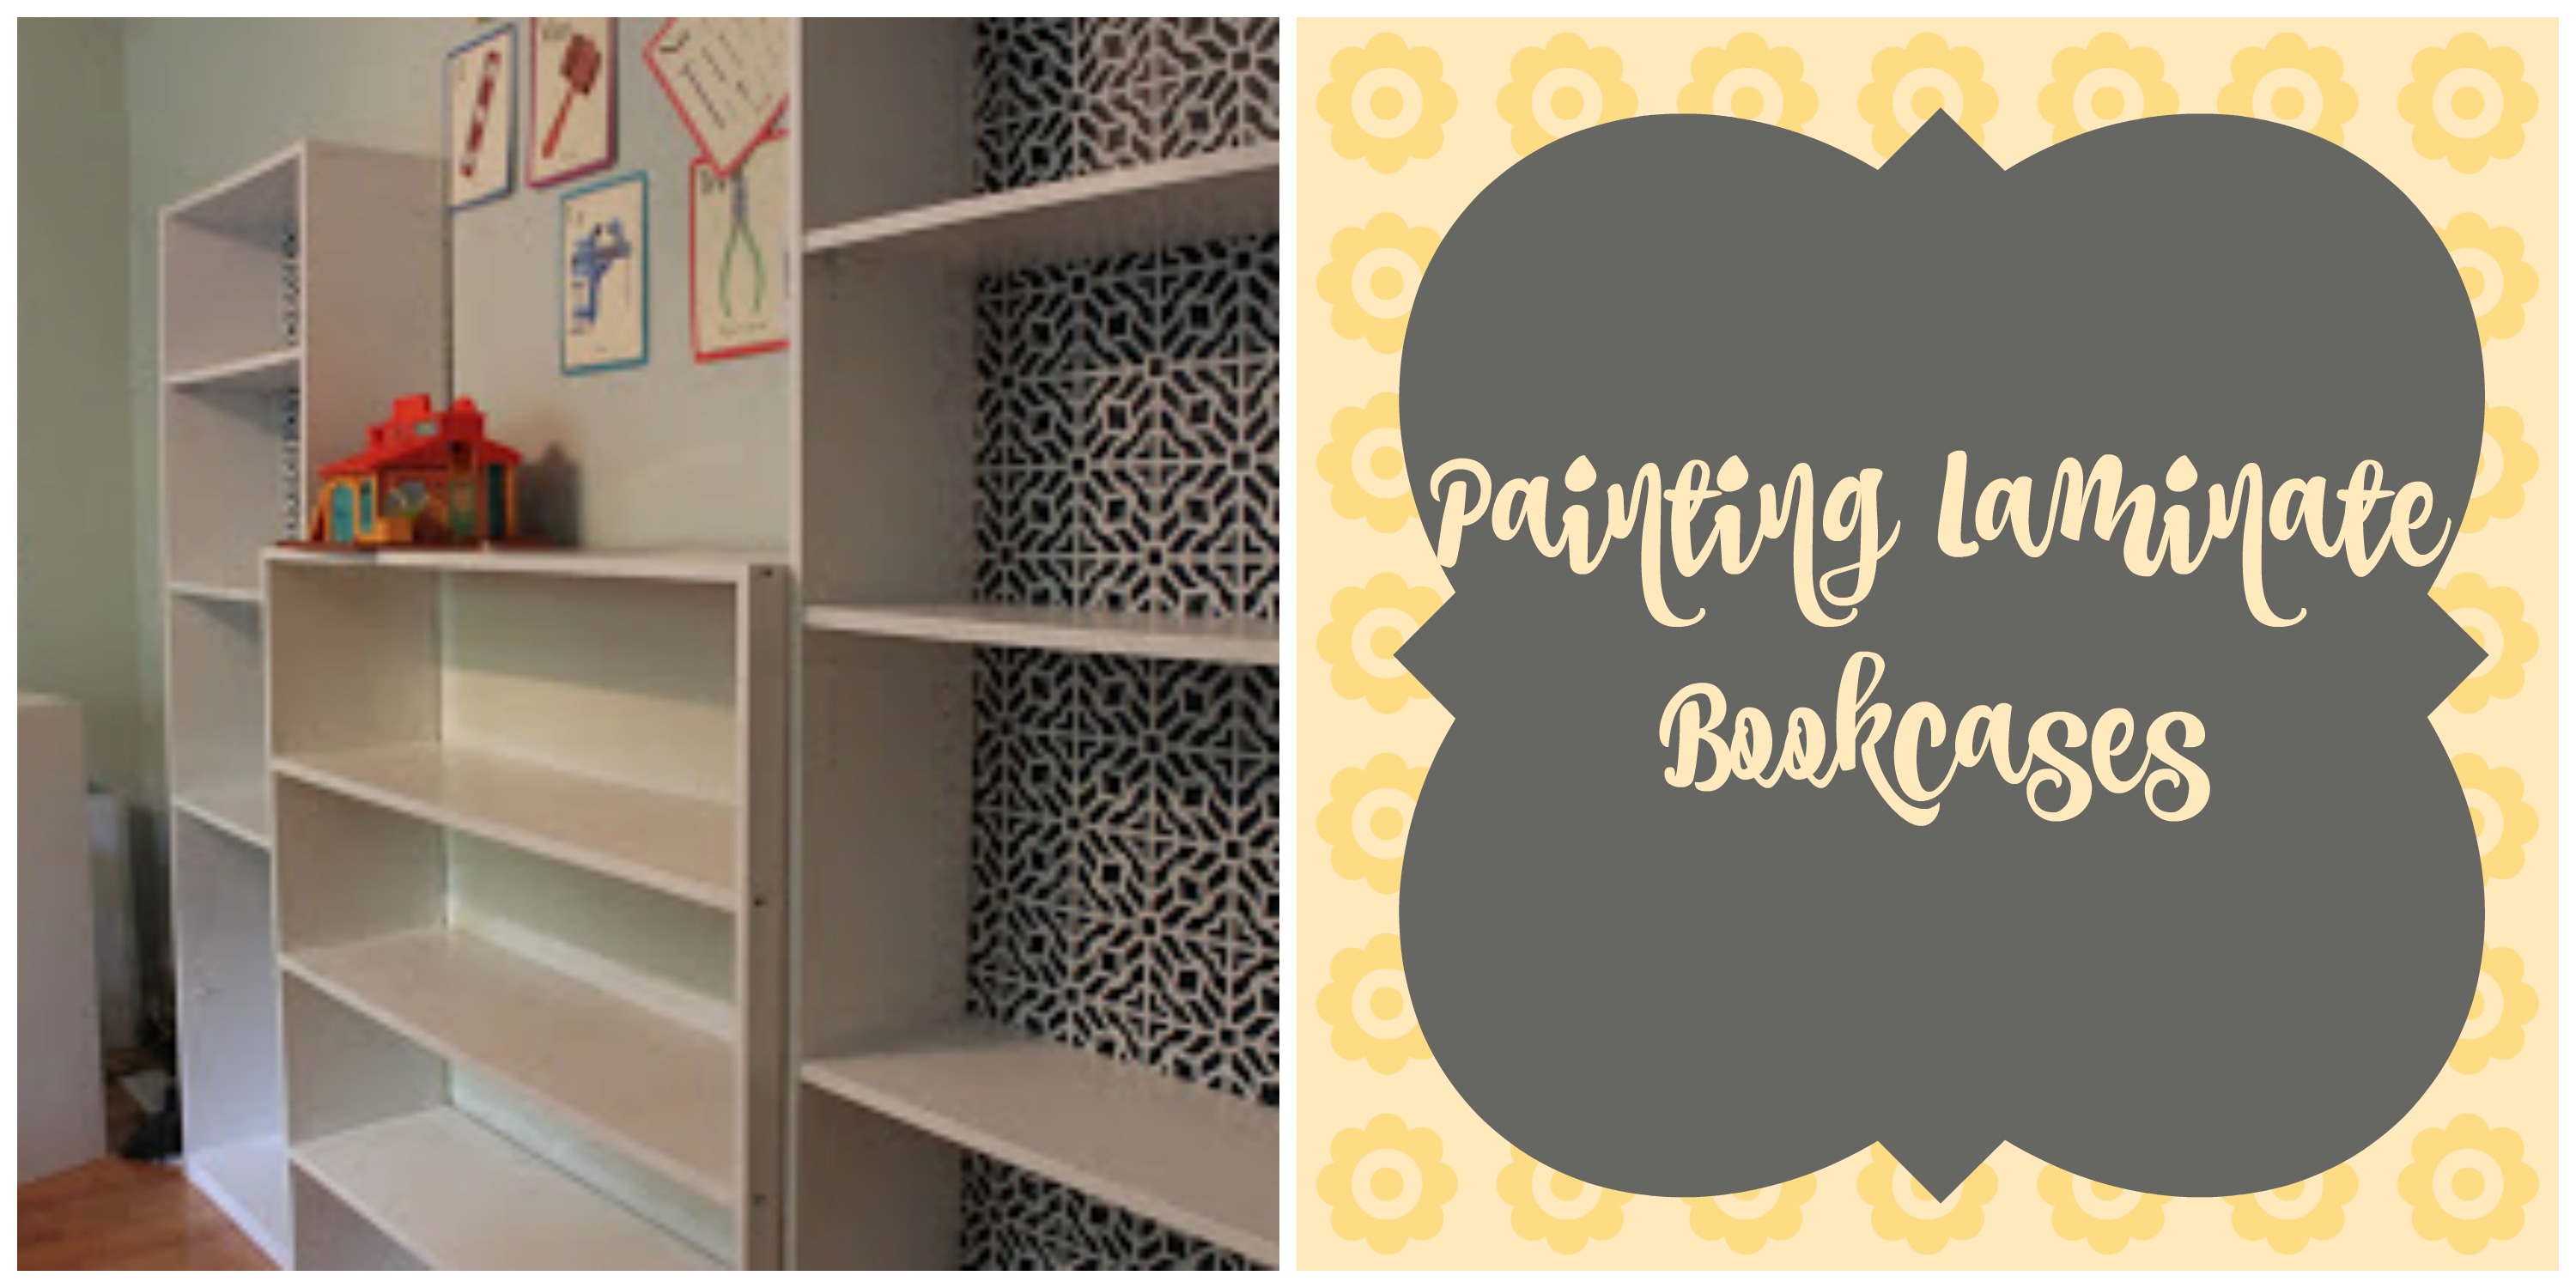
I laid the cloth out and made my necessary cuts and lined the backs of the bookcases. I was going to use a fabric glue but that didn’t work so I just used hot glue on the corners to hold it in place and then I nailed the backings back on the bookcases.
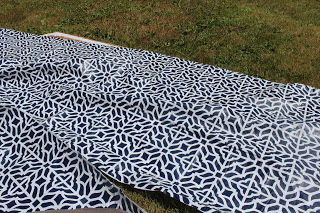
And well, tada, here they are!
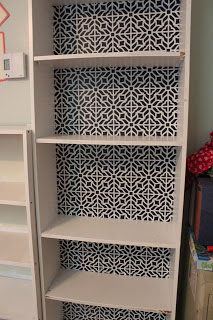
I still need to touch up some of the shelves because they got chipped in transition into the house, but over all I am totally in love with the way they turned out.
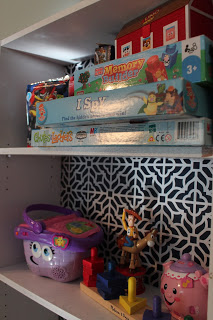
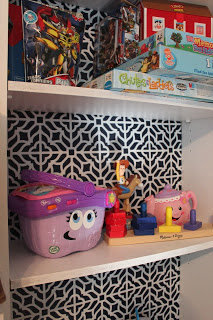
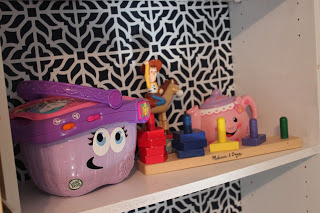
So there there are. If you are still interested in seeing other components of the playroom (like DIY curtains and bookshelves for books) Please let me know and I will get right on that!!
xoxo,
Jen
