Y’all it’s week 6 of the One Room Challenge and normally this would have been reveal week but because of the horrible things that have taken place across the United States an extra week has been given to us. I am very grateful for this extra week, it gave me a little extra time to focus on the house and get some other spaces in order. So let’s recap, if you are not sure of what the One Room Challenge is, well a lovely content creator over at Calling it Home has created a challenge, the challenge is for bloggers to completely decorate a room in there home in just 6 (7 this time) weeks. I participated in the challenge last spring and am completely hooked. If you want to see my master bedroom makeover, you can go and check that out here. Also, if this is your first time on my page, welcome and take a moment to catch up on the progress of Madeline’s bedroom makeover.
Week One | Week Two | Week Three | Week Four | Week Five | Week Six | REVEAL

Before I even start in on the tutorial, can I just show you this wall. Seriously, y’all, I am in LOVE!!
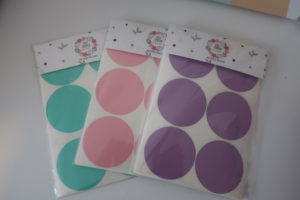
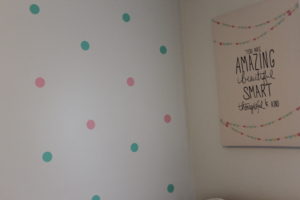
I am so blessed to be working with some amazing companies for this round of the one room challenge and the Rocky Mountain Decal company is one of those amazing companies!!
These decals are so easy to apply and easy to rearrange (because seriously, I had to adjust the location of one or two dots during this process). They are so beautiful!!
For this update I am going to share with you a very quick and inexpensive DIY that I did on the bedside table. If you want to update your bedside table, quickly and for hardly any money, then keep reading.
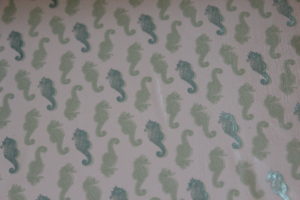
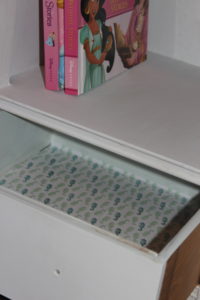
I started off by painting the bedside table with Rustoleum Chalked Paint, which goes on like butter, seriously the coverage on this paint is unbelievable. I gave the table 2 coats and then applied a clear wax over the whole piece for that little extra protection. Then for the fun part. Madeline wanted something “special” in the drawer and I knew exactly what to do. I found this perfect sea horse scrapbook paper at Michael’s for under $4 and knew that it would be perfect.
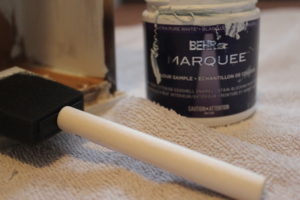
I painted the inside of the drawer with a sample can of the Behr Marquee paint in Lime Light. It was a perfect way to use a color that I loved but wasn’t going to use.
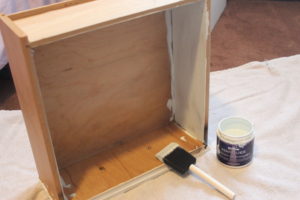
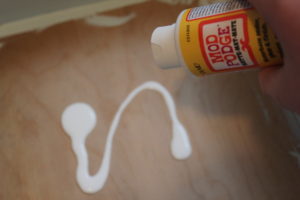
Then I applied some Mod Podge on the bottom of the drawer and placed the scrapbook paper down. Smoothed it out and applied some mod podge on the top for protection.
Then there you have it. A fun way to spice up a boring bedside table to add a little extra personality. I love how it turned out.
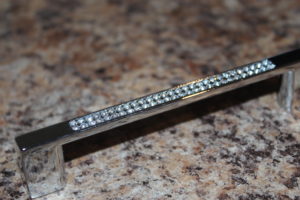
I am going to be 100% honest with y’all….it is not 100% done. I had bought these beautiful, perfect handles and guess what…it doesn’t fit! I am still on the hunt but I wanted to get this post out to you.
Again, thank you so much for following along with me on this journey. I really can not believe that next week is reveal day!! So make sure if you haven’t already to subscribe to stay up to date on new posts! Again, I want to thank The Home Depot Canada for partnering with me on this challenge and Rocky Mountain Decal Company. I hope that you all take some time to check out all the other amazing transformations taking place during the One Room Challenge.
Until next week….take care,


Disclaimer: Rocky Mountain Decal Company gifted me with the wall decals but all thoughts and opinions are all my own. Also, Home Depot Canada provided me with gift cards to purchase the paint, but all opinions and thoughts are solely mine.
