The time has finally come, yes ladies and gentleman, it is the day y’all have been dreaming of…(well, ok, it is the day I’ve been dreaming of) my $100 One Room Challenge reveal. $100 One Room say what? Well, the wonderful Erin at Lemons, Lavender and Laundry has created the $100 One Room Challenge. This is to challenge any blogger that wishes to do so, to create (or redecorate) a room or space over with only $100. I have worked hard on this area and learned 3 important lessons while at it….
1. Following a budget is hard work. Especially when you have a vision and very few good thrift stores to find items at.
2. I love a good challenge, so even when I found out that I could “technically” spend more than the $100 because I am in Canada, I decided against that and wanted to try to stick with the $100.
3. Making a vision work can be tiring but oh so worth it!
I am going to start off first and show you what the space looked like before……
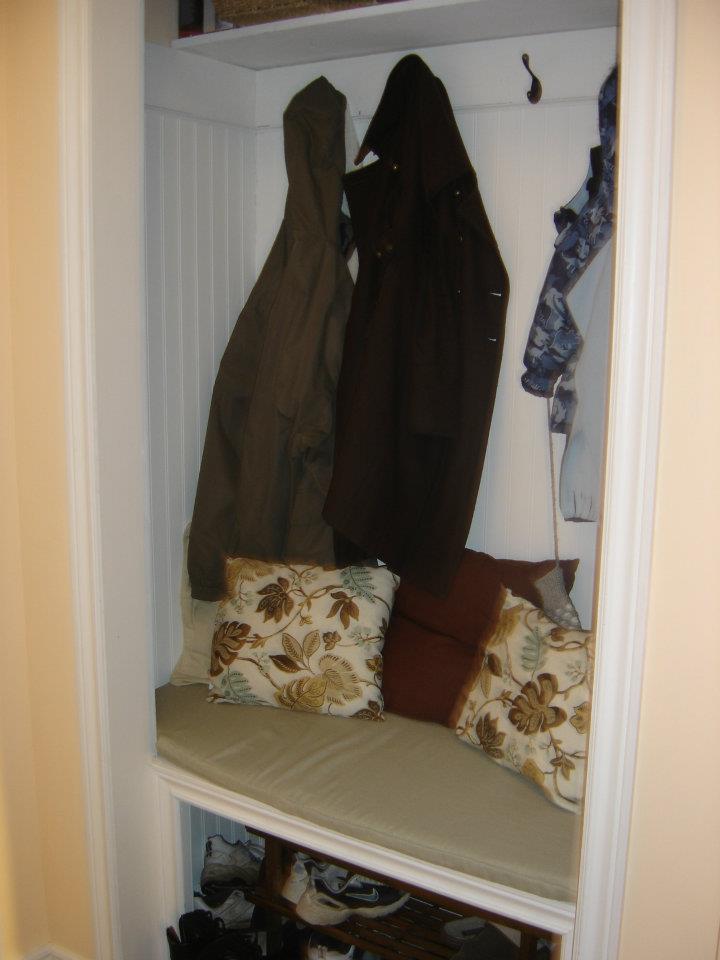
You can see the bench was there but the cushion was getting worn, the walls needed painting and it just just needed a little refresh, after all this is the main entry that we use to the home.
Now the moment you were all waiting for……

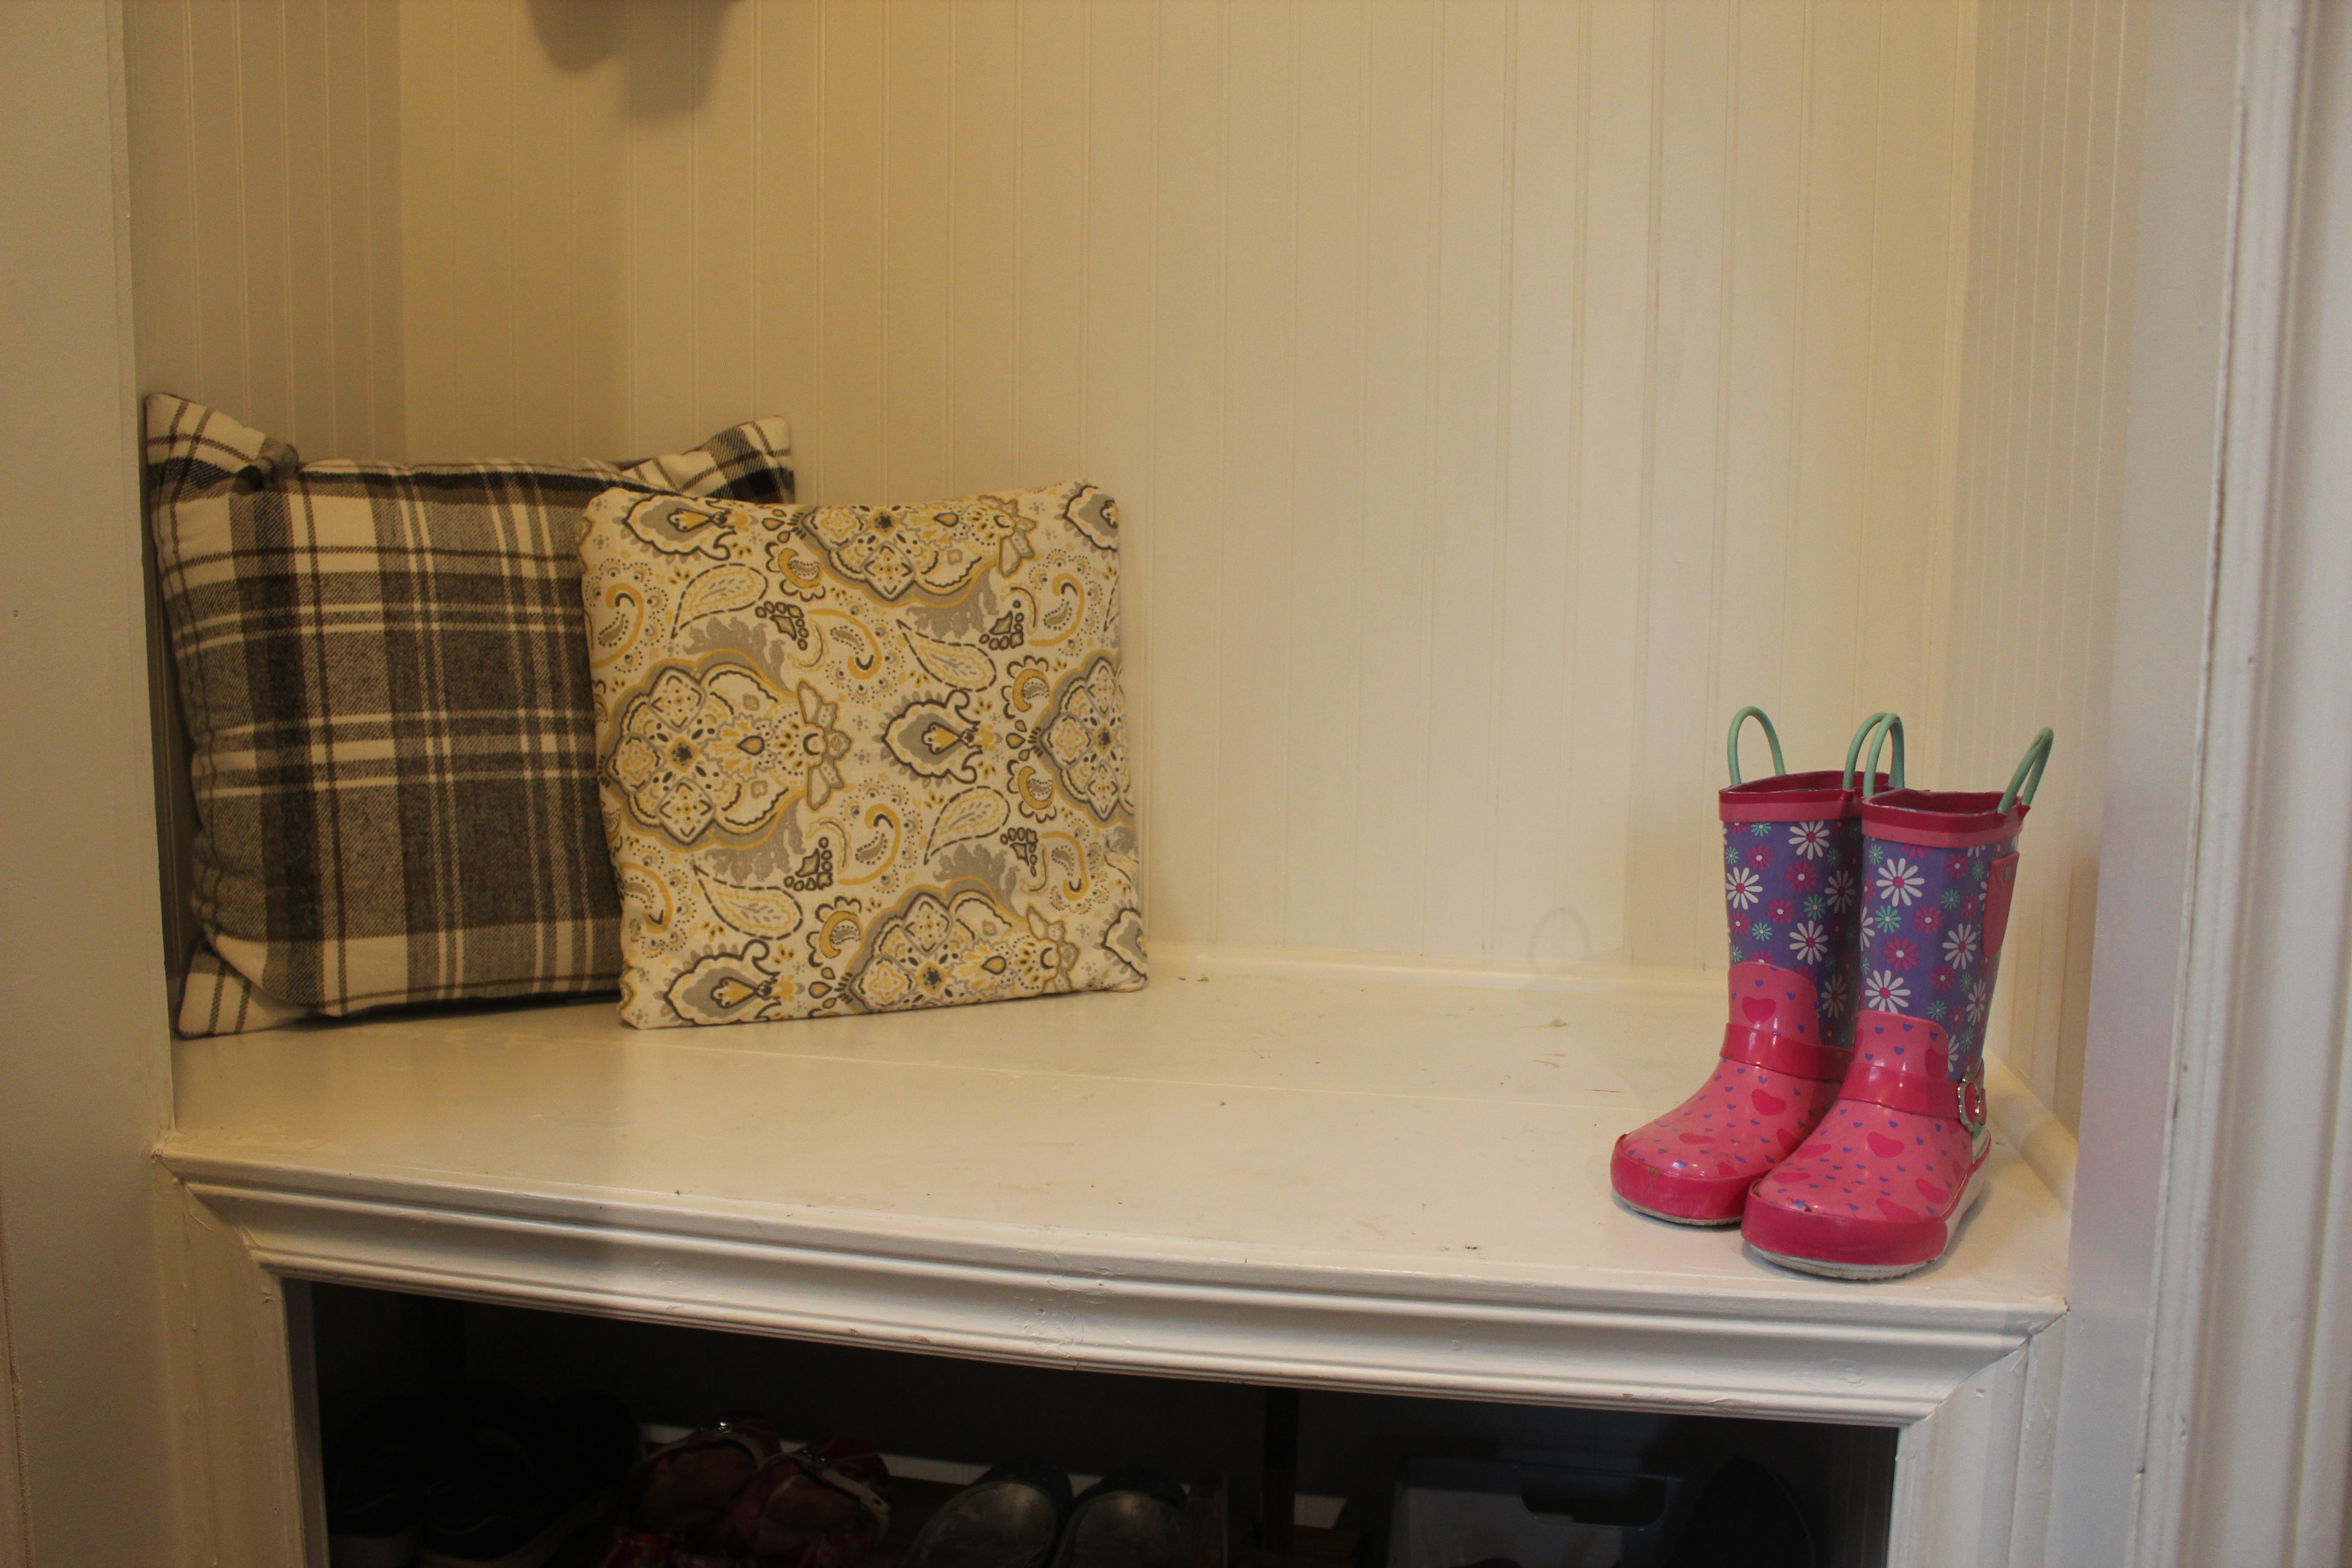
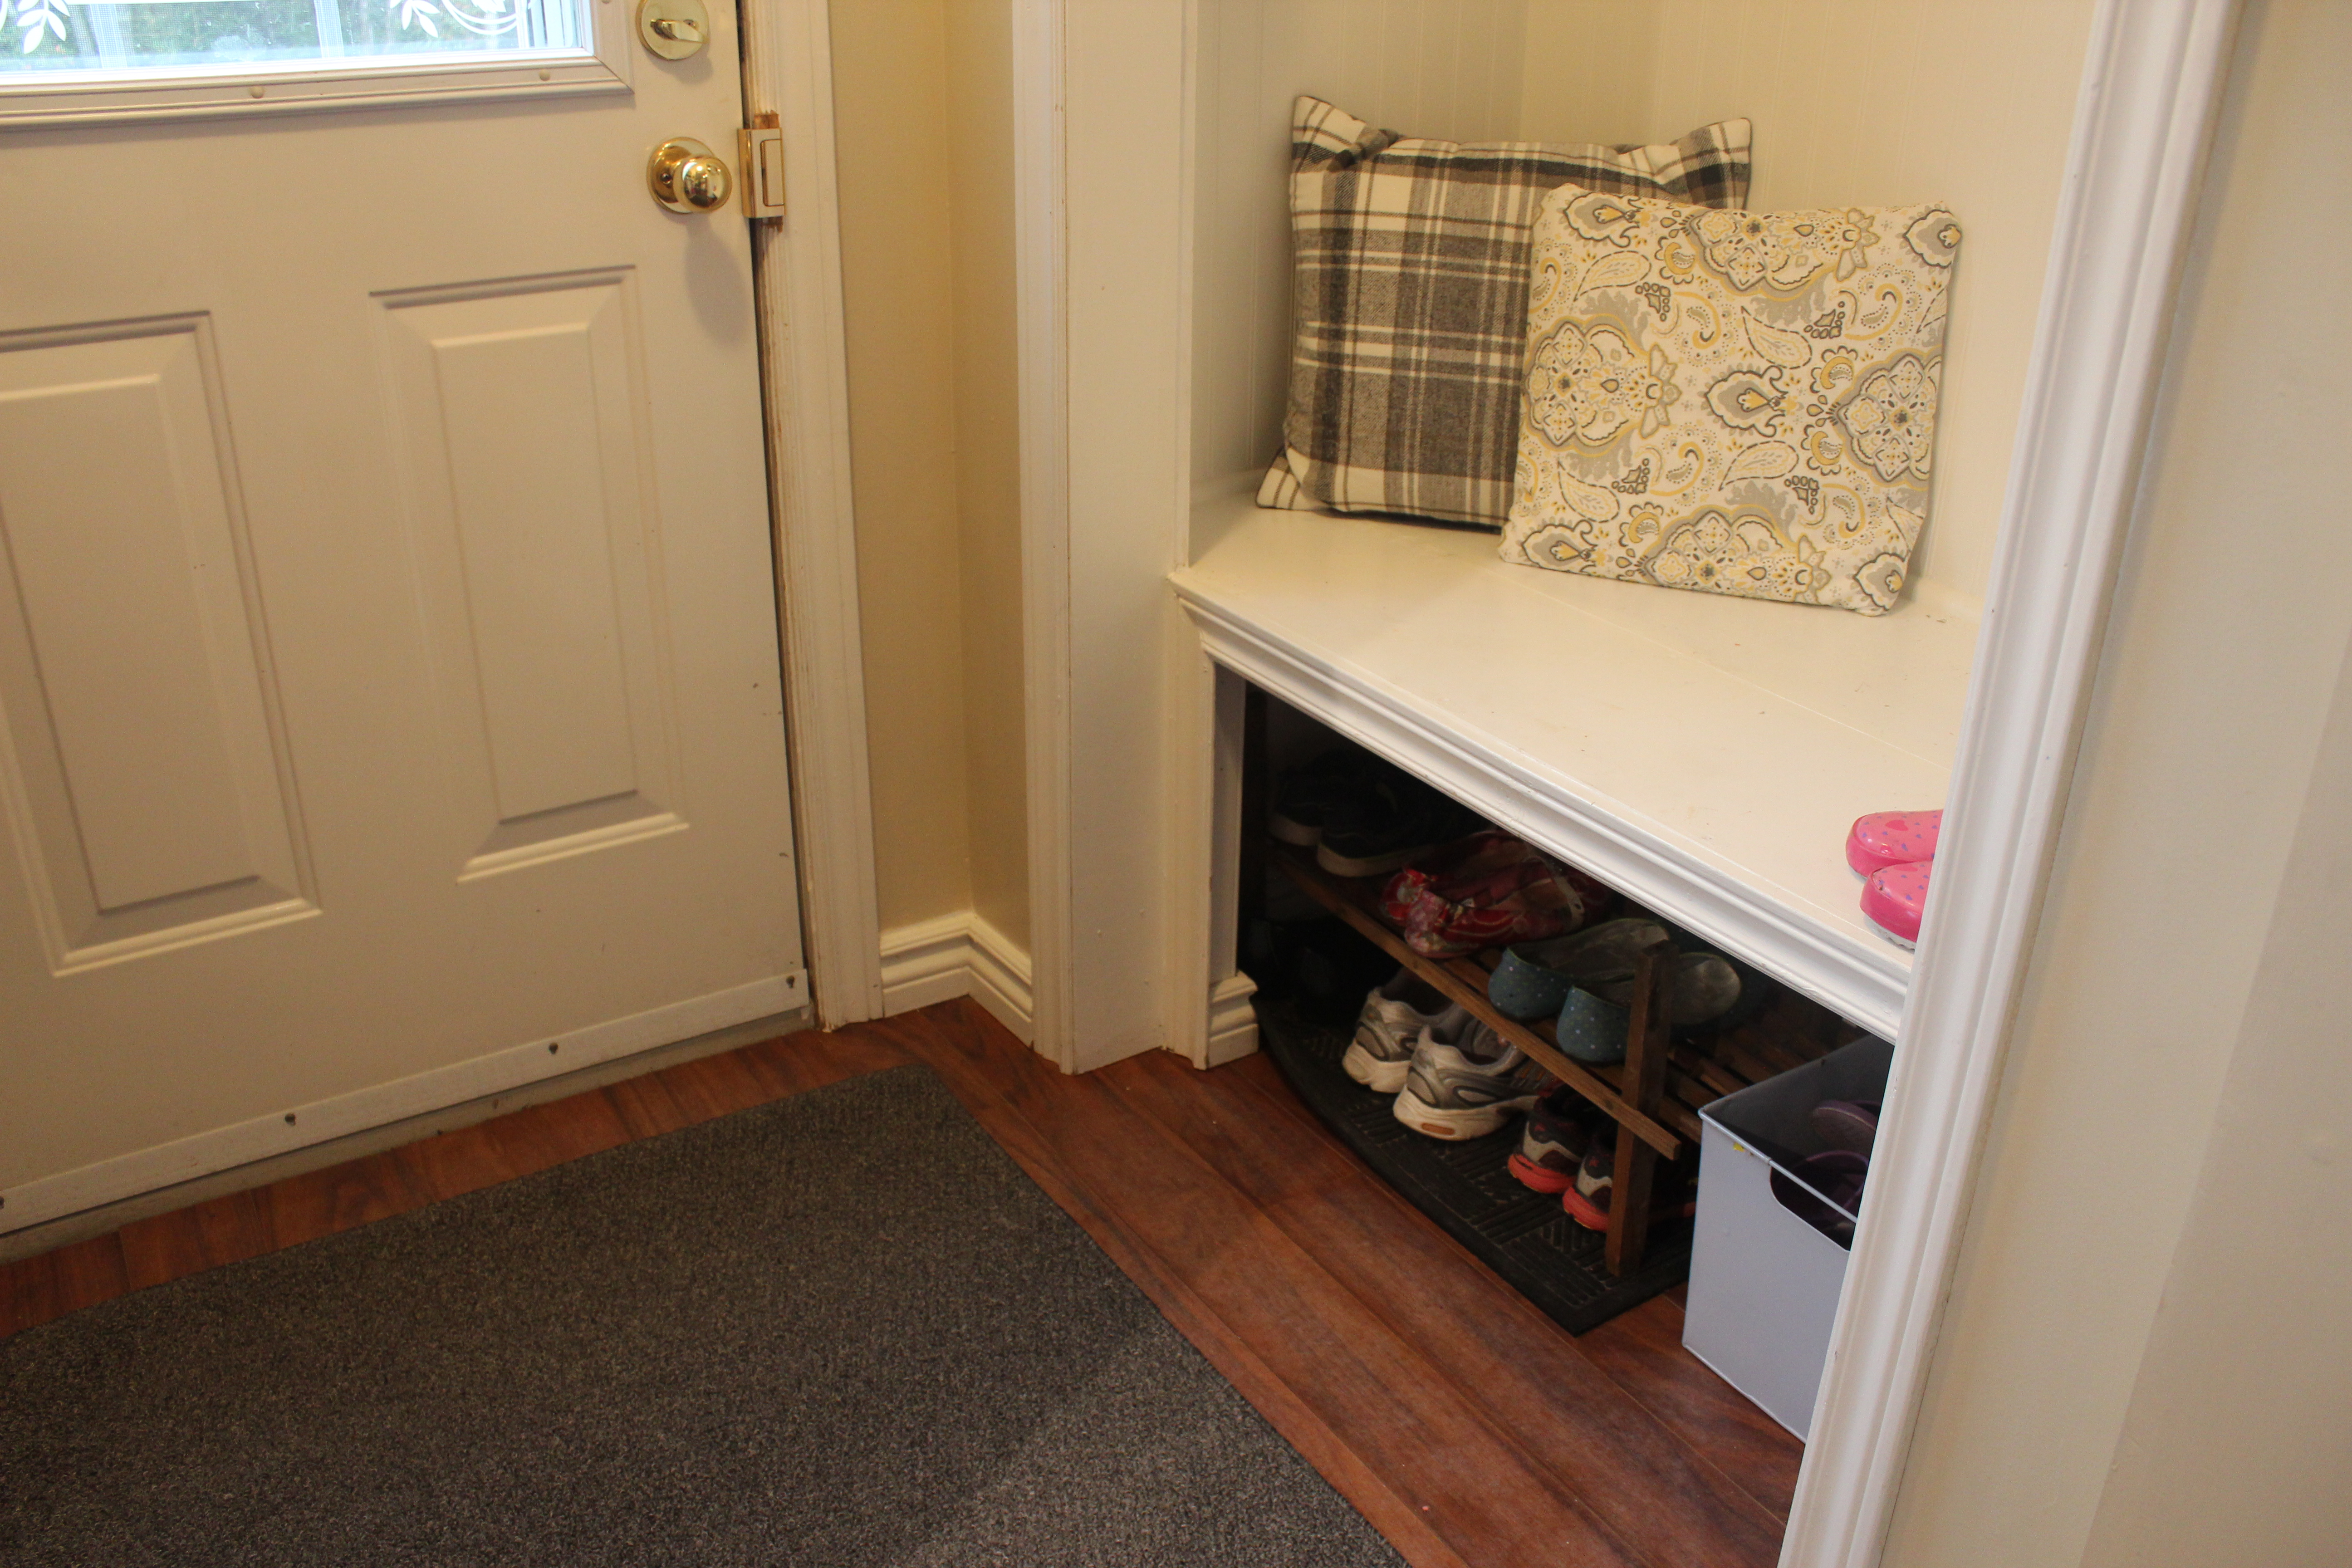
The wall color is the same and that is Manchester Tan by Benjamin Moore. I really do love that color. We took away the cushion and I re painted the wainscoting and bench in Cloud White by Benjamin Moore (my favorite white paint of all time) it just really brightens up the space. I said good bye to the old brown pillows and opted for this beautiful buffalo check from all places but Wal-Mart!! (I know I couldn’t believe it when I saw it!!) The other pillow is actually a DIY pillow cover that I made using fabric napkins that I purchased years ago at Target but never used them! (I will have a DIY post on how I made those coming up shortly!!)
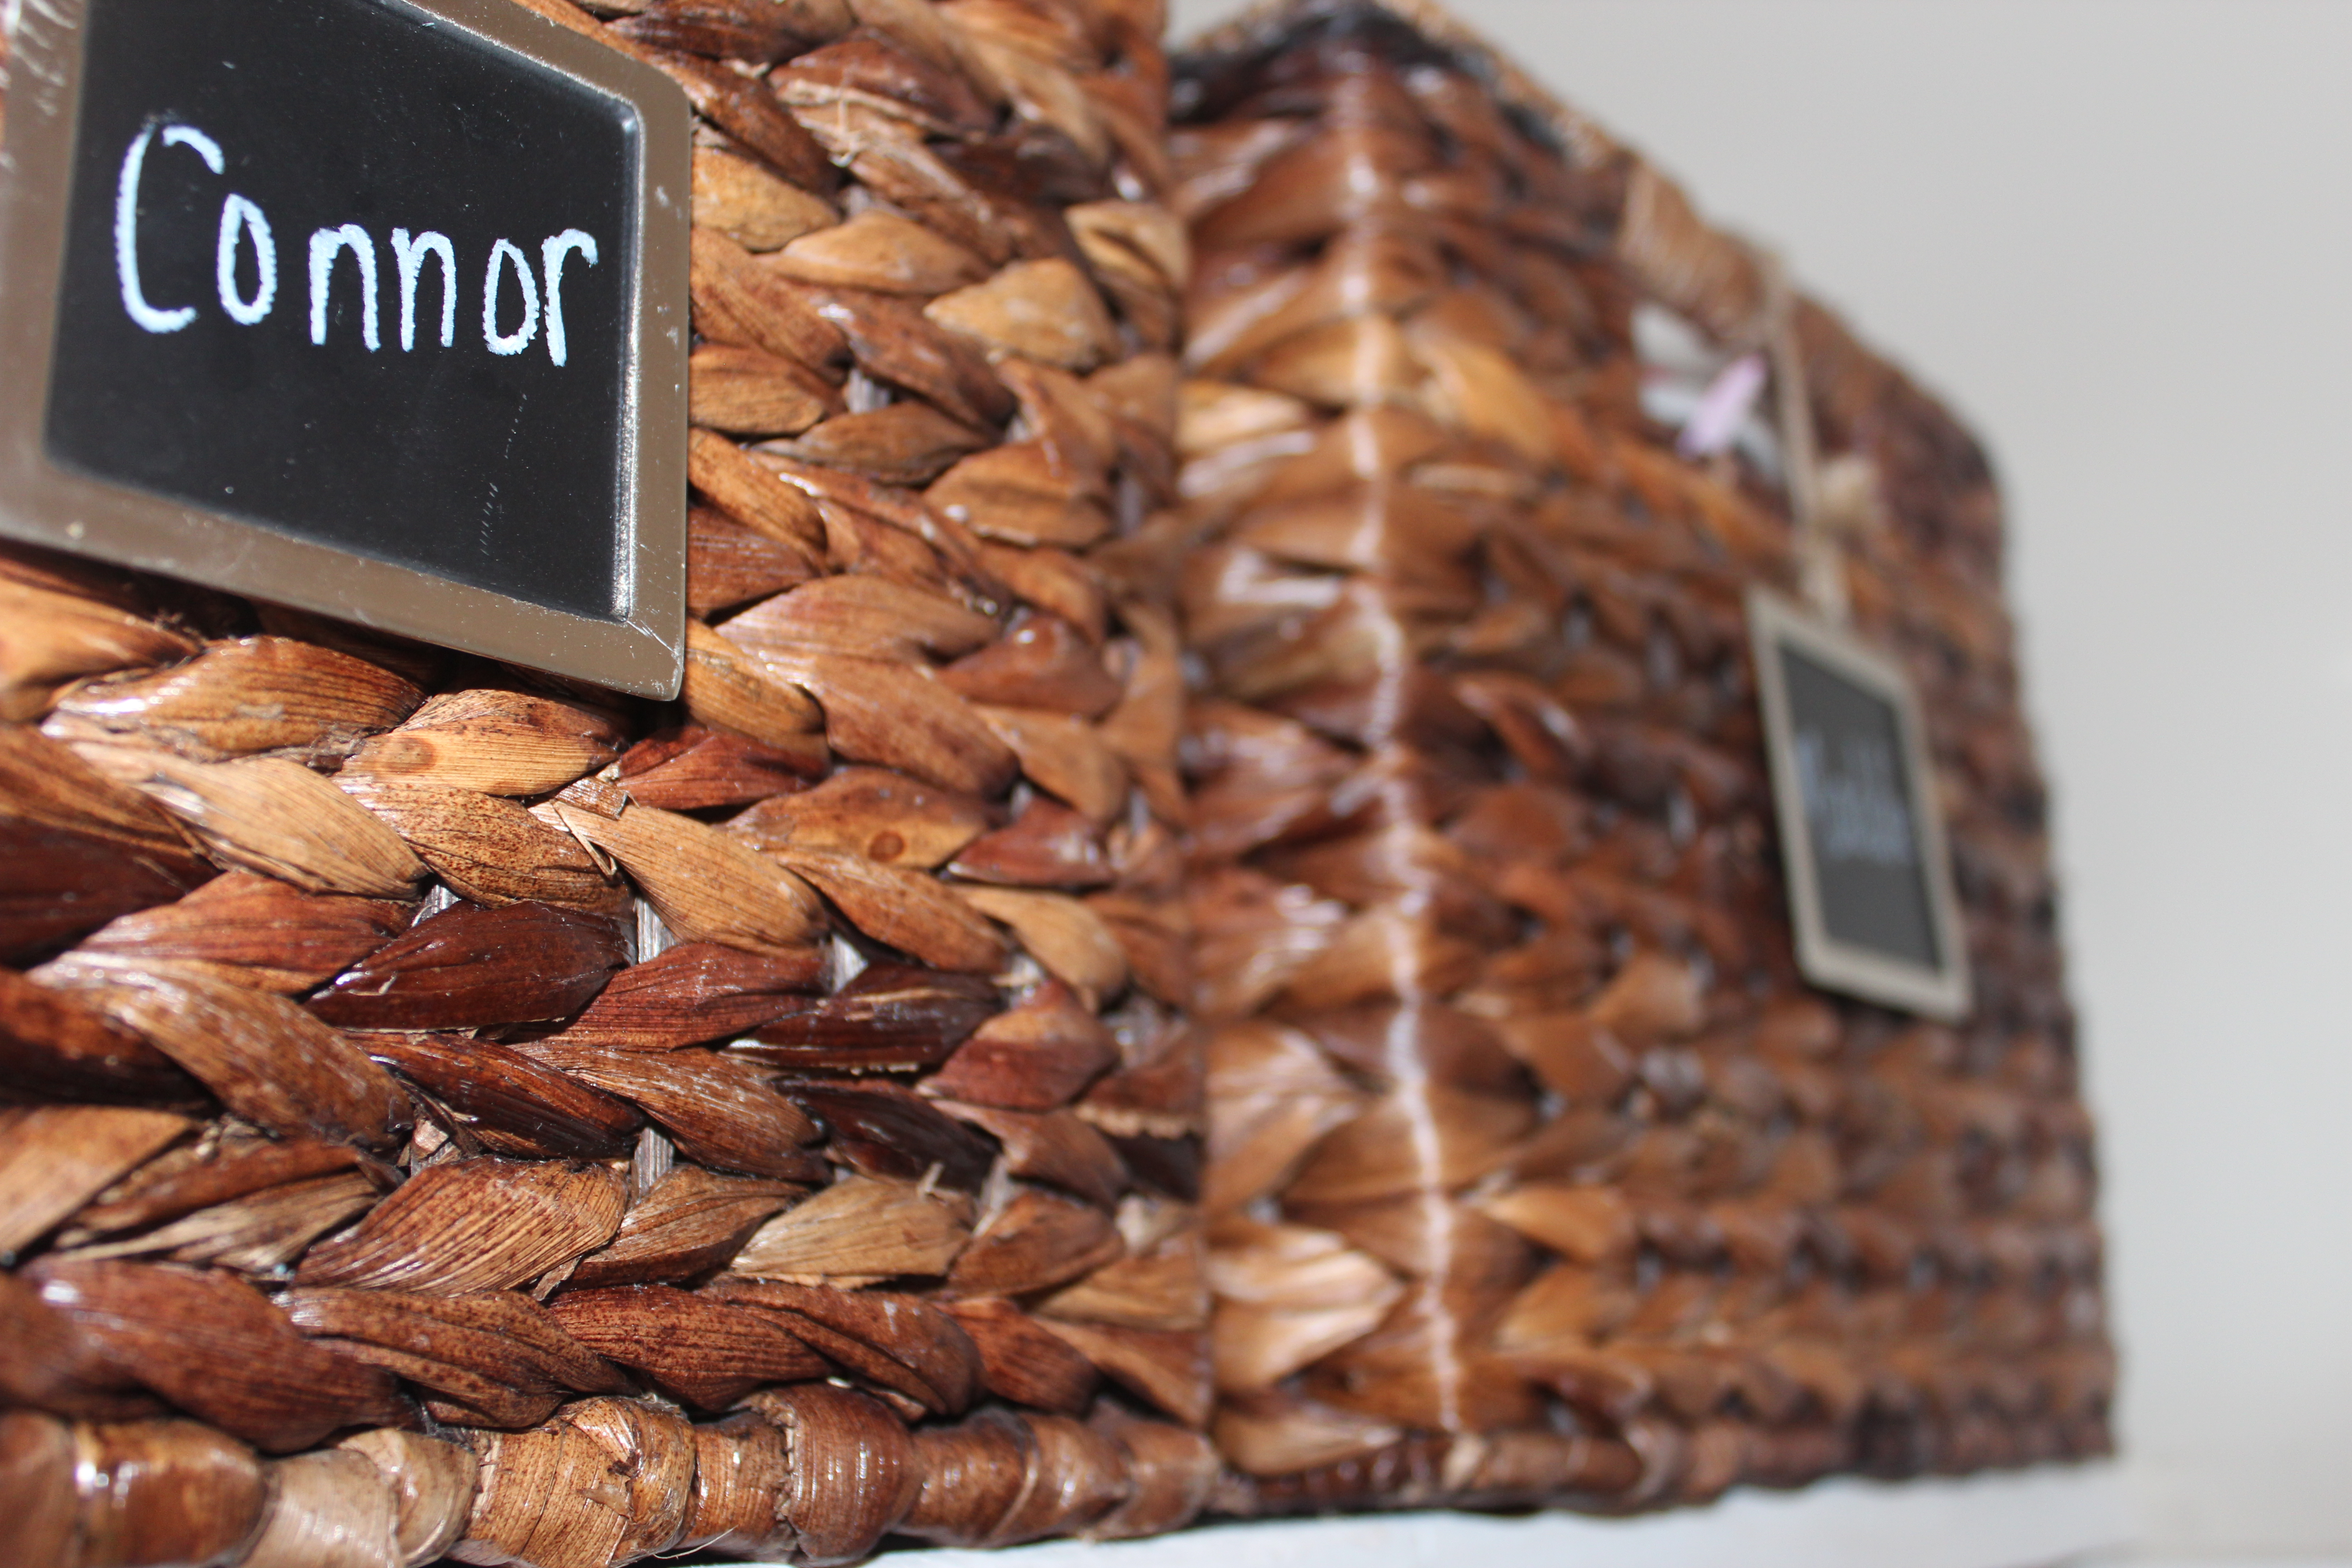
Above the bench is a shelf and I had been looking for baskets to put seasonal gear in, I decided to shop home first and found that these bins from Target worked perfectly and I had even previously purchased these chalkboard labels from Target and they were just sitting in a bin. I took them out and labeled them with each family members name.
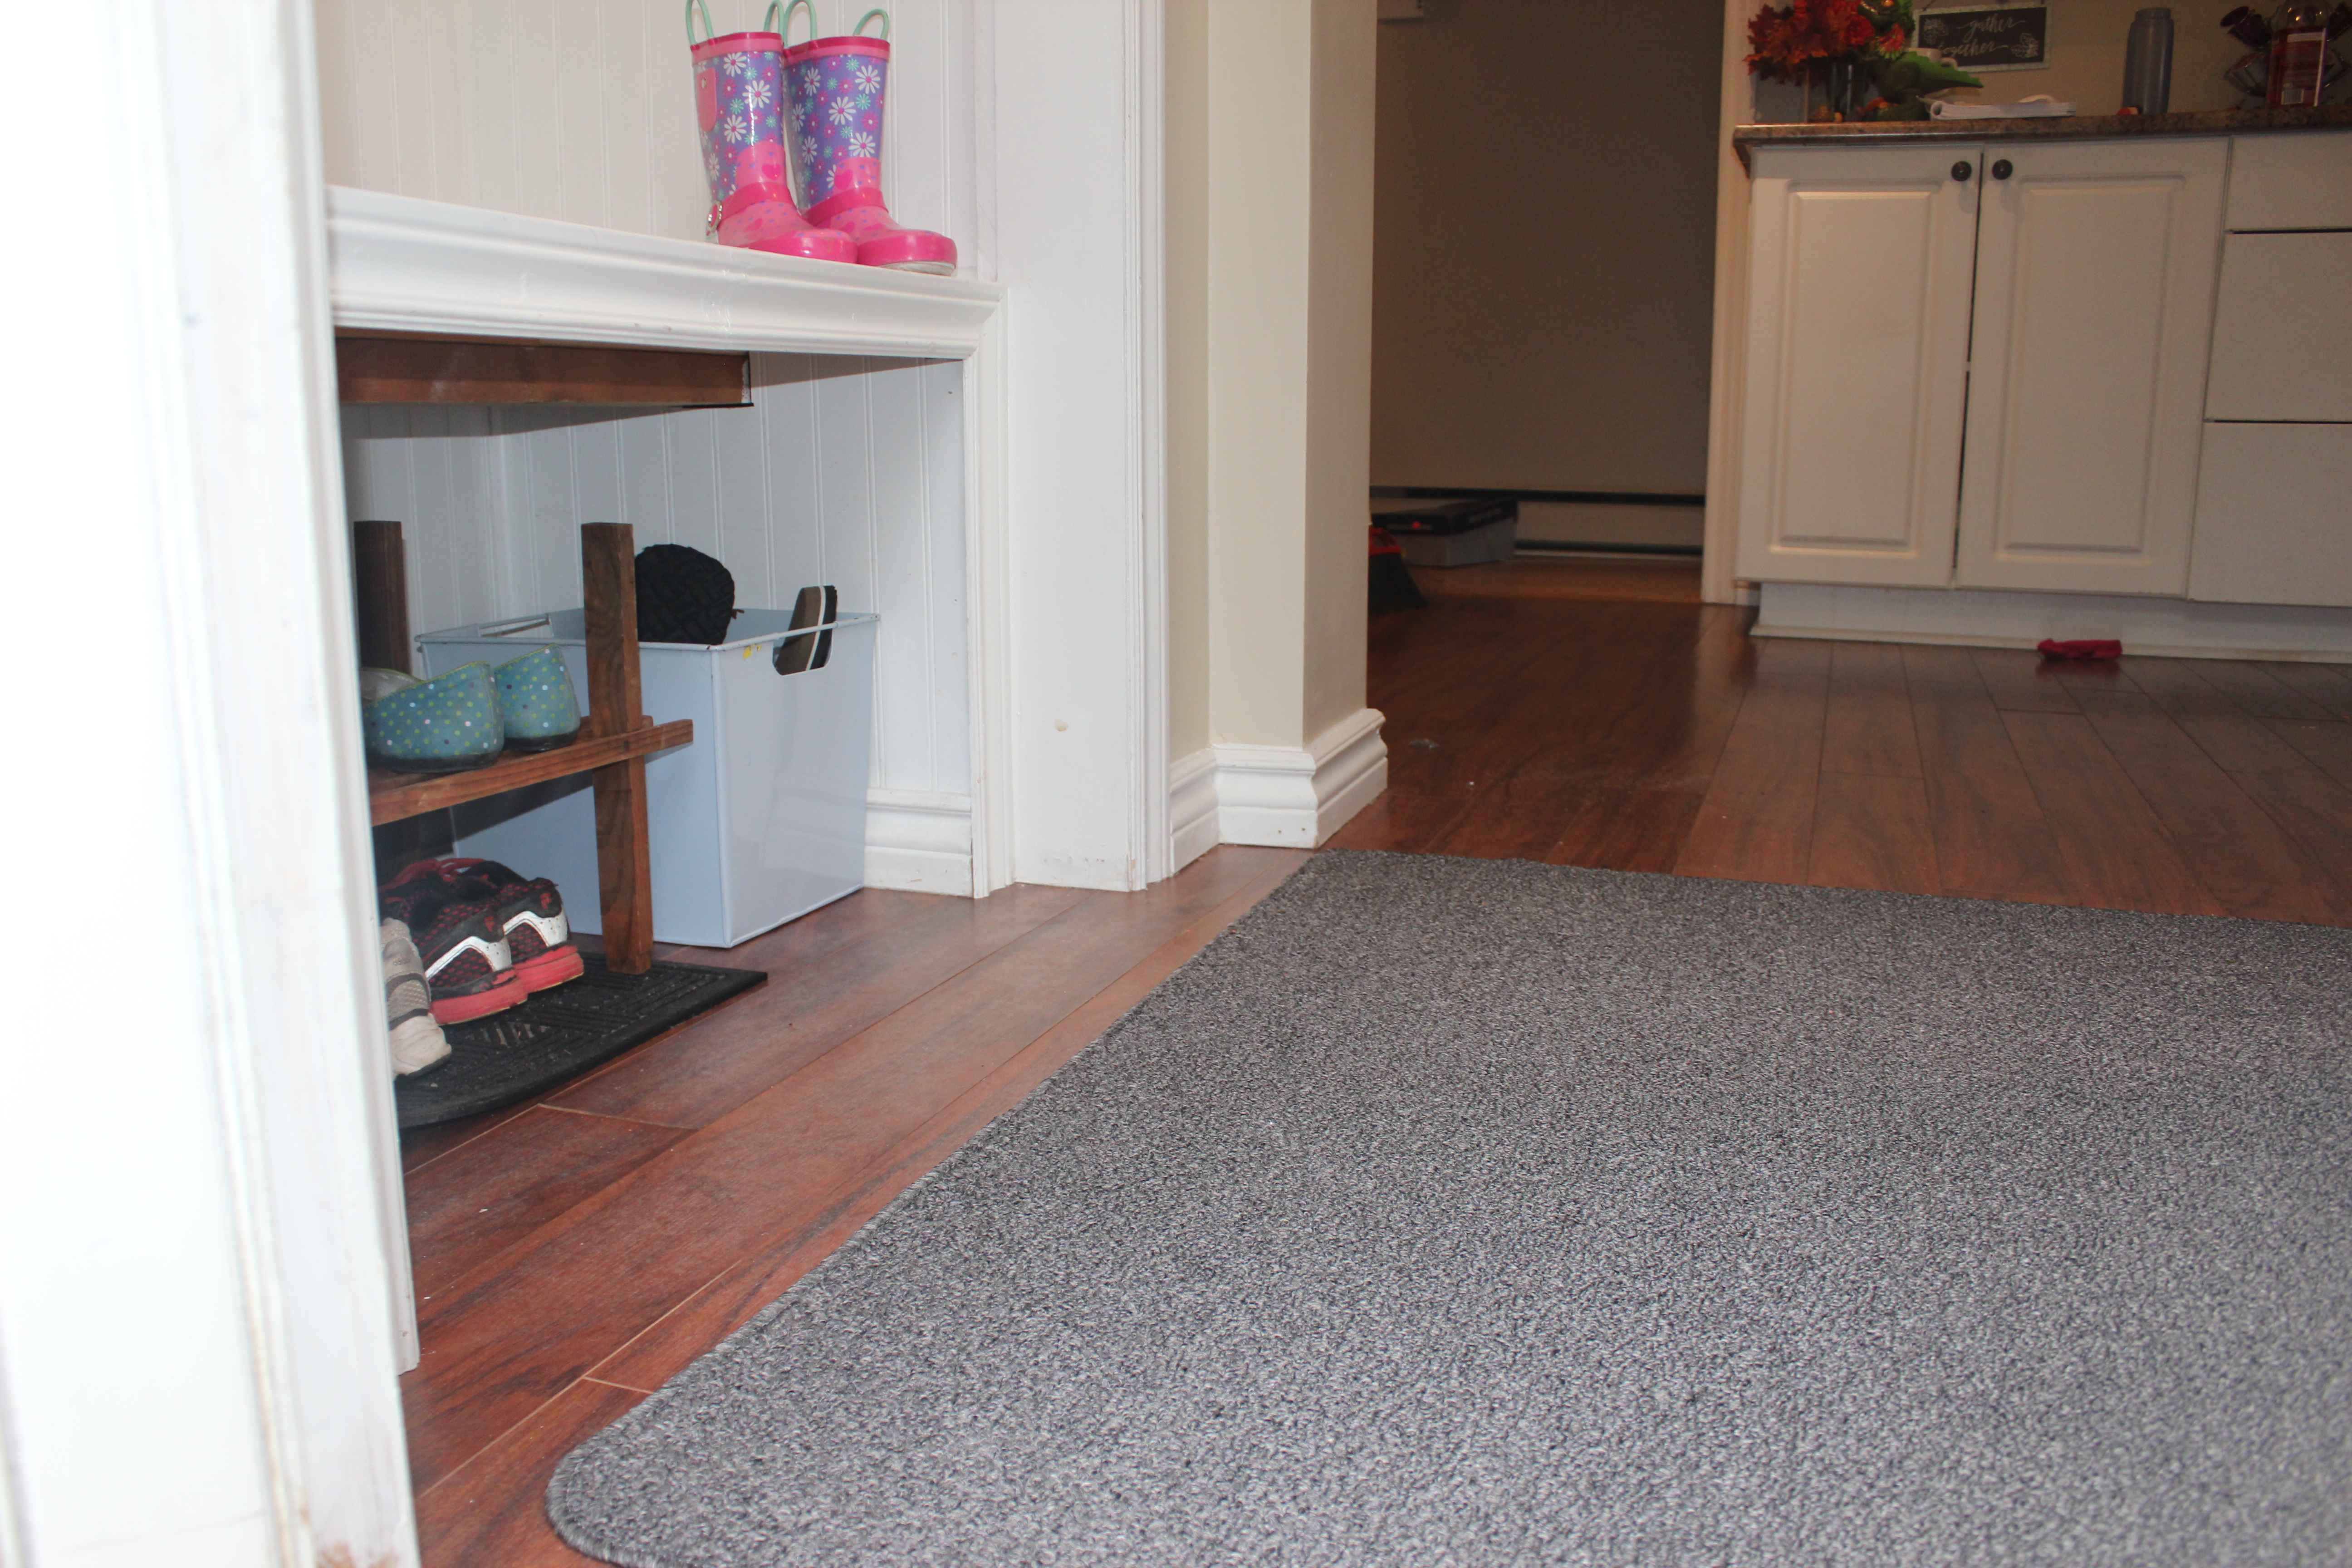
Shoes were still a major problem, so to solve that I moved over the current show rack and added this blue bin from Martha Stewart that I had purchased years ago from Zeller’s (if you are Canadian I am sure you remember this store) and although I would have loved to spray paint it, I ran out of time, the bins is metal and very practical for flipflops and works perfectly in the summer.
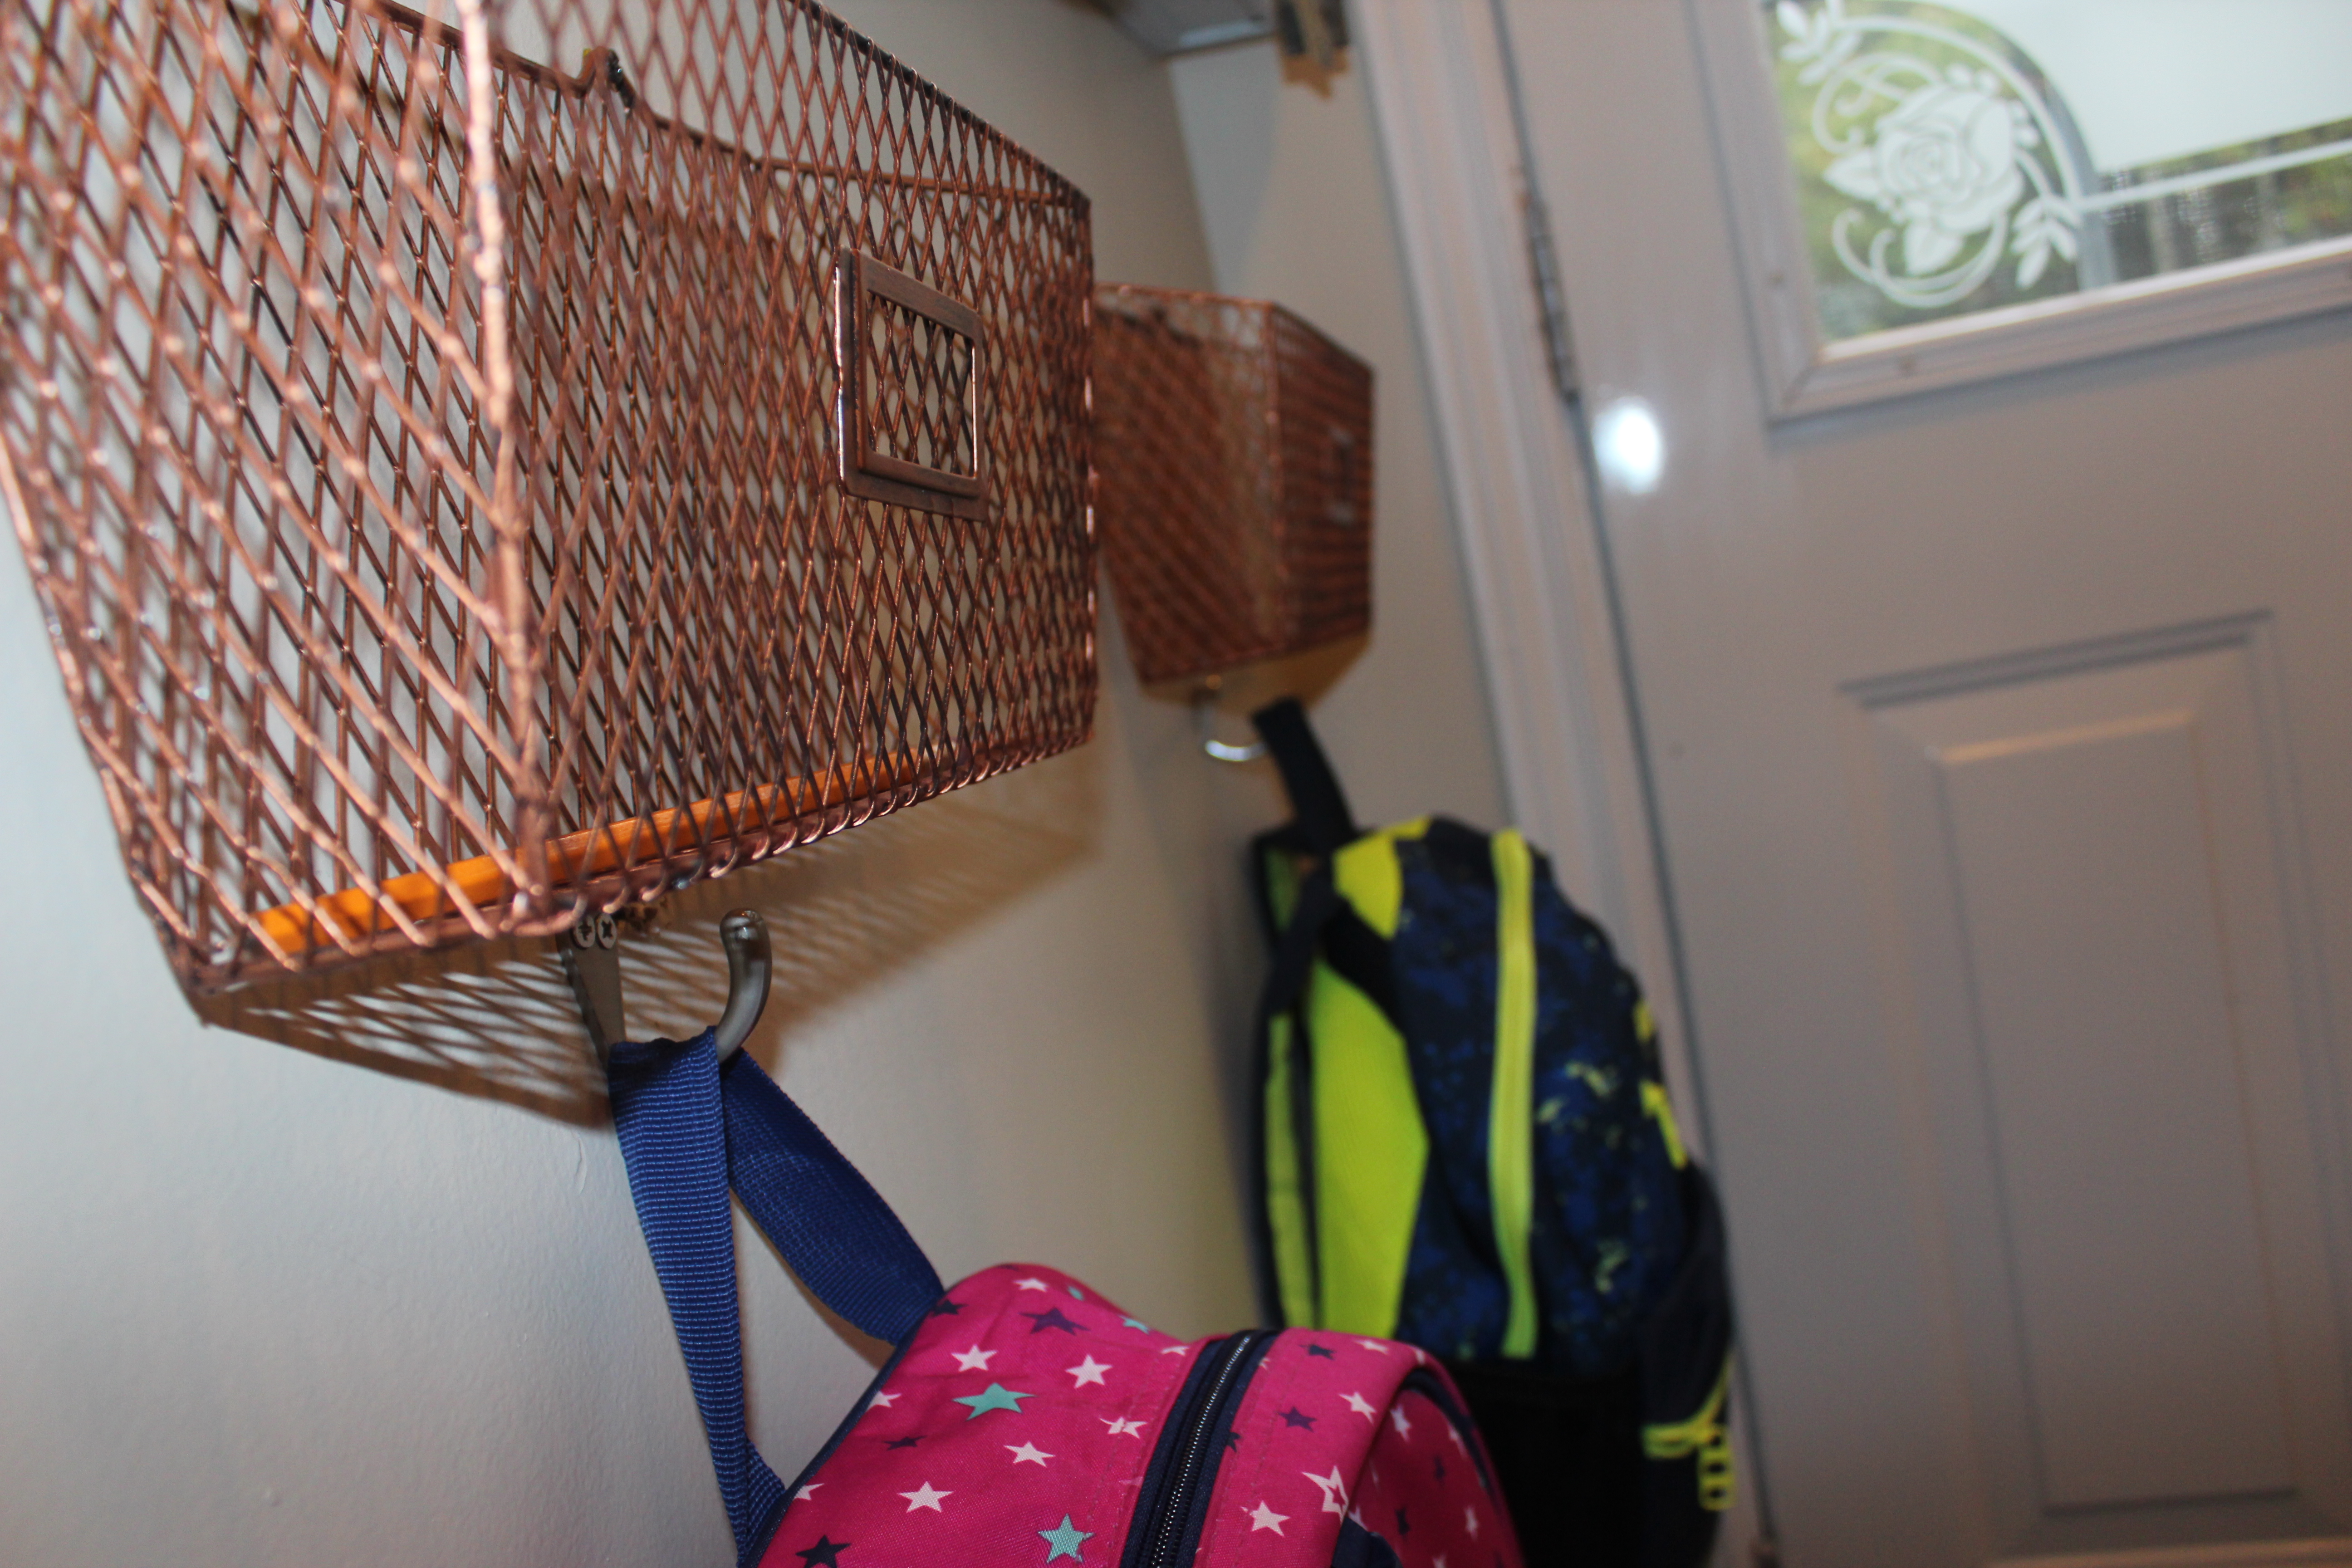
The opposite side of the bench is where I find the biggest change came. This kid drop off zone is just what we needed with both children now in school. They have their jobs as they walk in the door to empty their school bags, hang them up on the hooks under the file bins and place all school papers in the bin so I can go through later in the evening. (They also put their lunch boxes on the island for me to empty) This has helped them so much in the responsibility department.
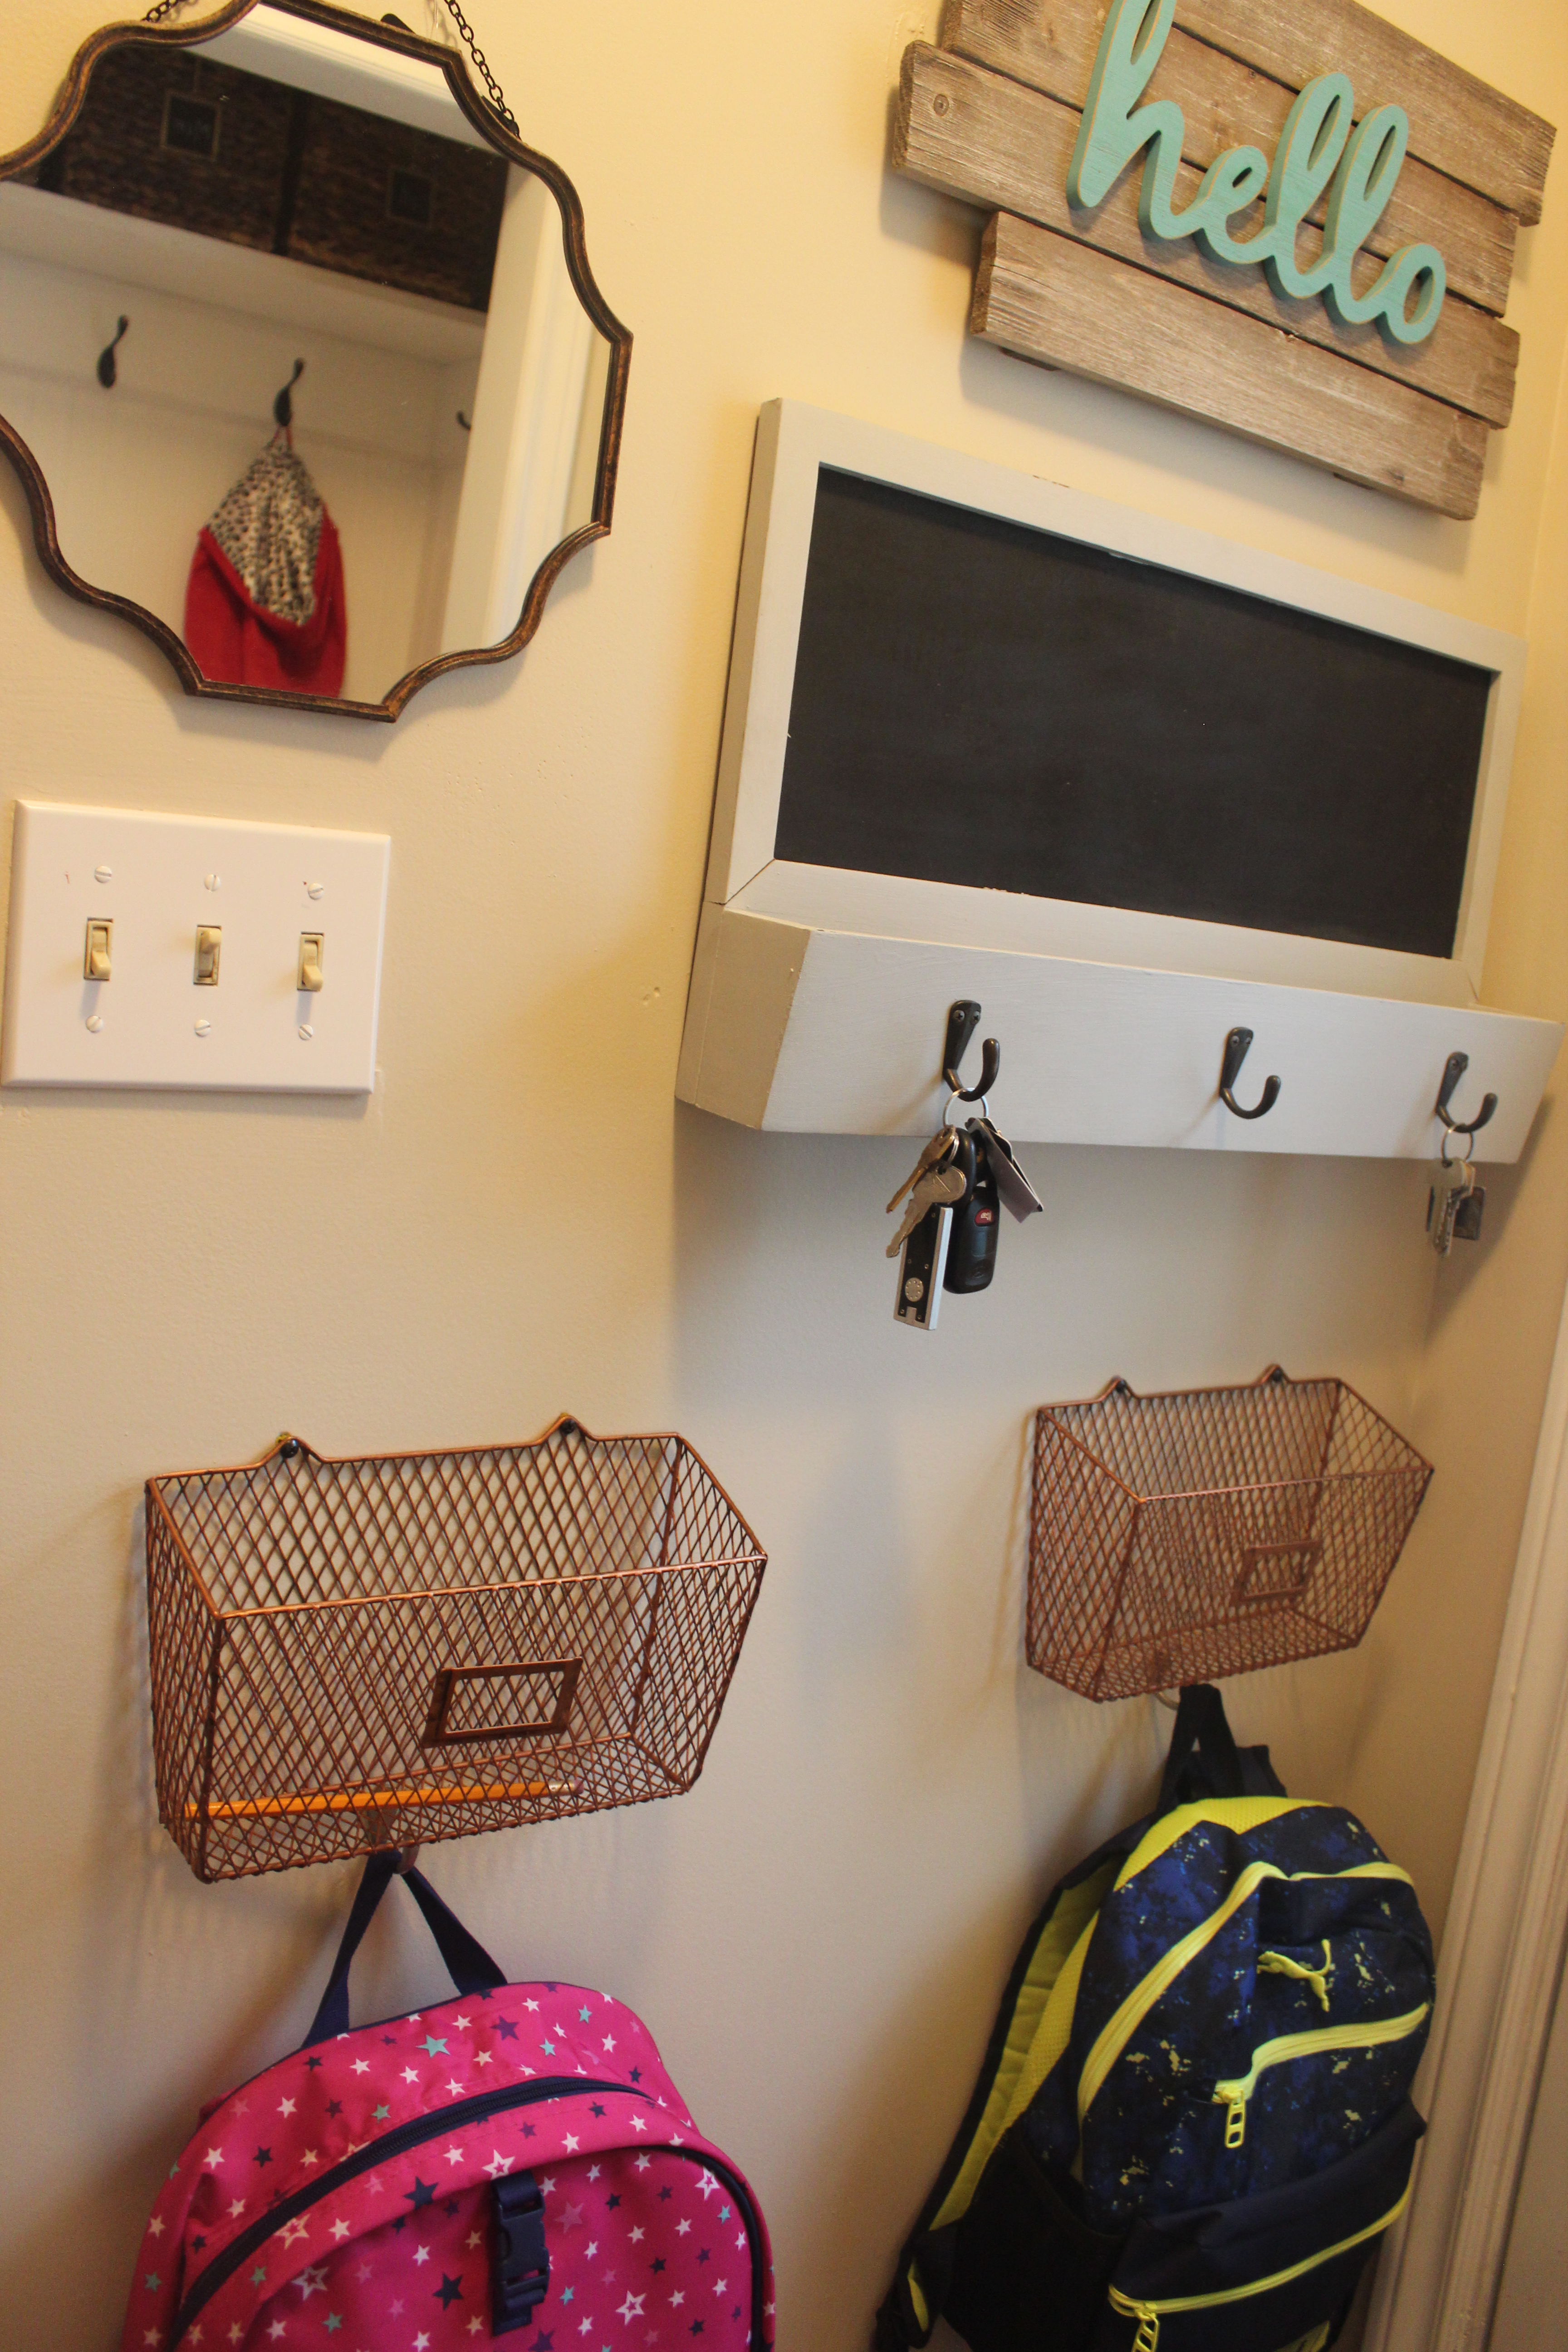
Now I am just going to show you some additional photos, keep reading to the end to see if I stayed on budget and how much each new thing cost me.
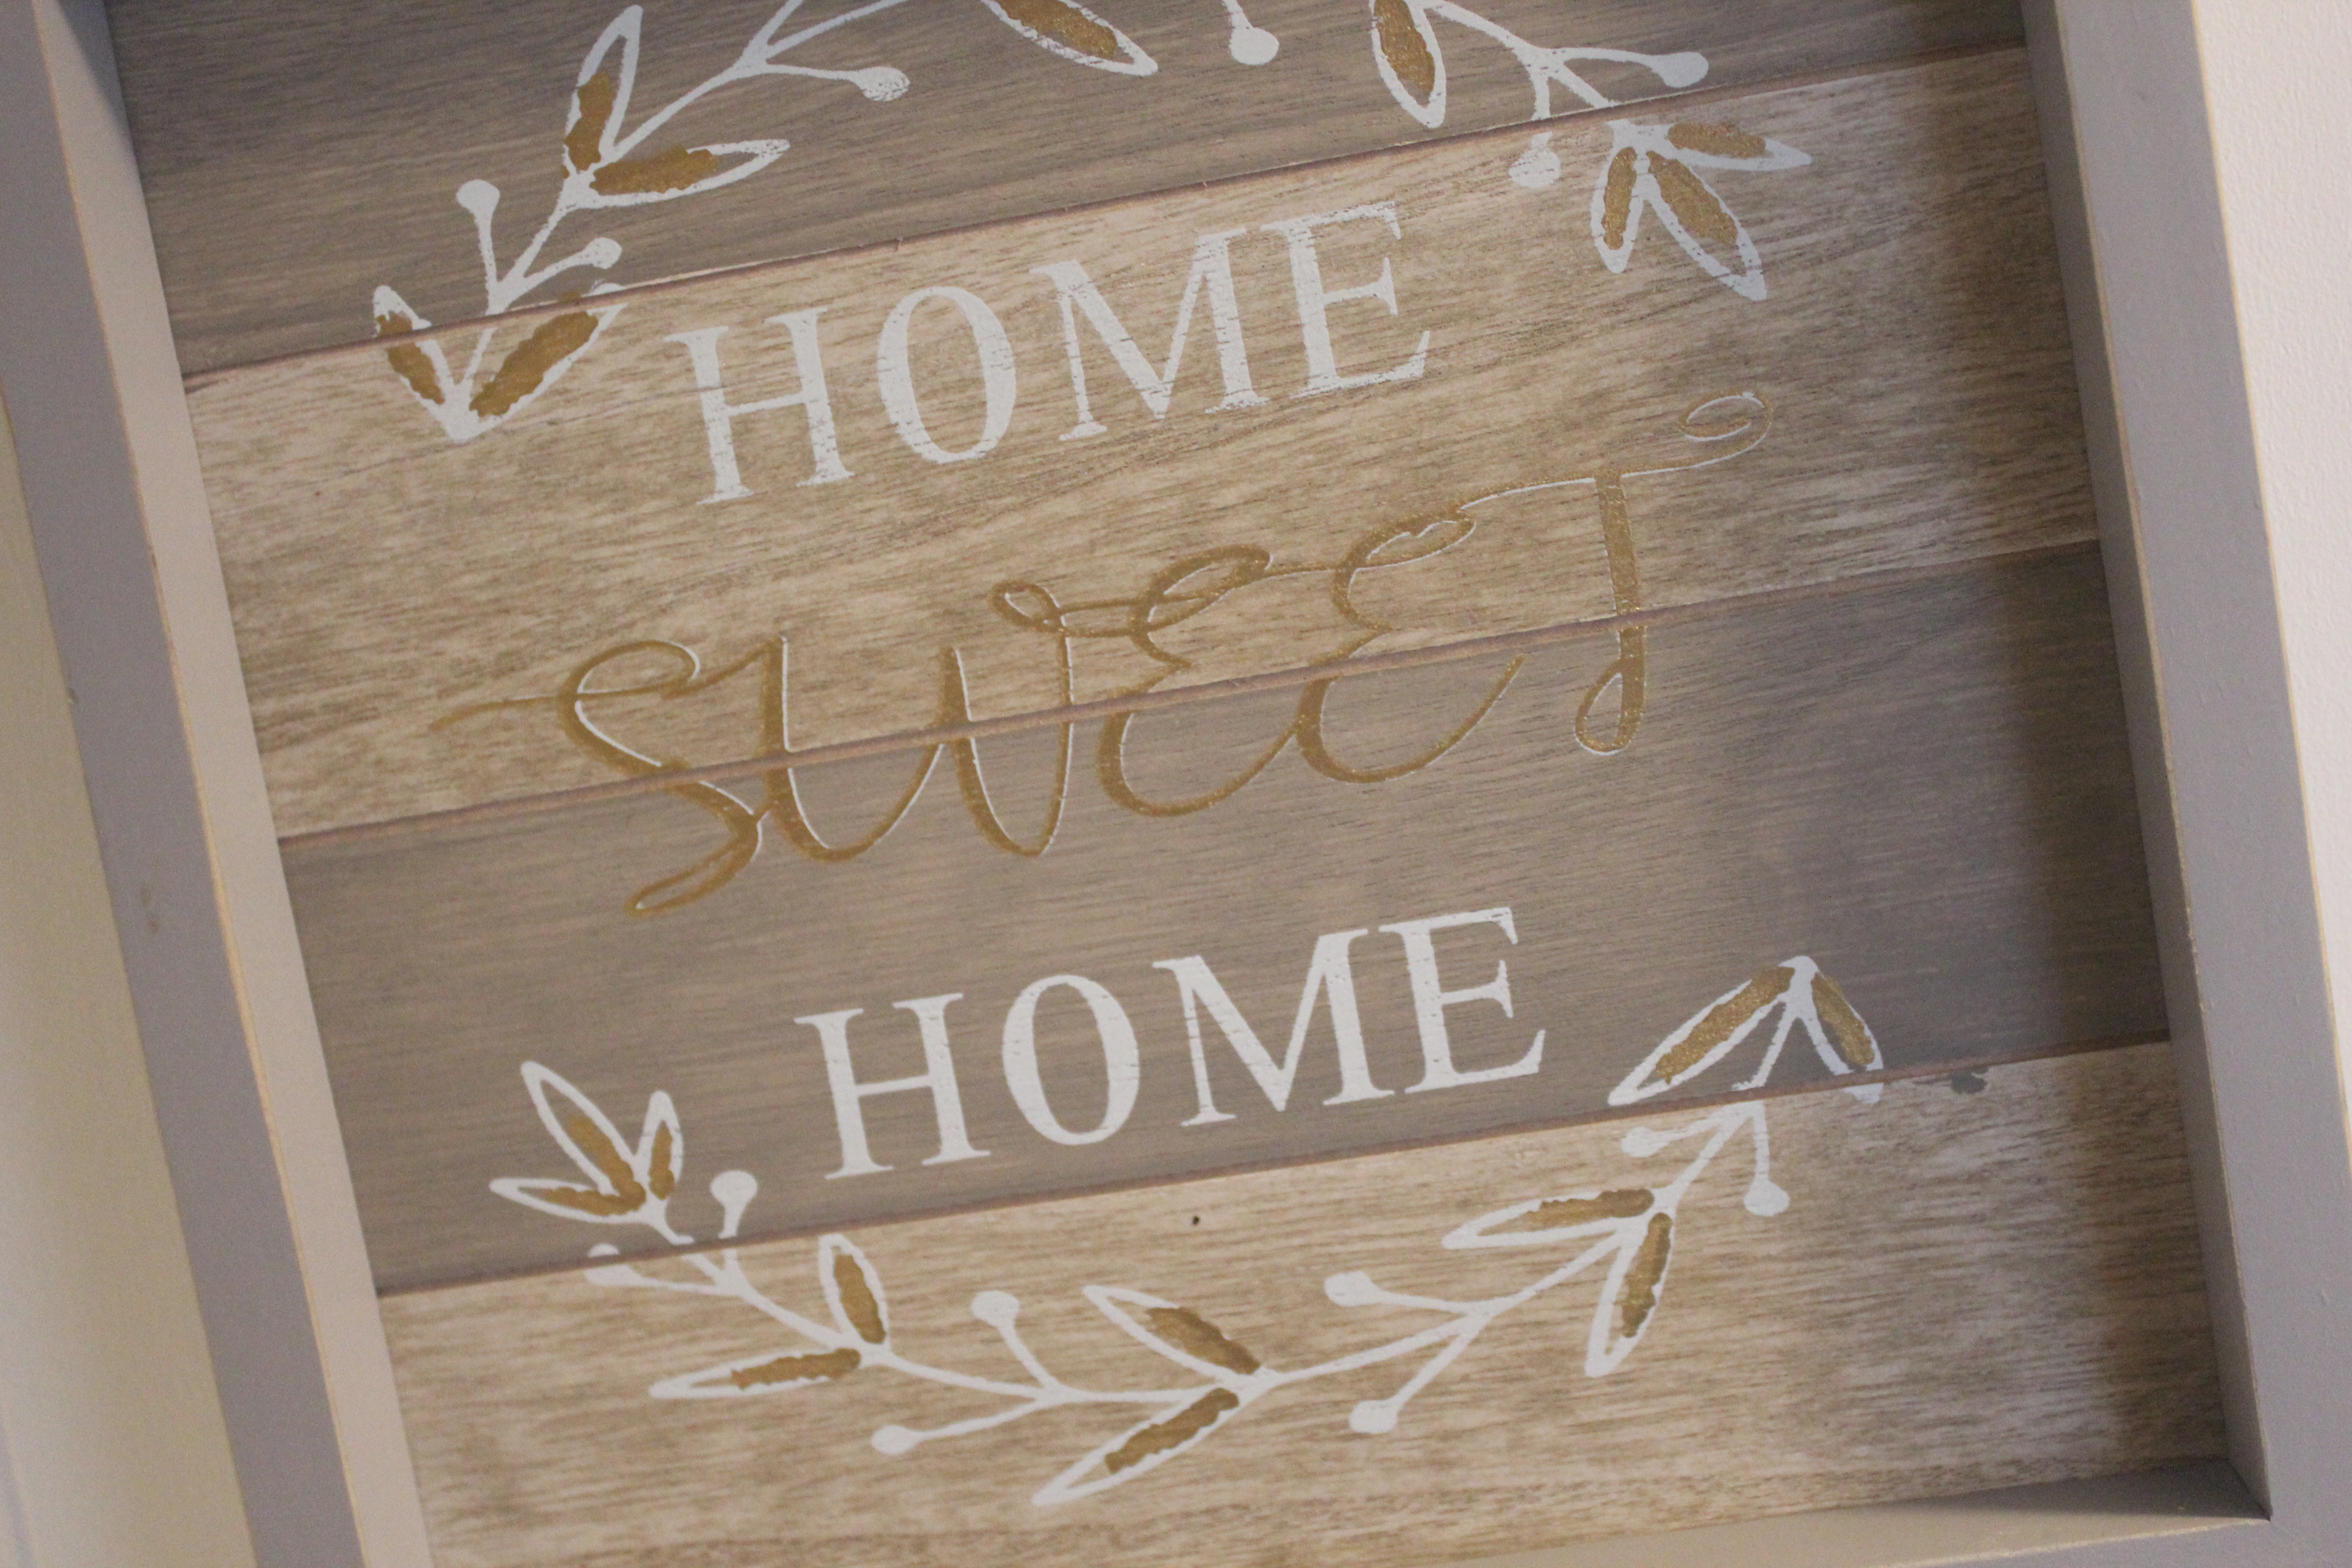
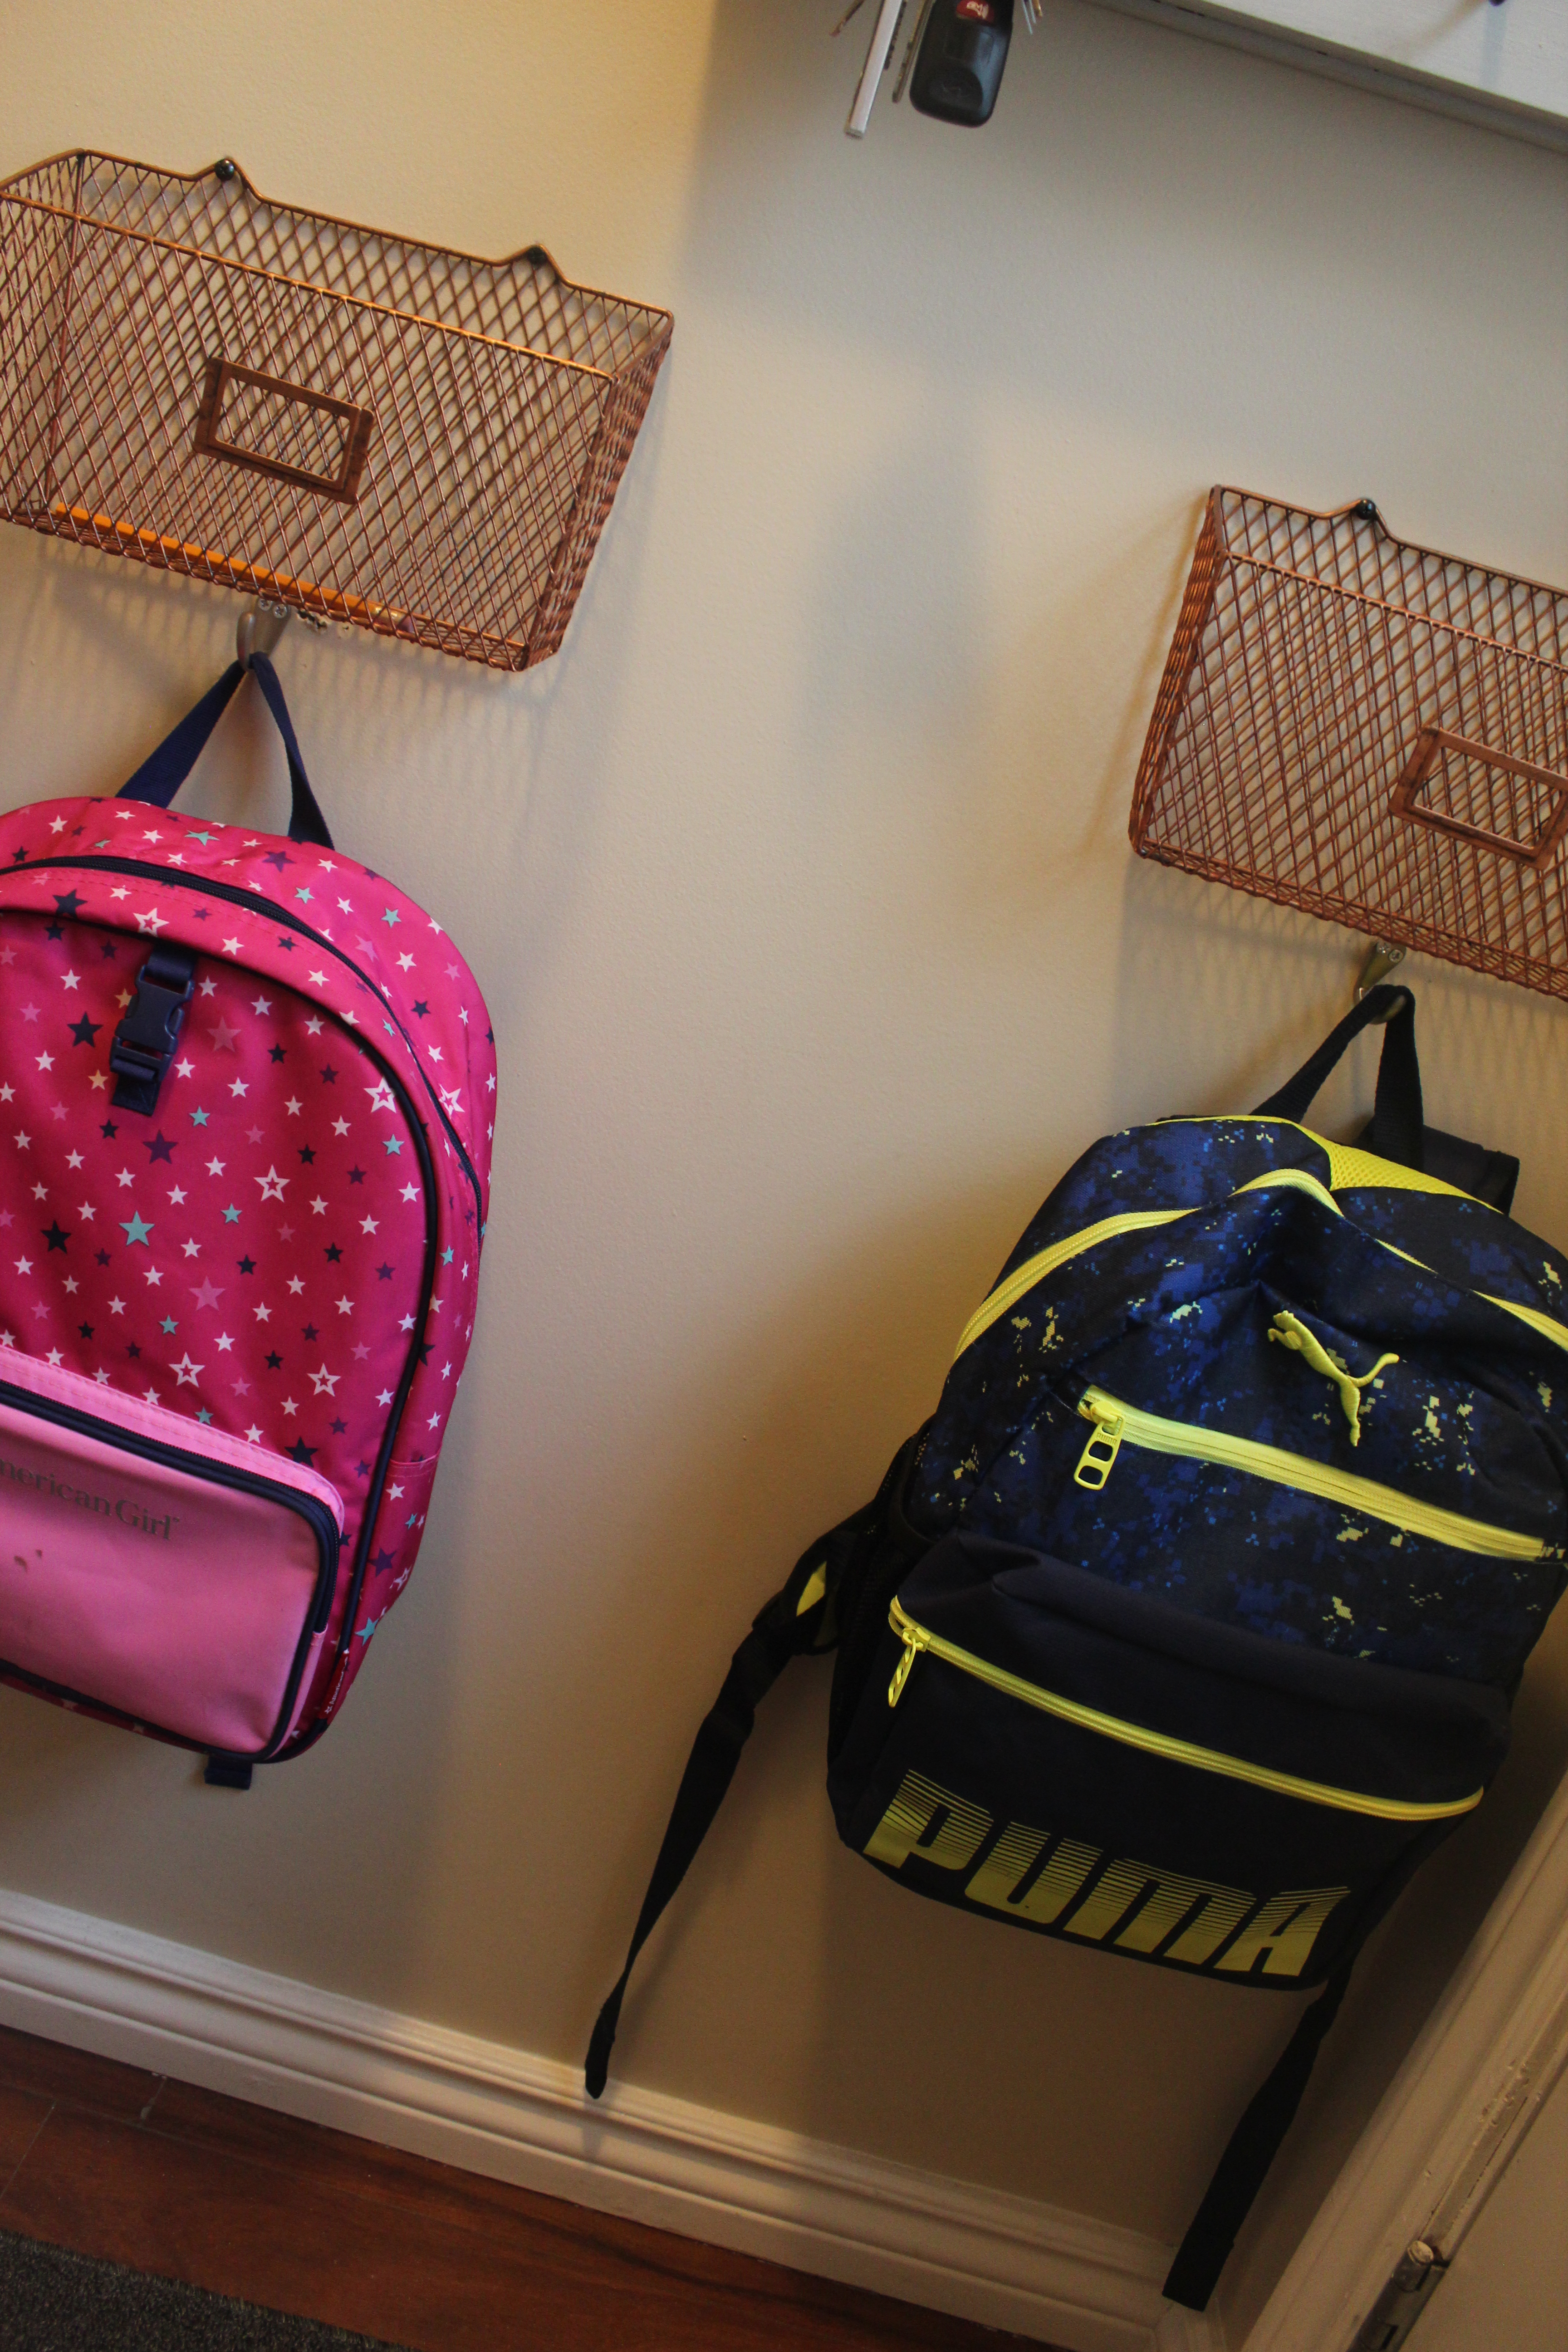
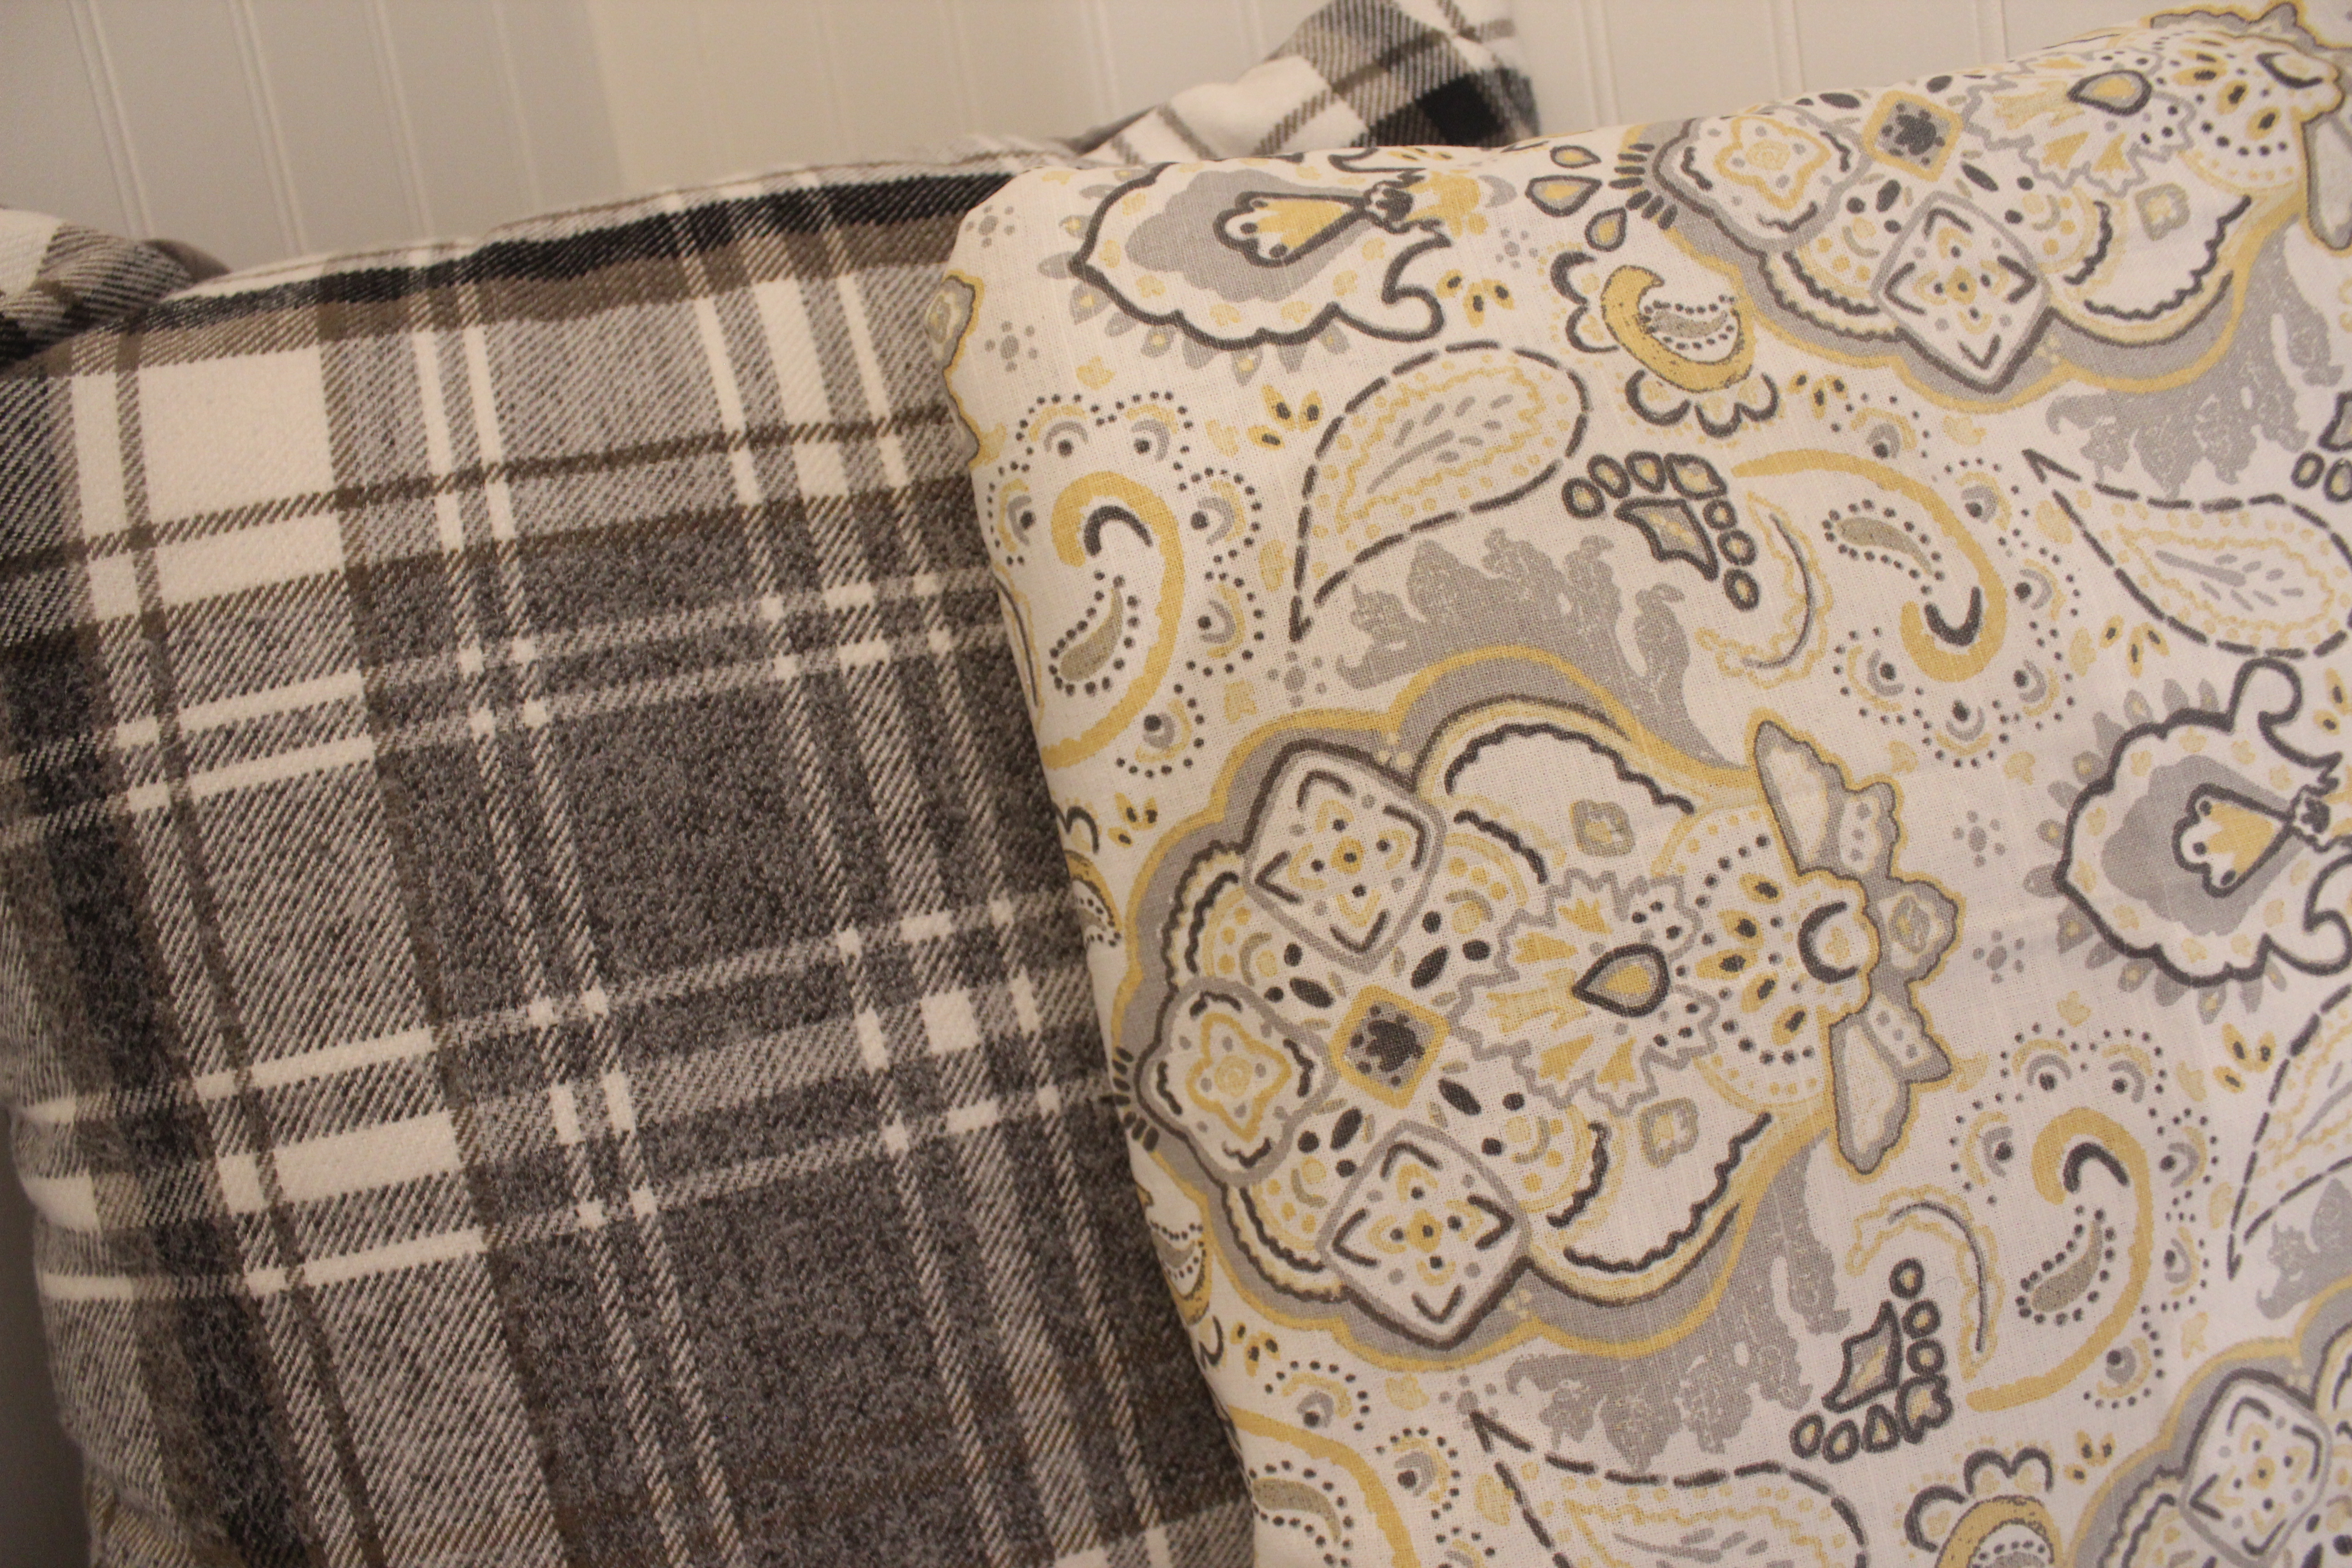
Now the part you have been waiting for, did I make this space over for $100 or less……
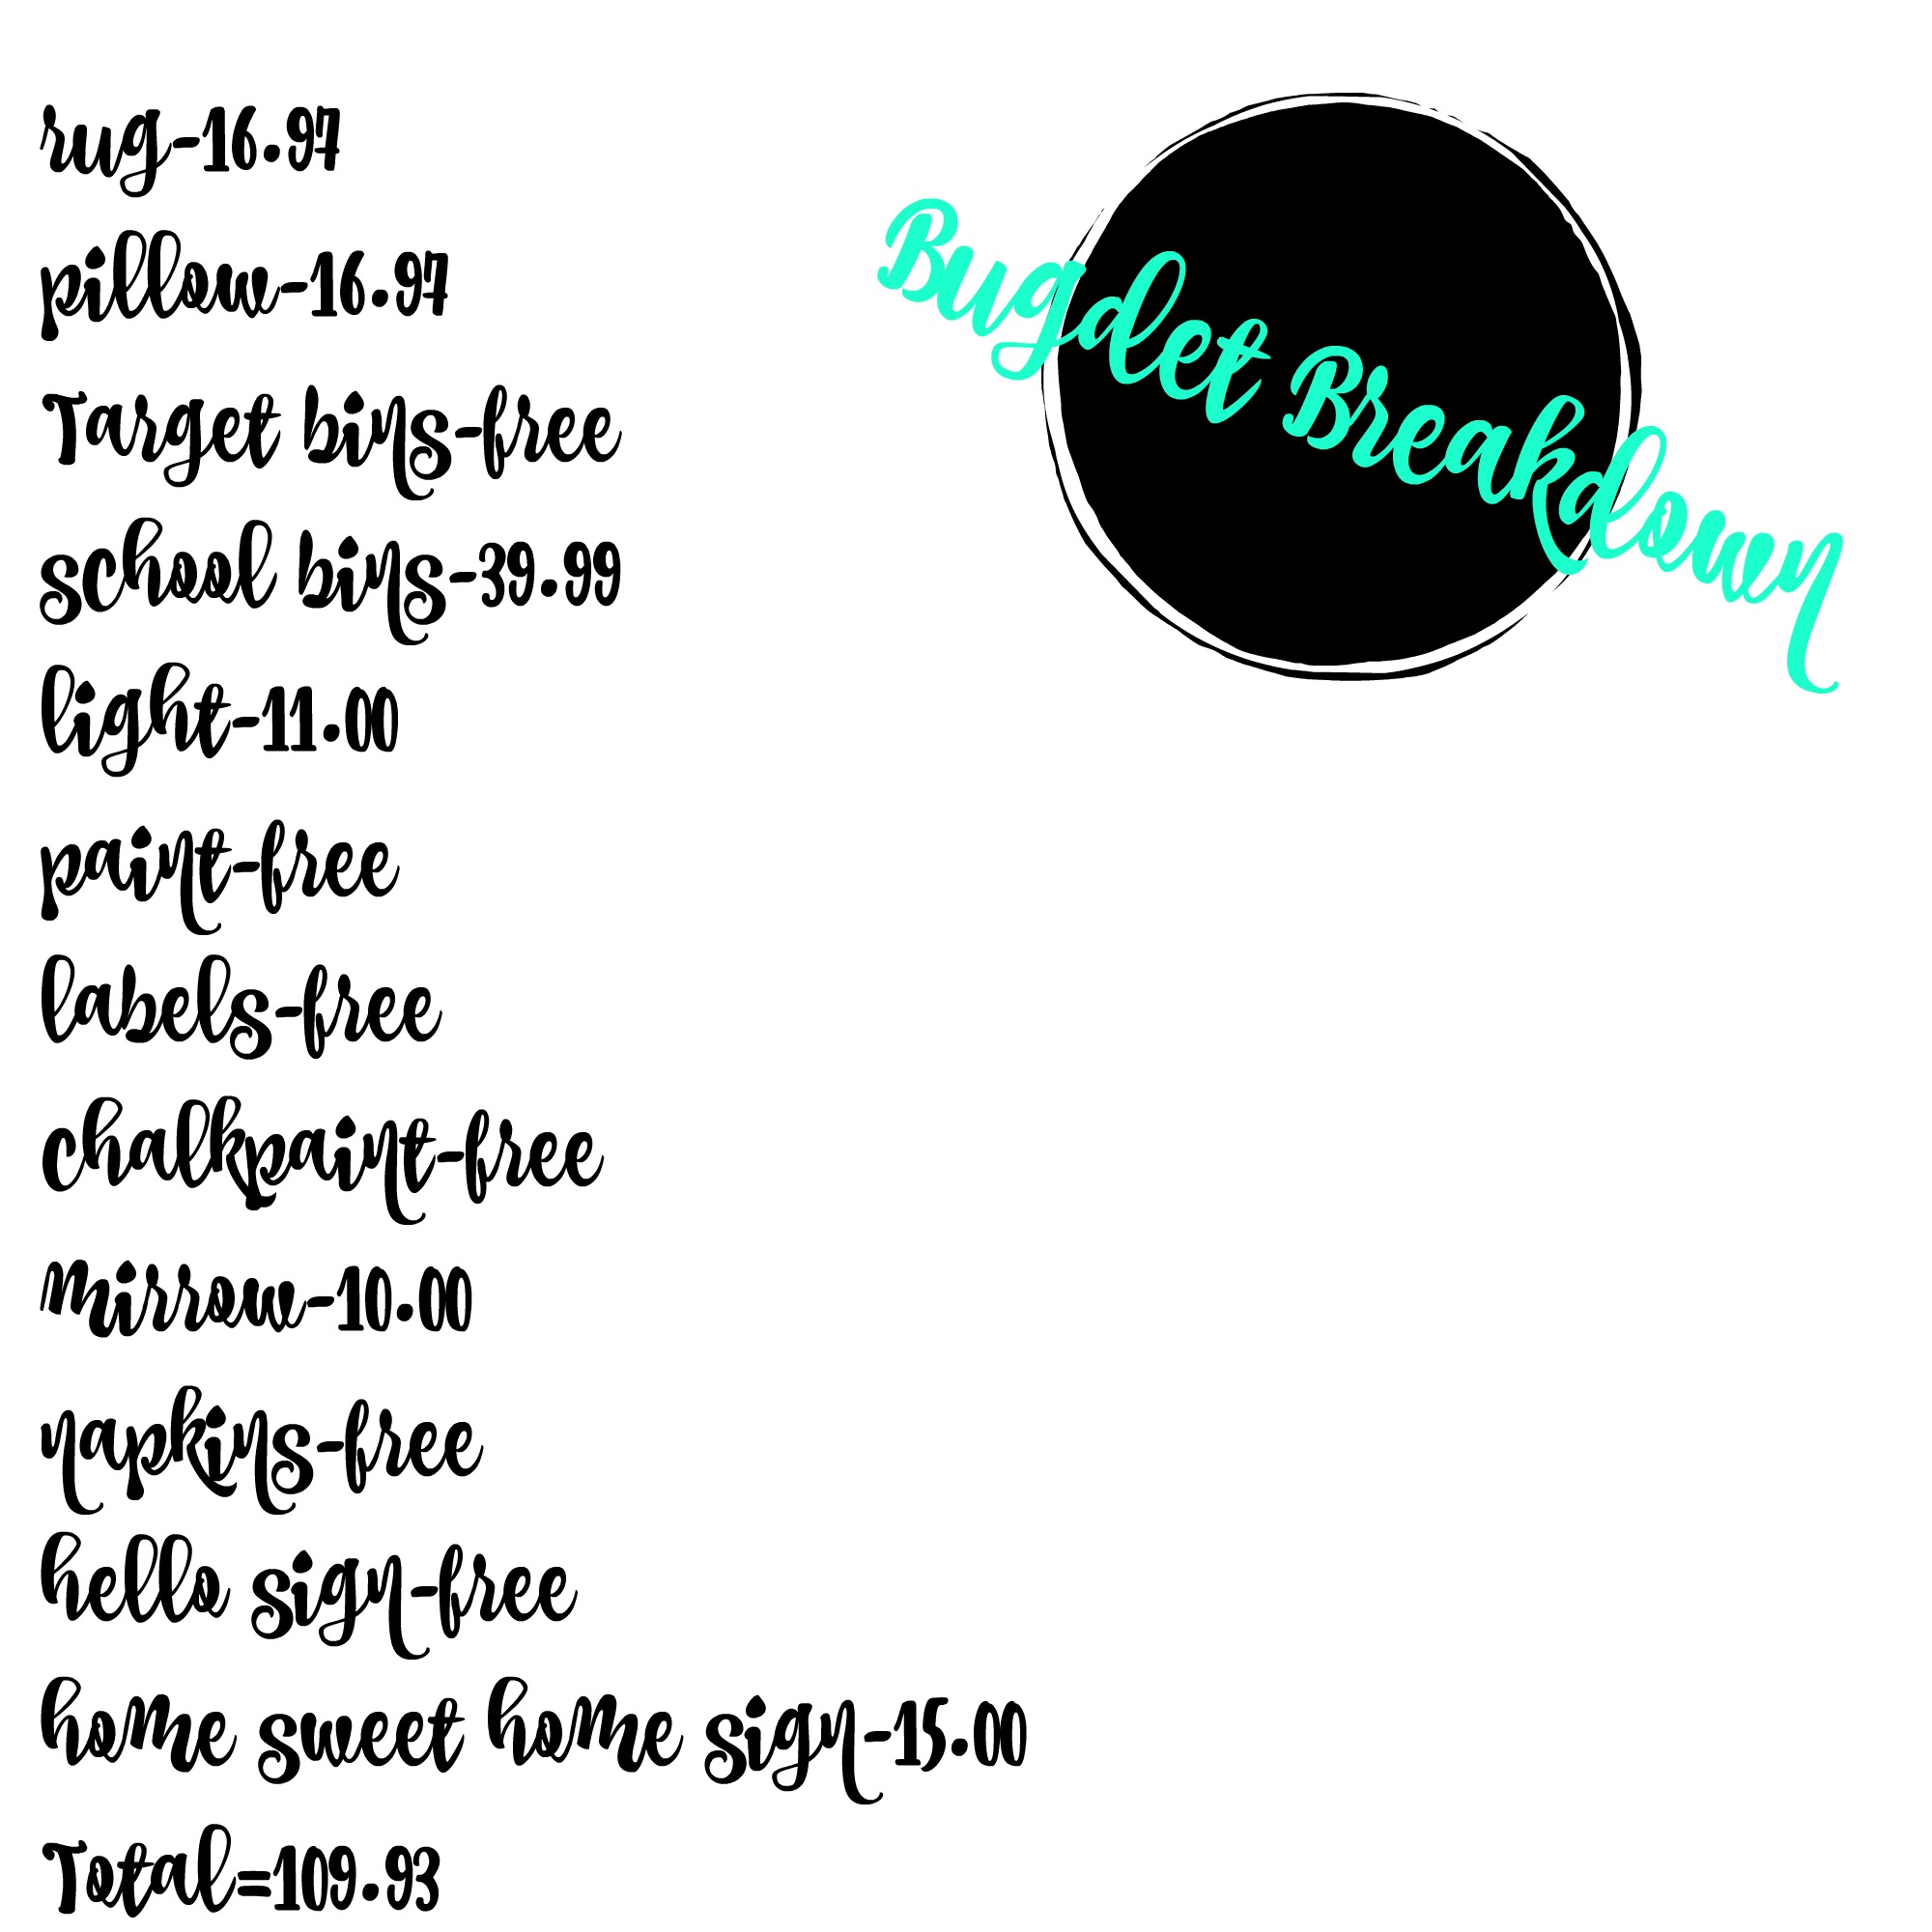
Well, I went over by $9.93 and well if we are making this challenge $100 USD then I actually went under because with the exchange I would have had technically $125…but I really wanted to stick to that $100 and am a little disappointed that I didn’t. What did me in was that dang pillow (which I love and can not live without) but I am happy that I was able to create a calm, peaceful space that I am happy with every time I enter (and that is a good thing considering this is the main door we use to come and go from the home!)
Again, thank you so much for joining me on this adventure. Don’t forget to check out all the other wonder participants!!
If your on pinterest don’t forget to pin me!!

Take Care and we’ll see you soon….


Great job. It looks way better!
Thank you. I am really happy with how it all turned out!
It looks lovely!
Thank you Reg. I am happy with how it turned out. So much more practical and just with a few changes 🙂