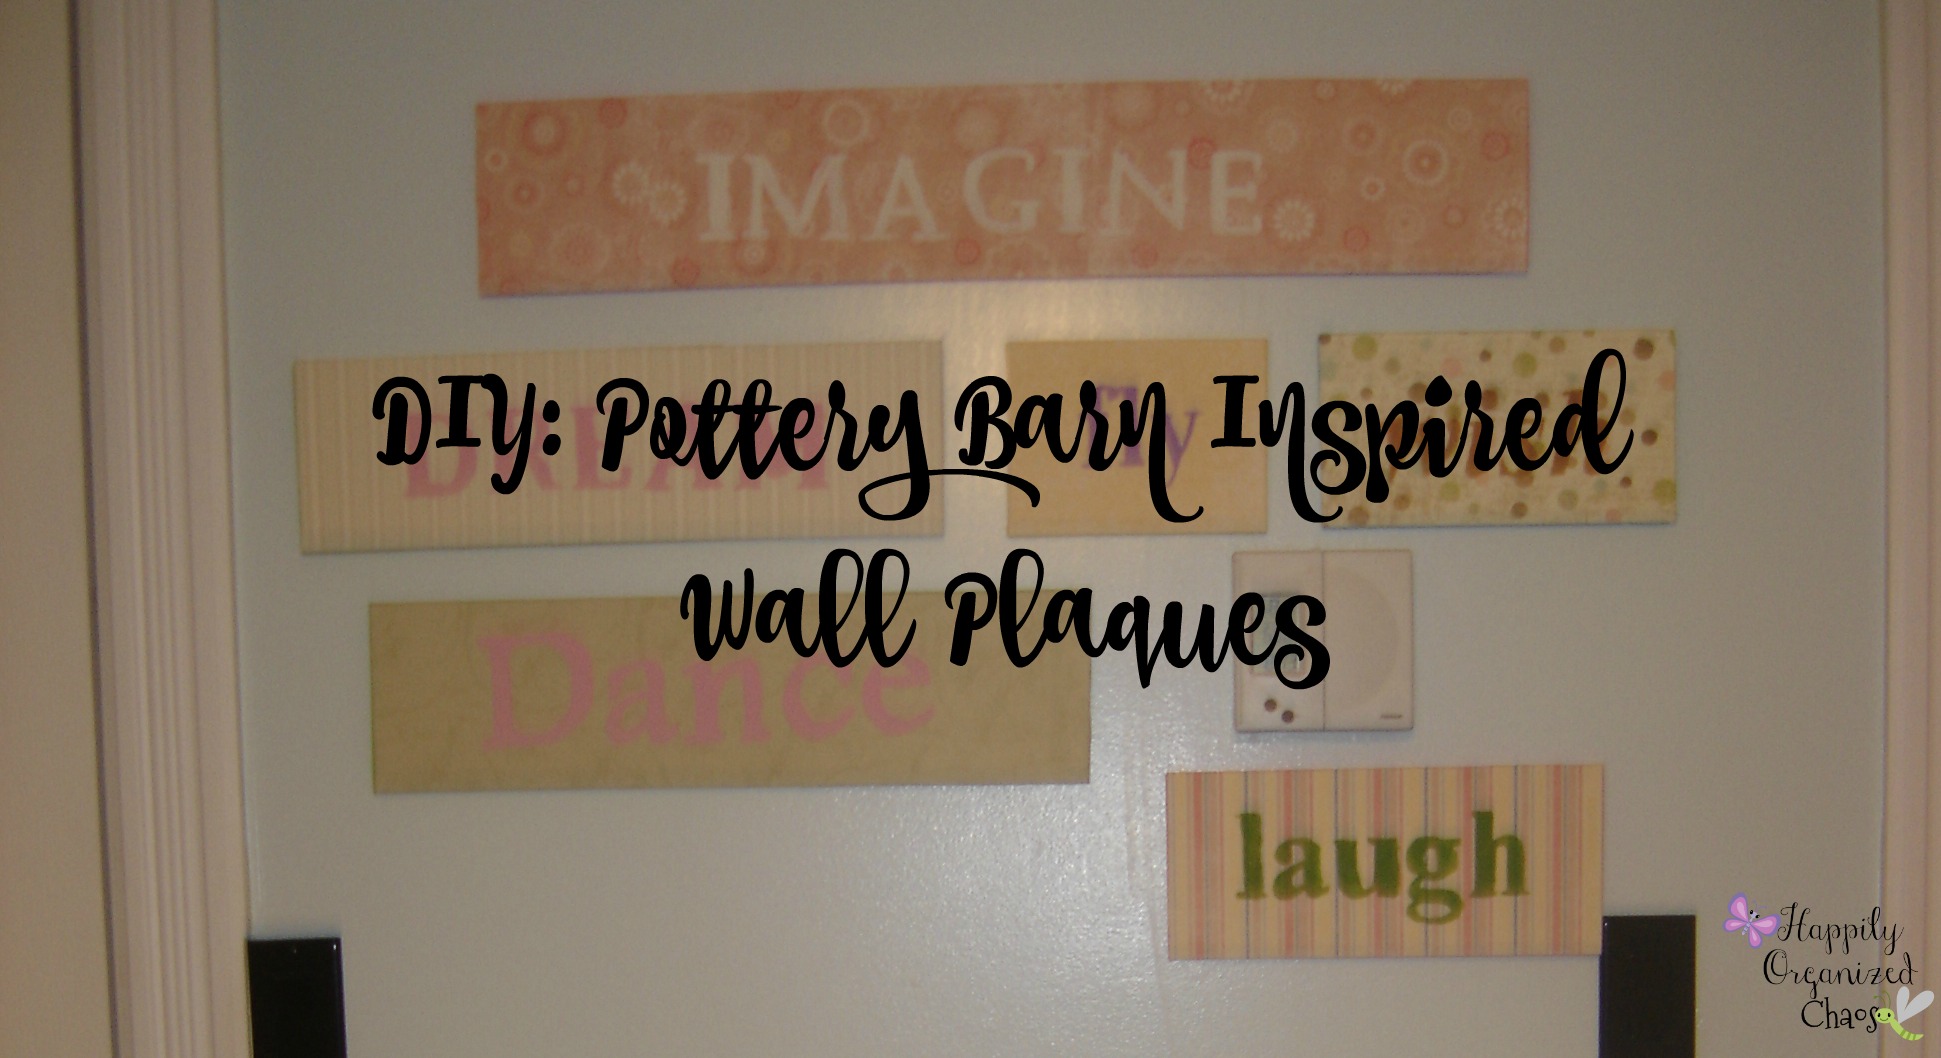
A few days ago I shared pictures of Miss M’s nursery. I simply love that space but am excited to give her room a much needed update to blend with her personality. Until I show you my our game plan for the room, I decided to share a pretty simple, but beautiful DIY that I completed for her nursery.
I love everything Pottery Barn Kids, I am sure there really is not a thing on the website that I wouldn’t want. For the longest time they did not ship to Canada (thank goodness that has since changed) but I just can not stomach the price tag. So when I saw these wall plaques I knew I needed them in the nursery. 
I decided that I could easily make these myself and for a fraction of the price. I started off by going to my local home depot and getting them to cut a piece of pine into 6 various lengths. (The lengths can be determined on your space and the words you decide to put on your plaques).
Supplies you will need
- pine (or wood of your choice)
- coordinating colors/patterns of scrapbook paper
- Mod Podge
- paint
- paint brush
- sandpaper
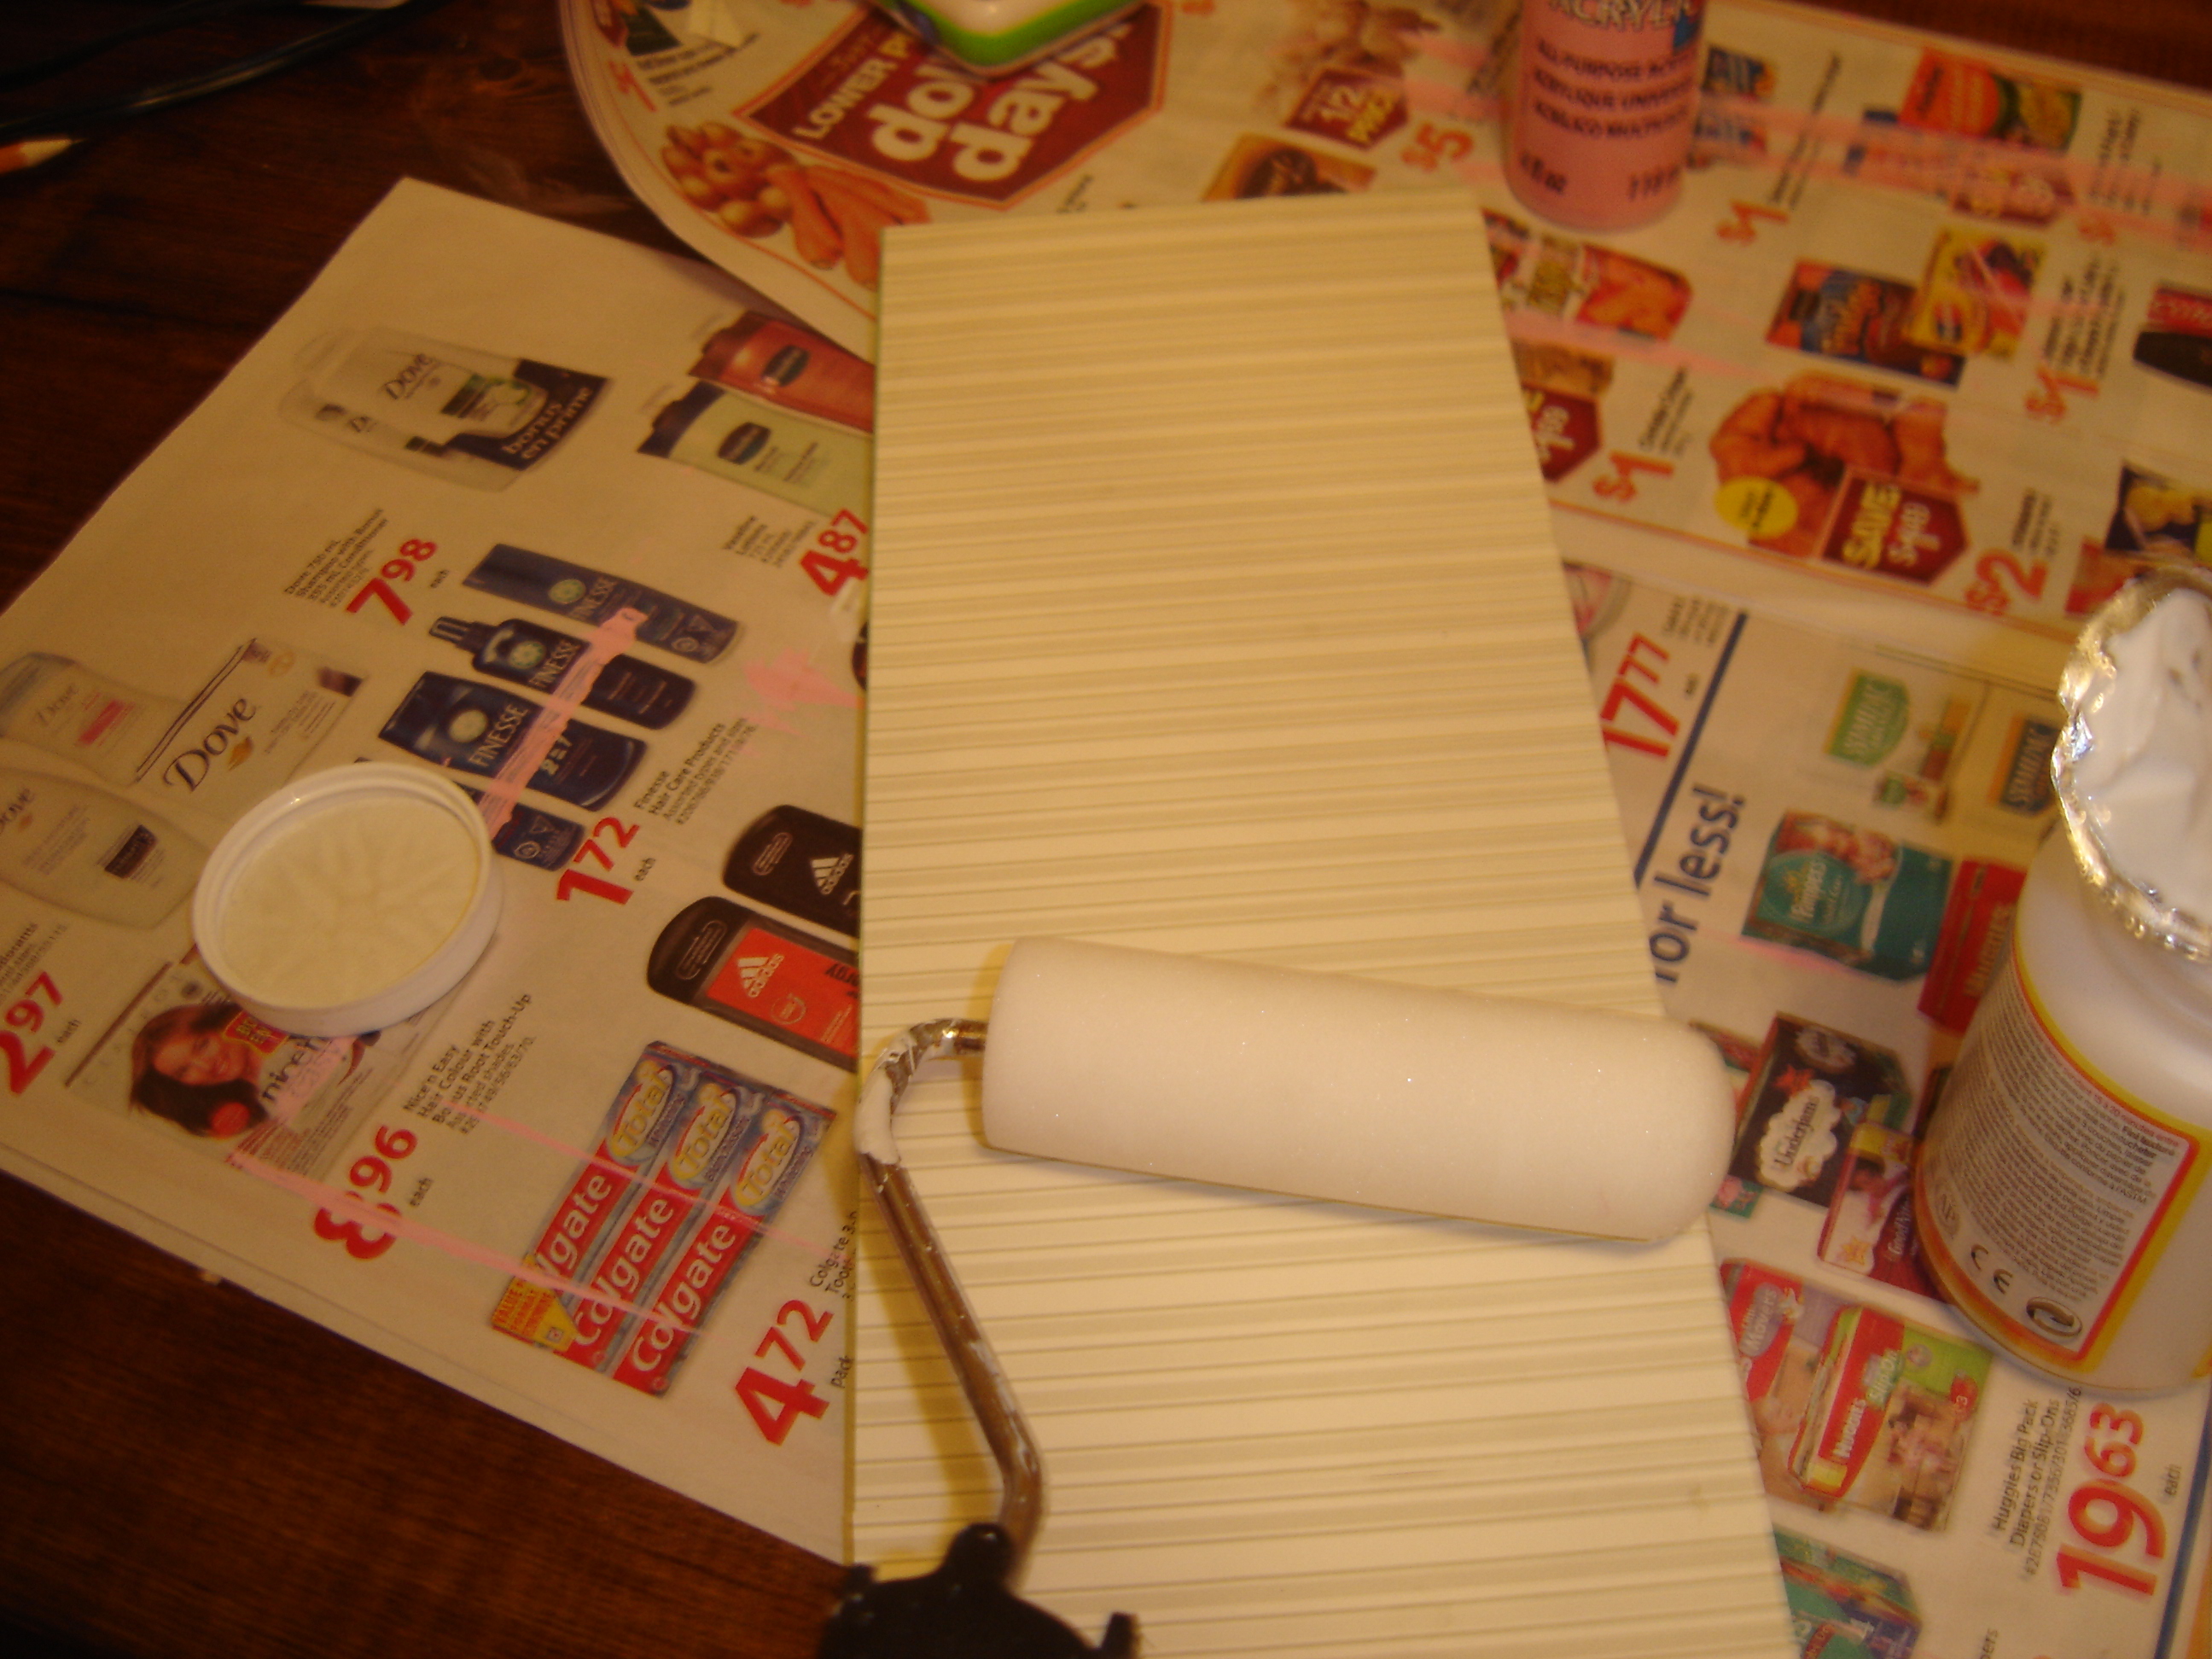
- foam roller
Then after I got the wood cut and home, I lightly sanding the edges and then started to paint. 
After each board was painted and dried, I then laid out the scrapbook paper and cut it to size. After it was cut and laid out onto the wood, I applied some Mod Podge and started to apply.

I waited for the modge podge to dry 24 hours before I started to paint on the words.
Now as far as painting on the words, you can free hand this if you want but I am not the best painter so I decided to print out the words from Word and then to trace them. When I traced, I made sure to press really hard down and therefore the imprint of the letters would be left on the wood. Then I went over the imprints with paint and voila you have some beautiful, made with love, DIY PBK wall plaques.
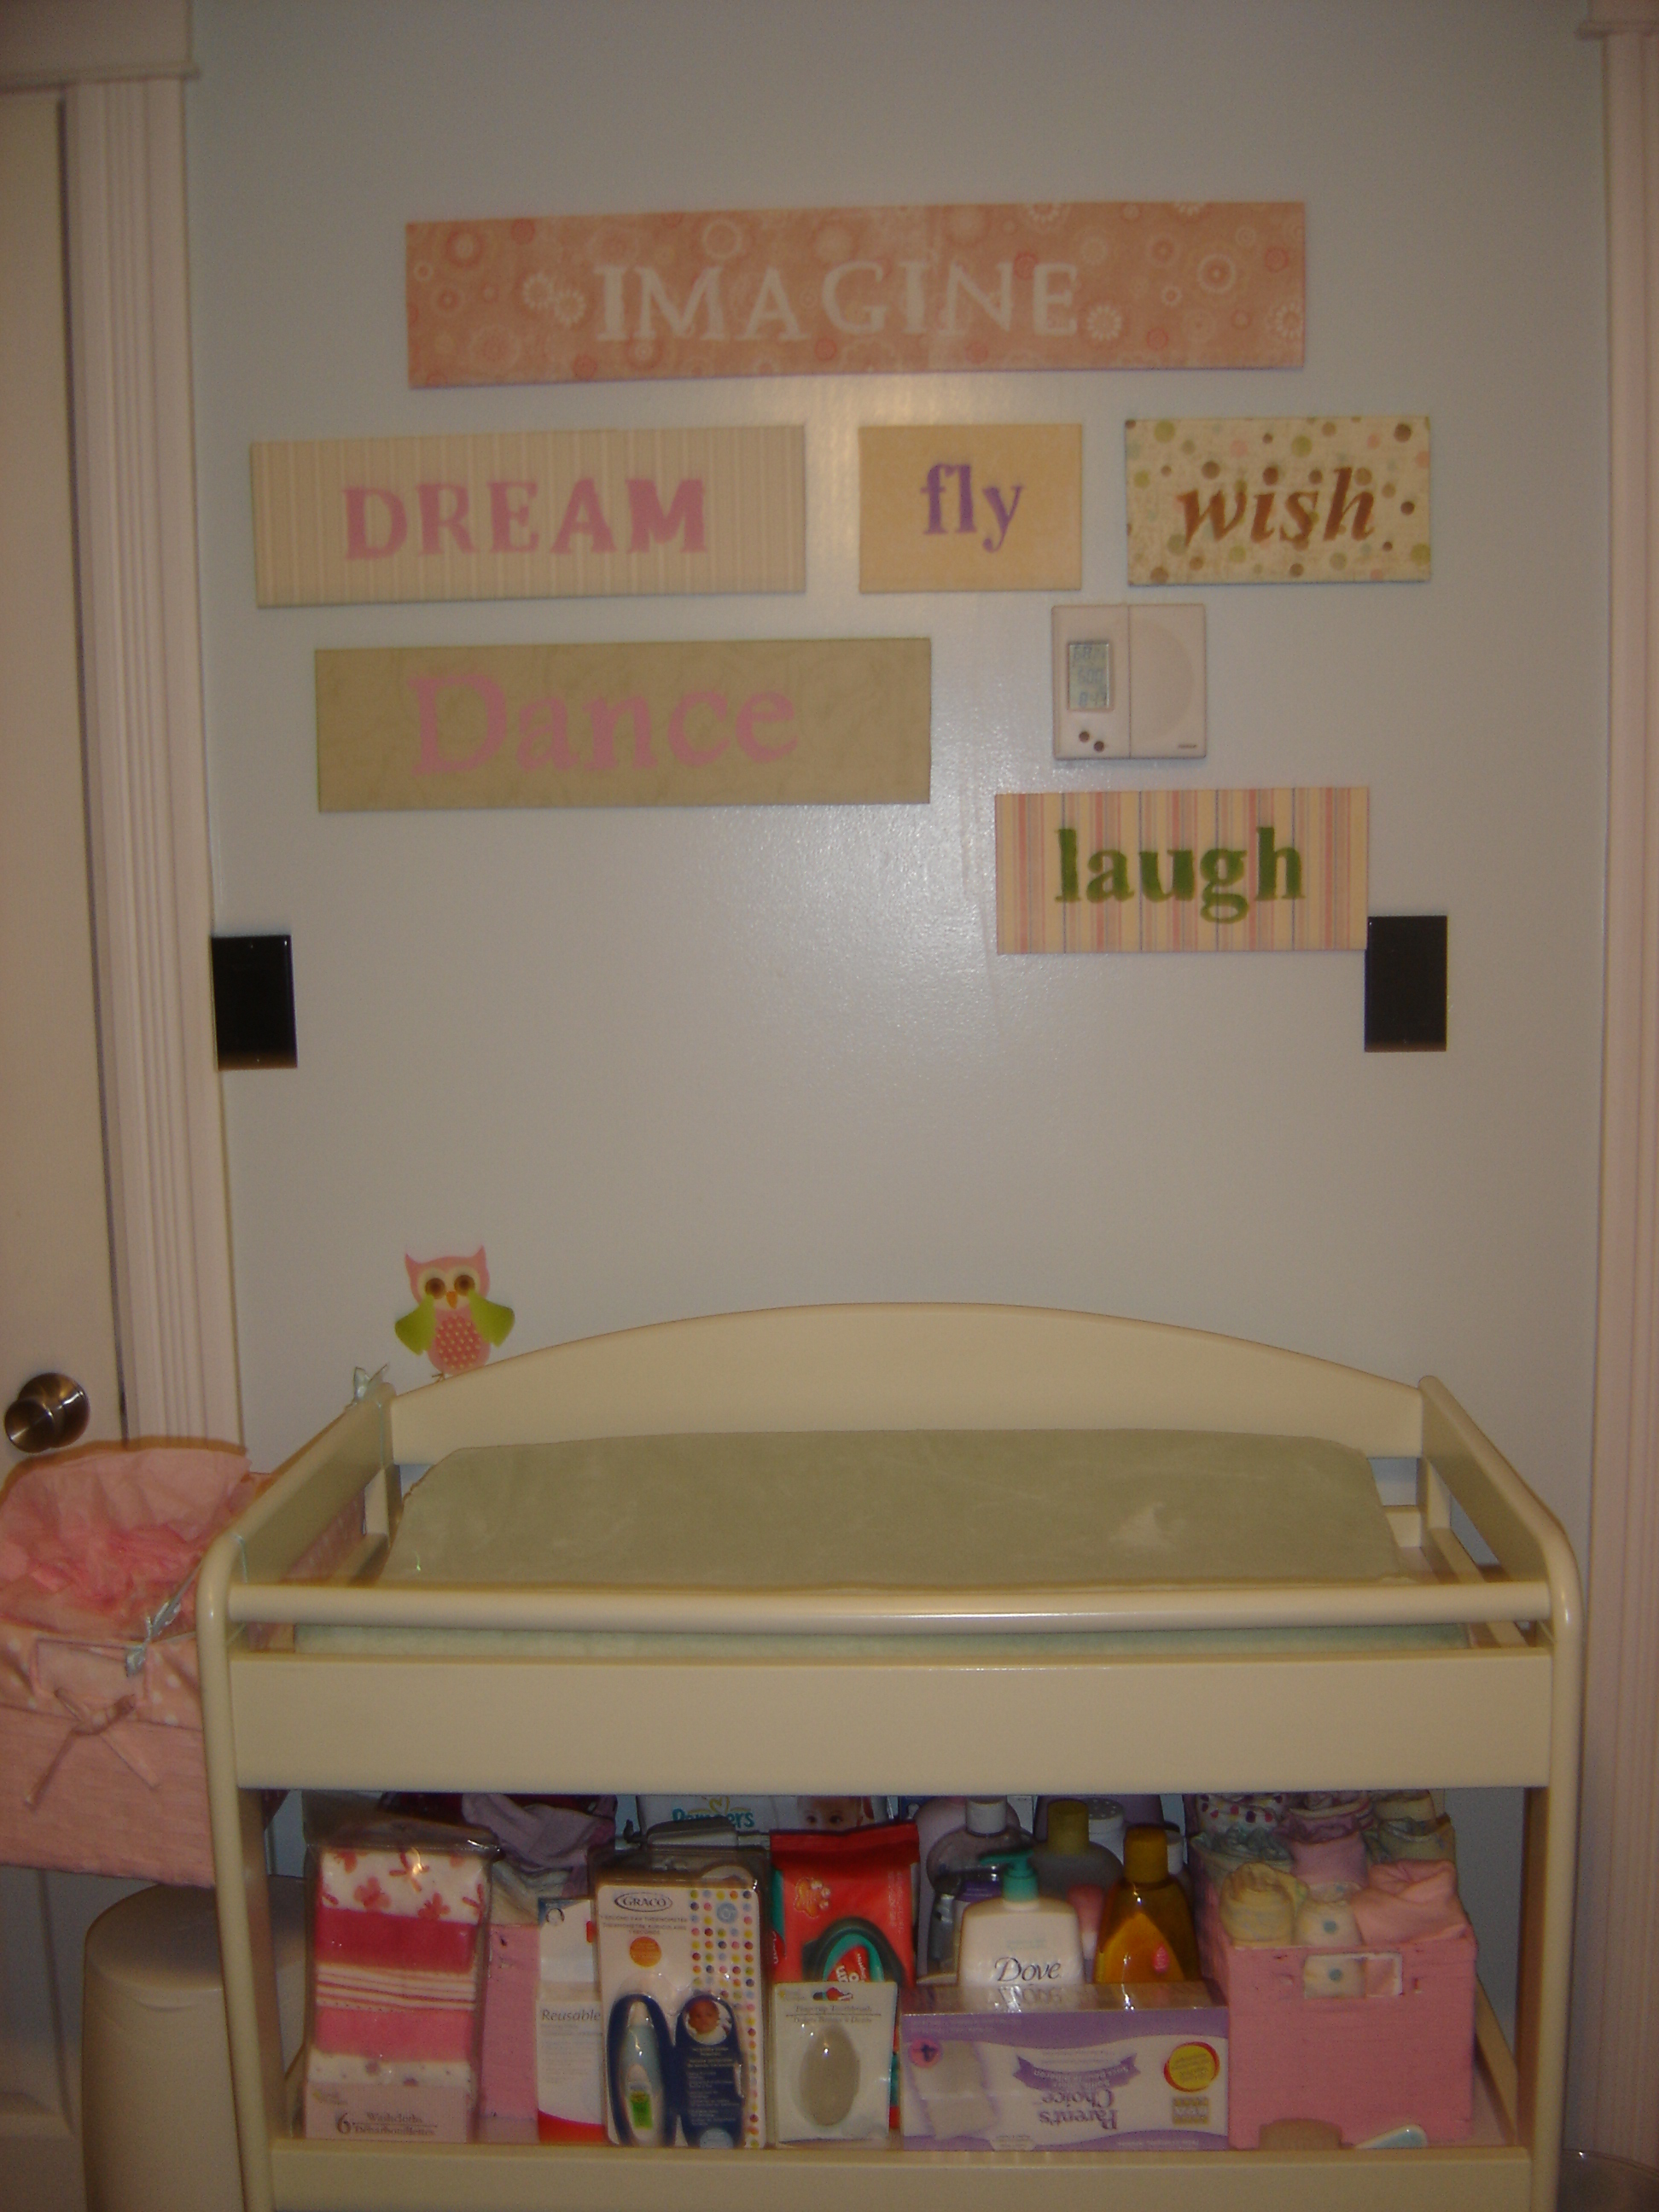
They were the perfect addition for above our change table.
Thanks for stopping by and hope you continue to come back 🙂
xoxo,
Jen
