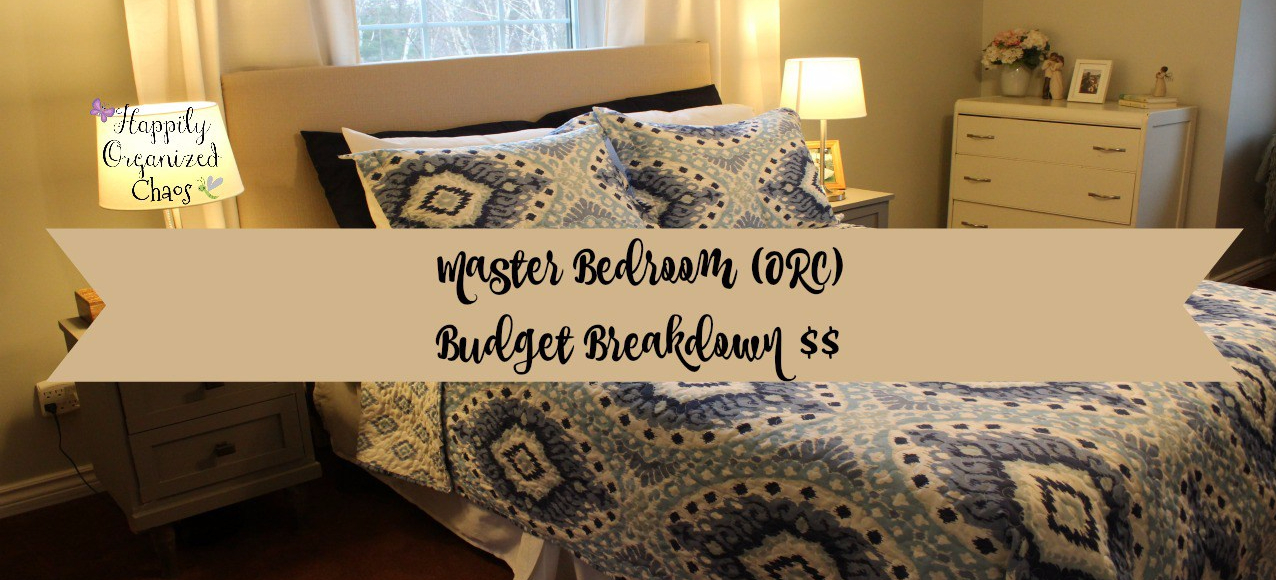
As promised, a few weeks ago, I mentioned that I would do a budget breakdown of our master bedroom from the one room challenge. Honestly, if my life would be more organized, then maybe I would remember where I put those dang reciepts (but what fun would that be) So it took me a while to find them, and guess what?! I finally did!! So here I go on the breakdown on what I spent to complete this (what I consider) major transformation of our master bedroom during the April 2017 One Room Challenge 🙂
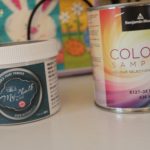
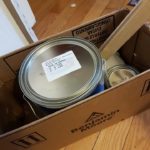
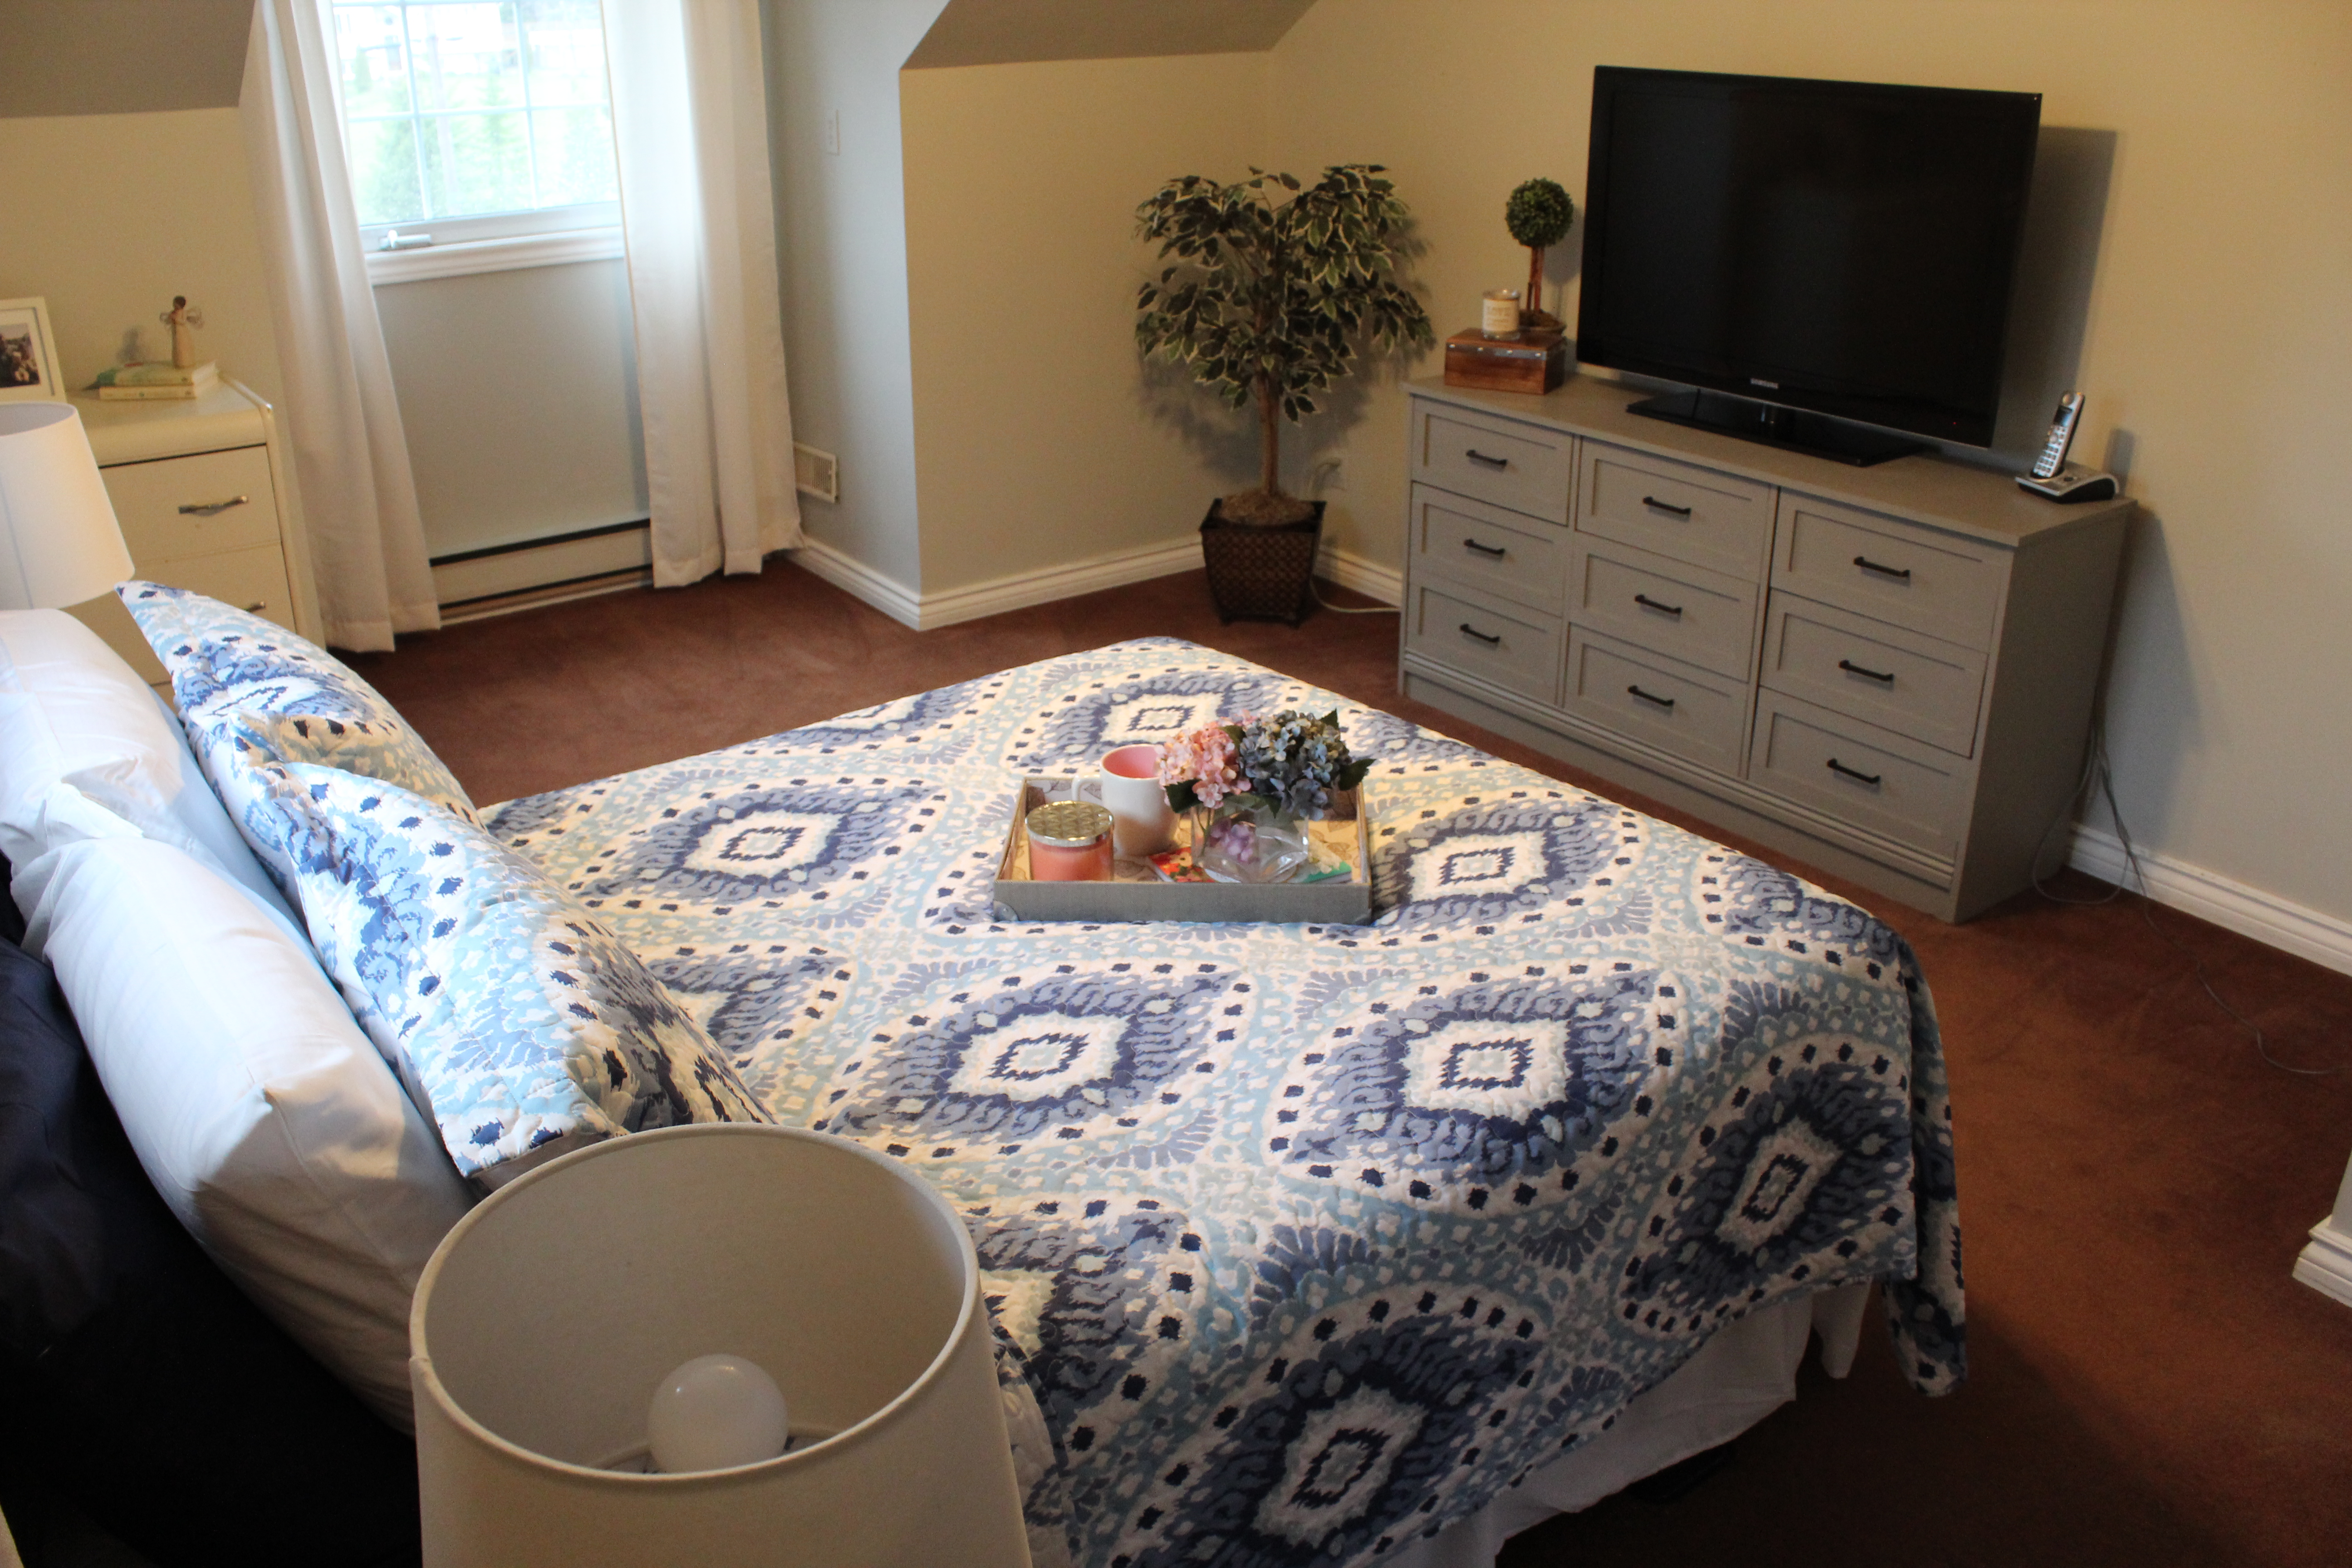
The room started off being this boring beige color that the previous owners had painted. I have no idea what the color was called, and it worked well in the beginning with my bedding but I was ready for something brighter and lighter. I went with my favorite brand of paint, Benjamin Moore and decided on a color that I already had in the house and loved, Grey Owl.
Next I wanted new furniture, but that just wasn’t in the budget. I had to work with what I had and that was this dresser that were 30 years old, 2 night stands that were too short and another cream color dresser (that I actually really liked as it was).
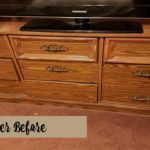
A few pieces of wood, a light sanding and some My chalk paint, Benjamin Moore’s Chelsea Grey and some chalk paint wax and BAM! You have what looks like new furniture and looks so nice against the light color walls.


(Side note, I purchased this wax brush from Michael’s for $20 and it was a complete waste of money! The bristols came off as soon as I used it in one stroke!)
You may also notice that the end tables have some nice, simple new lamps on them. I scored those at Wal-Mart (again) for only $17.97 a piece (can you say major score!!)
The bed was another thing that we had to work with, one day we will get a king size bed but in the time being we worked with what we had. I bought this new bedding from QE Home/Quilts.
It was on sale for $30. Then I picked up a bed skirt from Wal-Mart, along with 4 pillowcases (2 solid white and 2 solid navy) Those were pretty inexpensive, each were only $10.97 for the 2 blue and $14.97 for the 2 white. The headboard was another DIY project that I completed, some foam ($35), fabric ($42) and a free headboard I found on the side of the road. Voila, a new bed!!
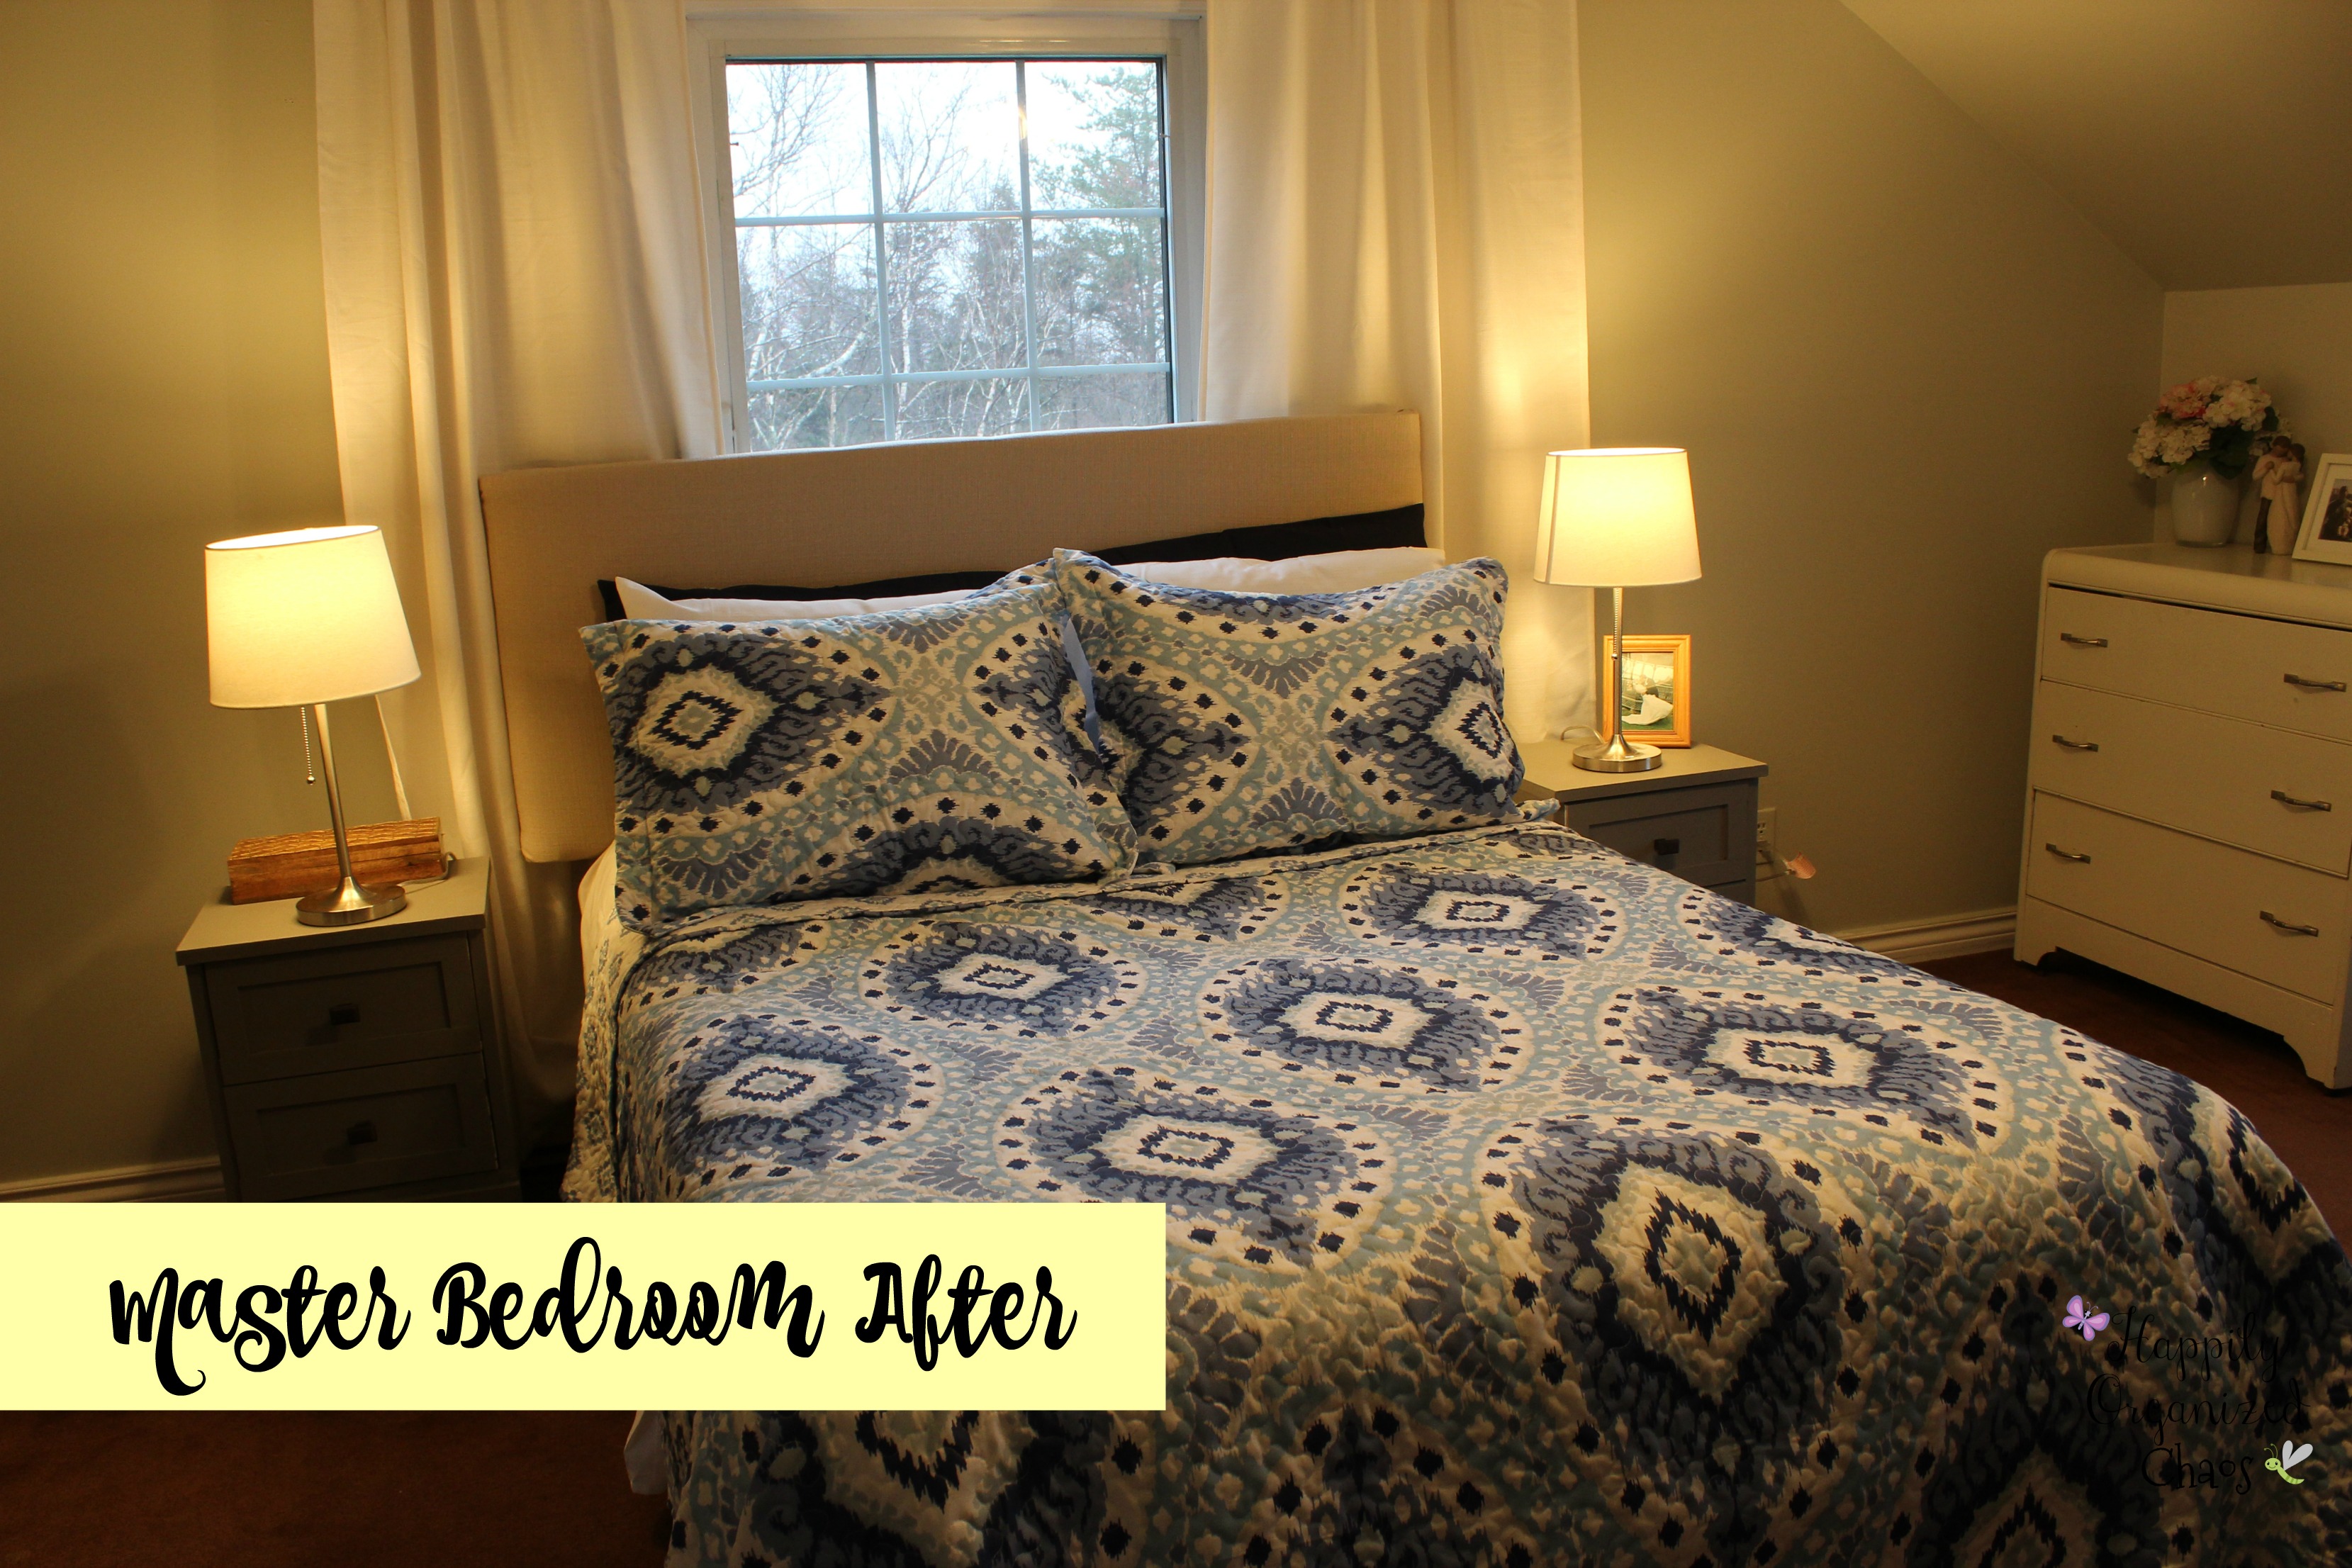
The drapery was another score from Wal-Mart (and no this makeover was not sponsored from Wal-Mart, I just happened to find a lot of great deals there) They were just putting out a new line of drapery and I found these, a pair of 2 panels for $24.97!! (Amazing deal if you ask me!)
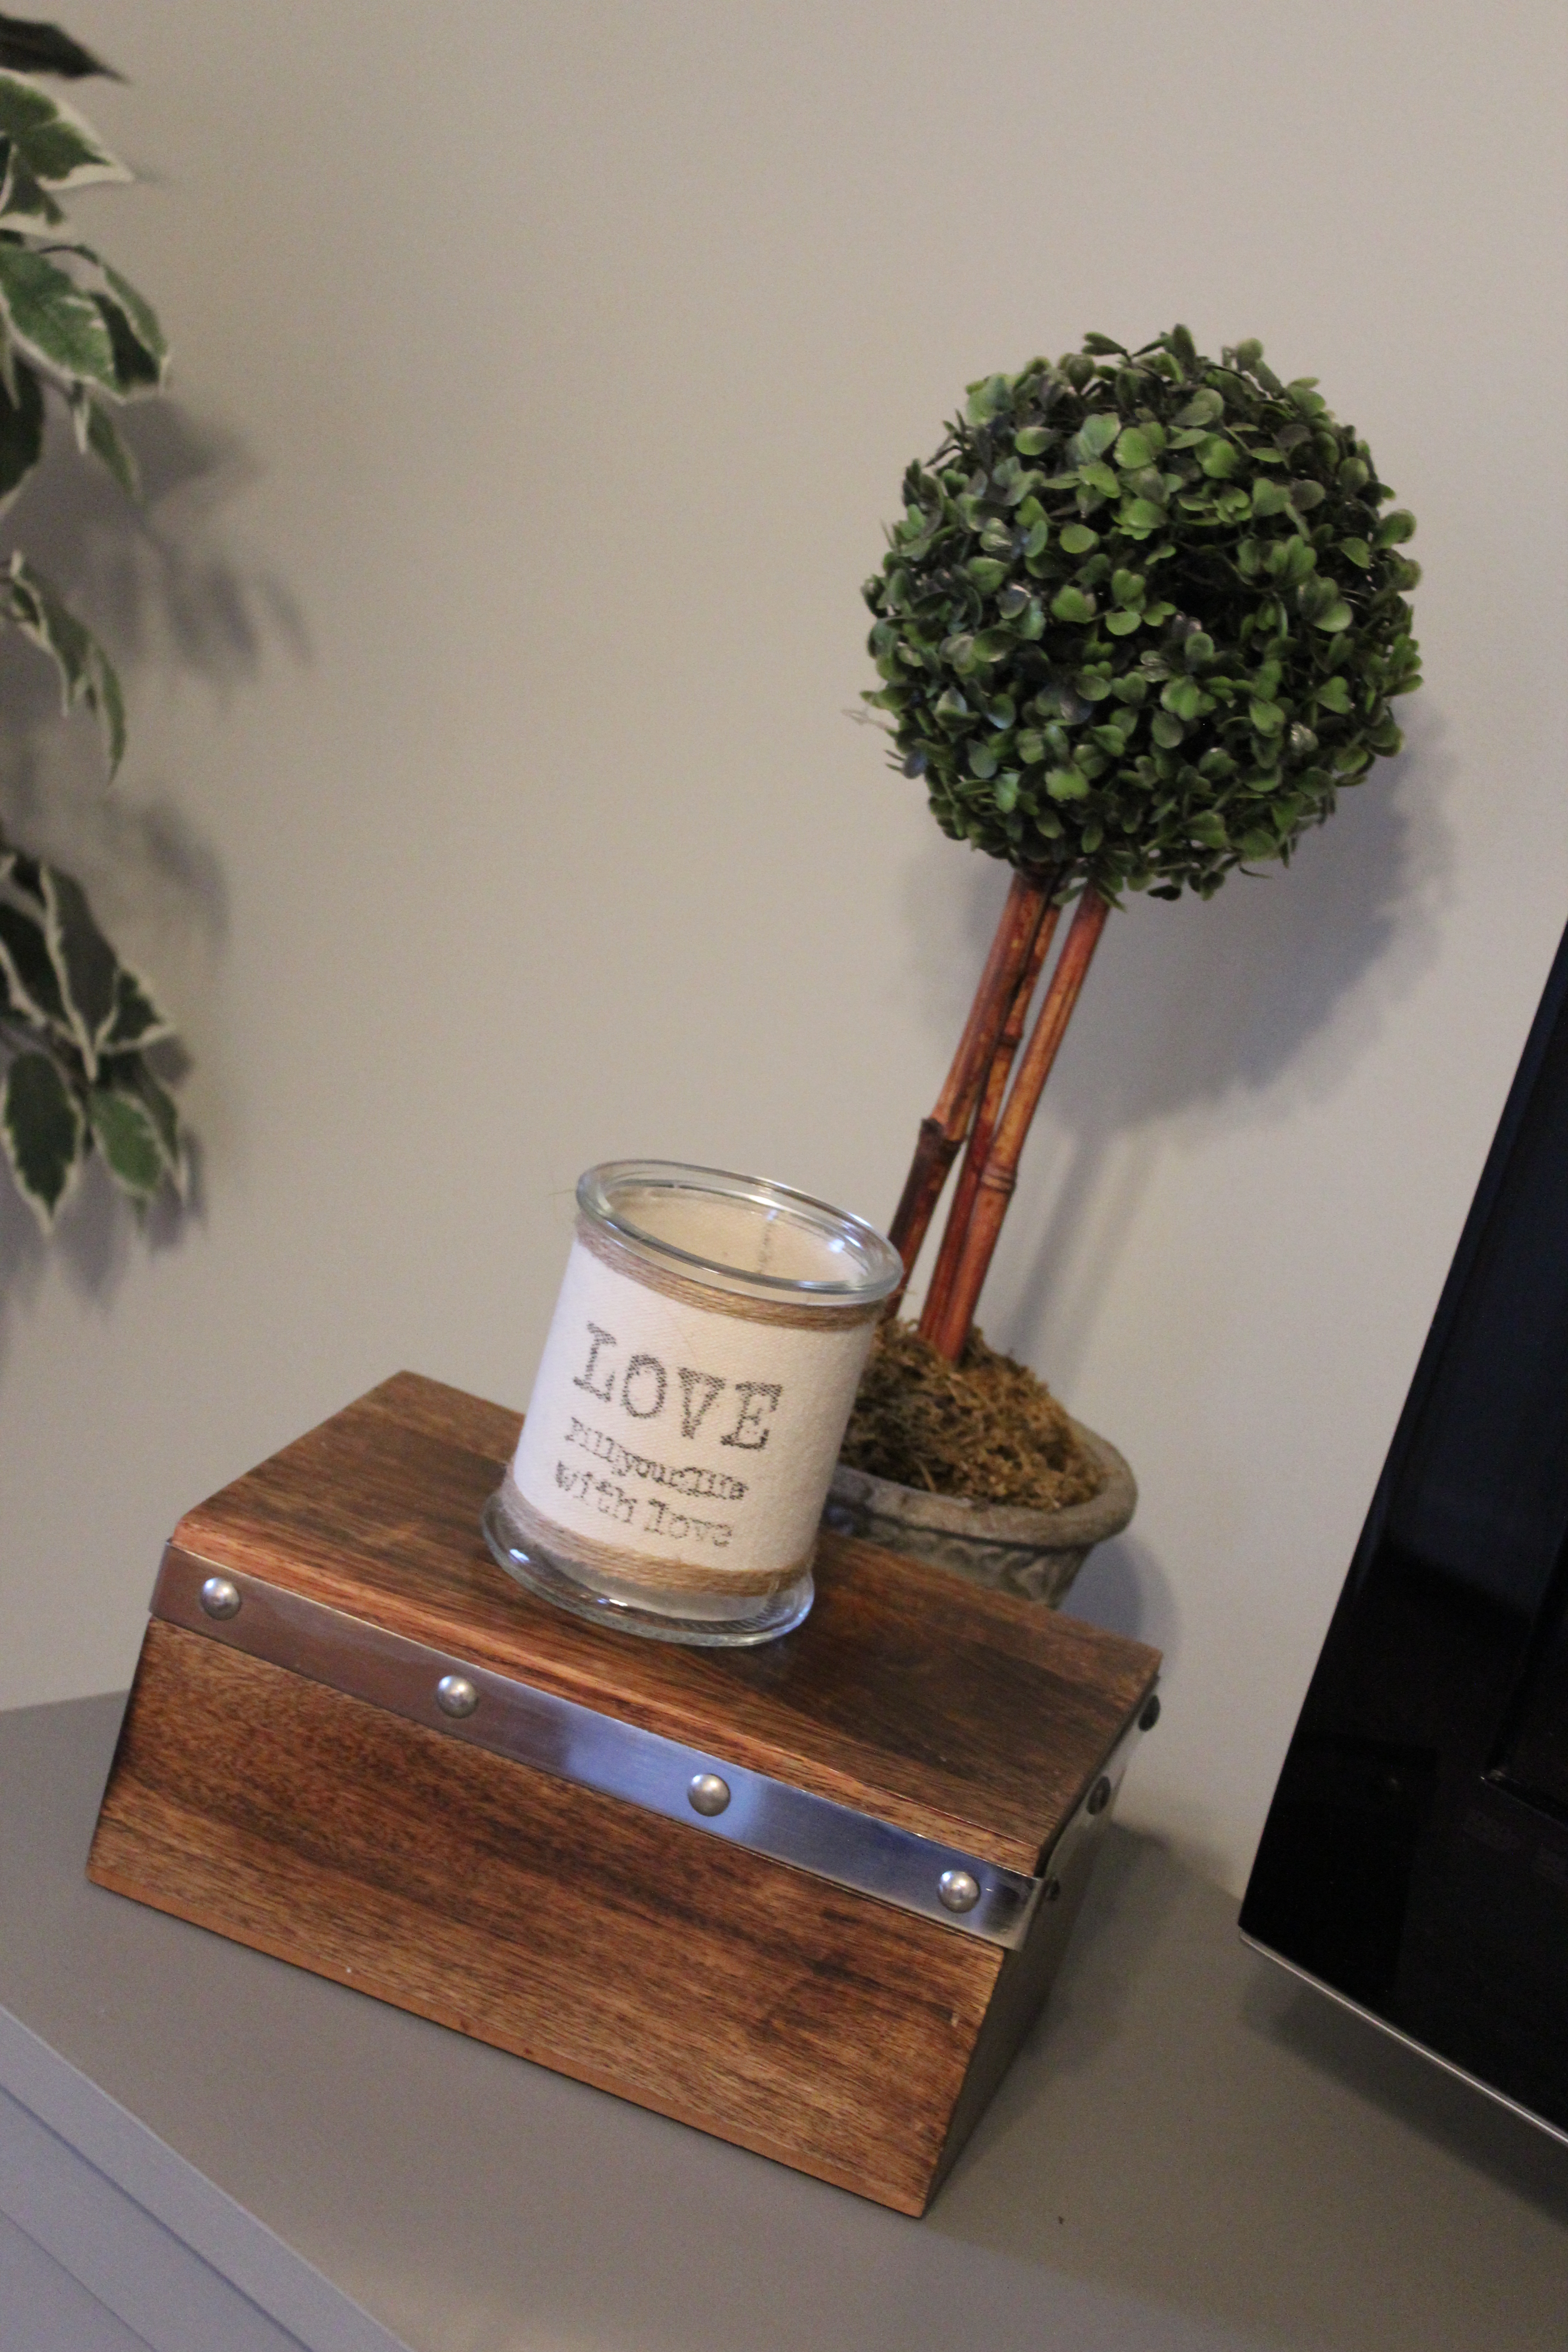
There are also a few accessories around the room (but not too many as I was trying to keep the room pretty simplistic)
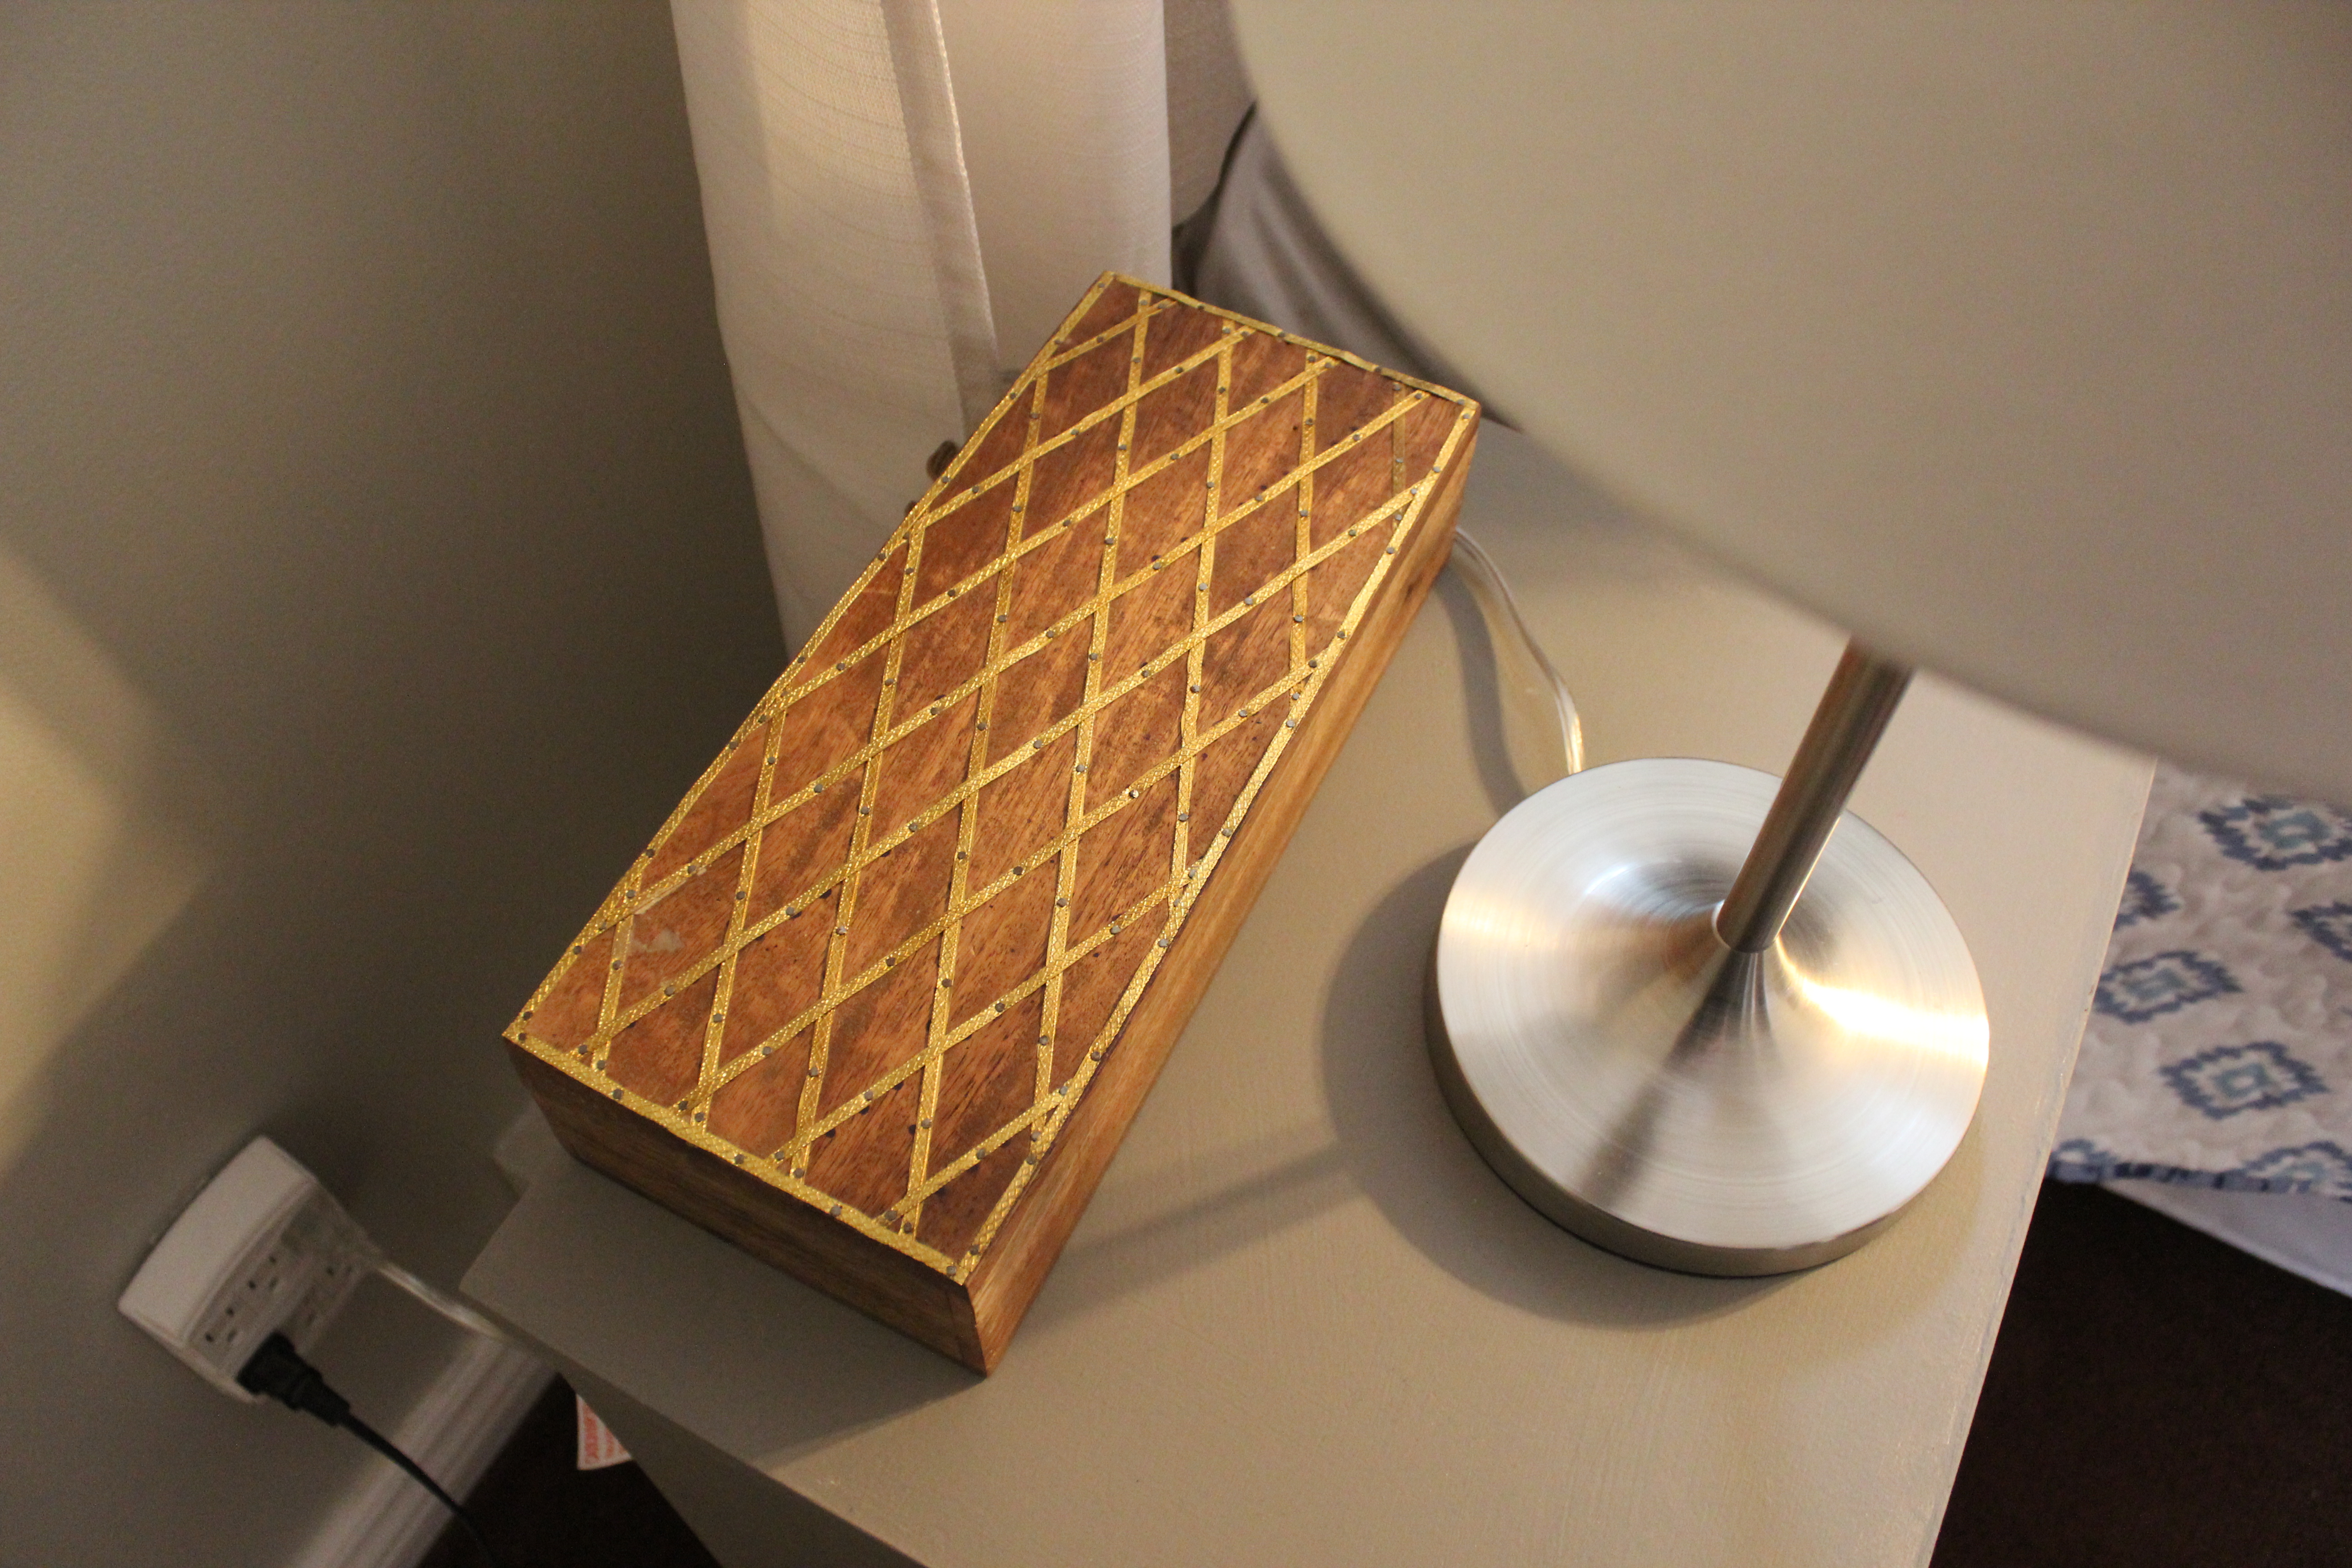
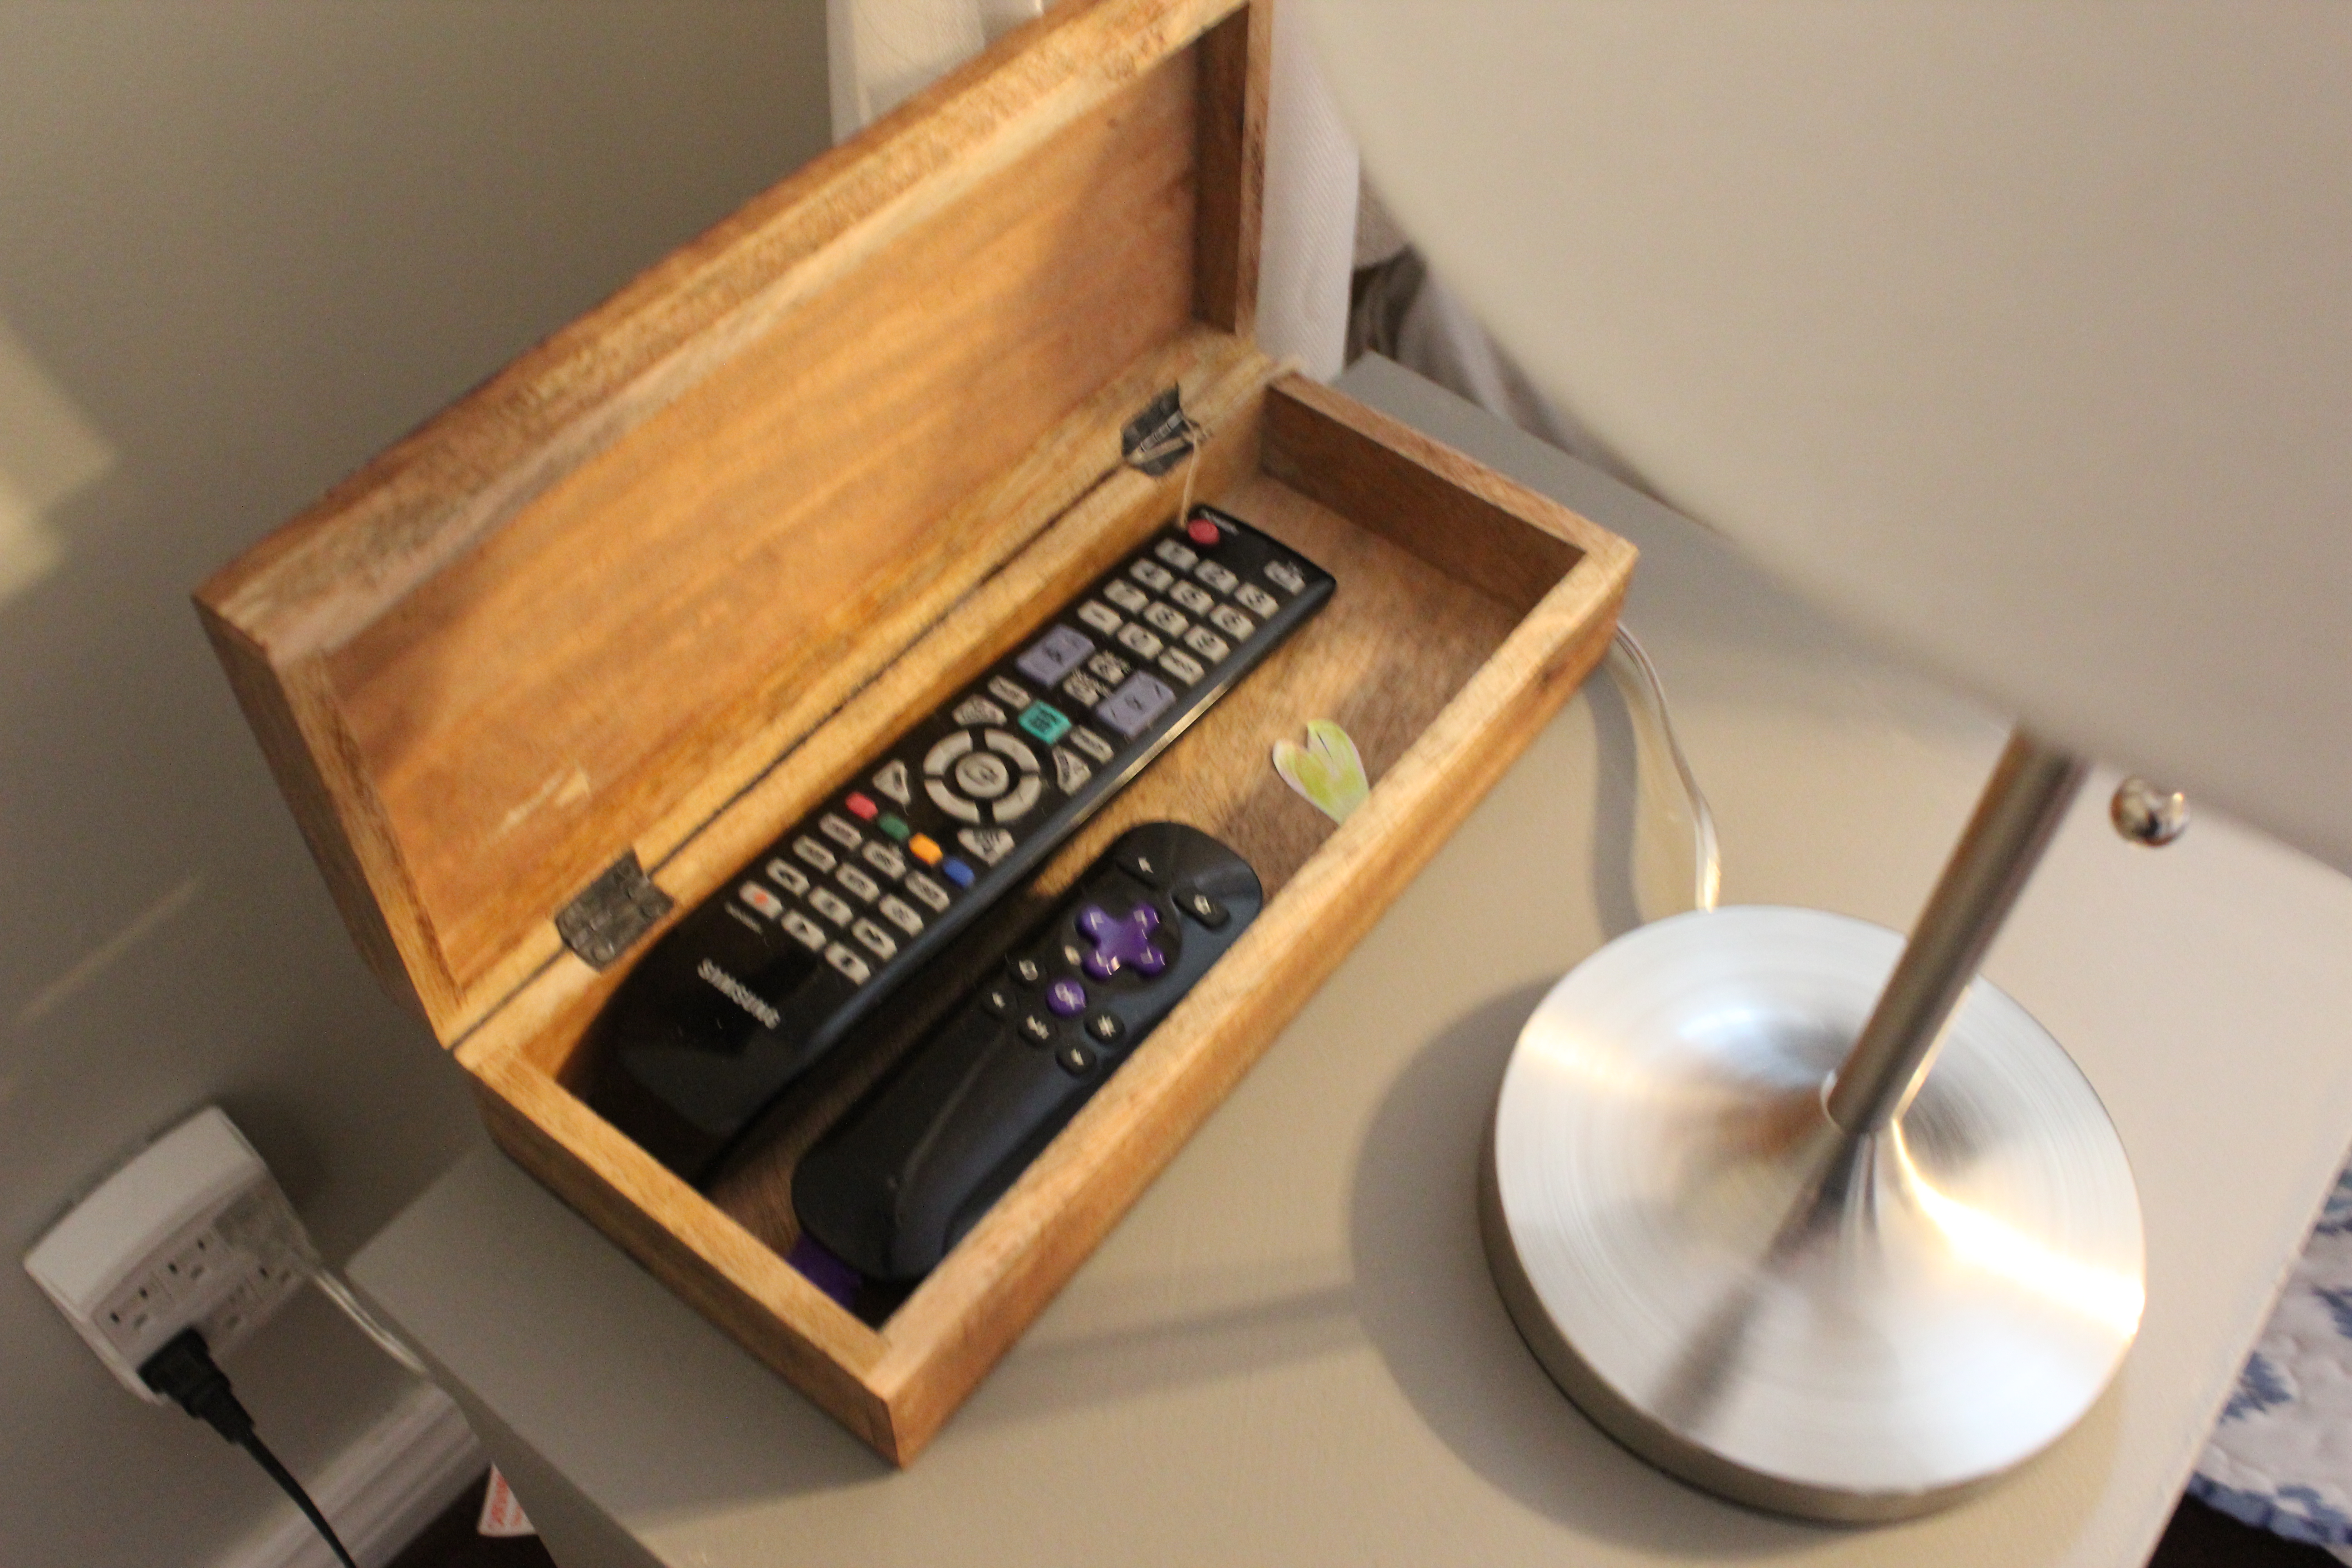
The wooden box on the dresser ($7) and candle holder ($2) both were clearance items from Wal-Mart and the plant was free from my parents.
The picture above the television was a Winner’s find for $9.99 and the farmhouse inspired art was from Michael’s and I used a 40% off coupon, making it $22.


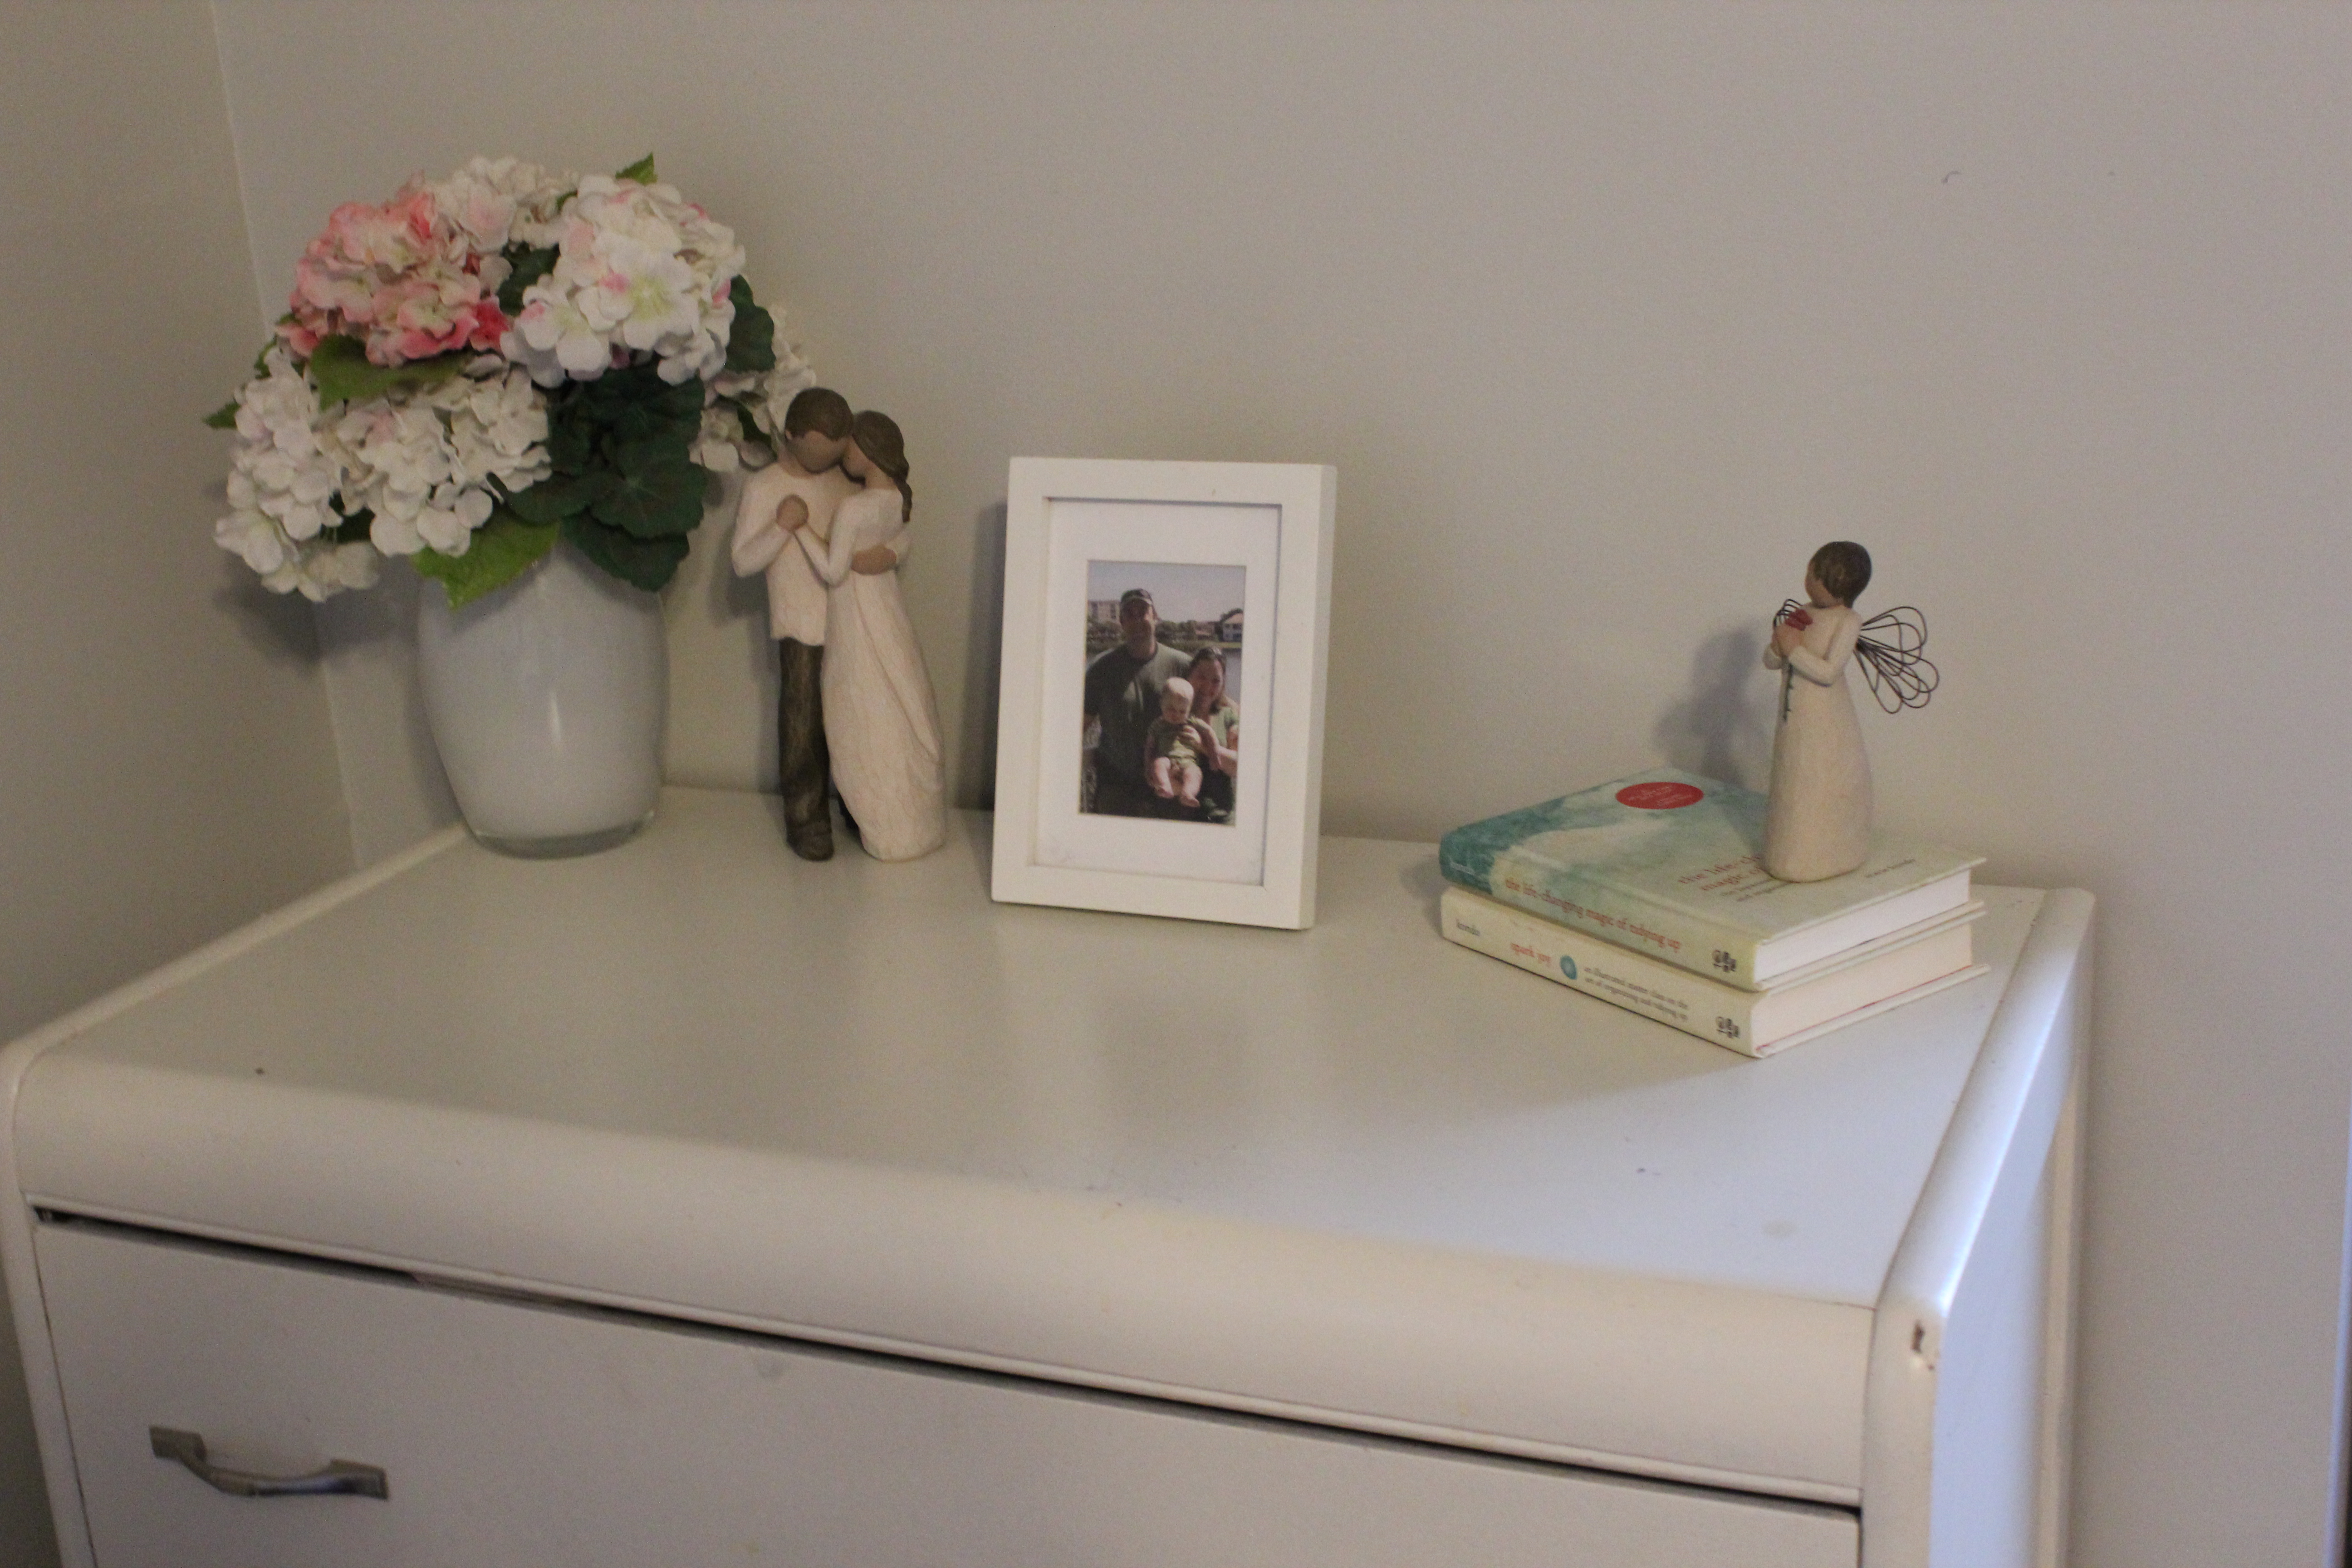
All the accessories on this dresser I already owned 🙂
So that is a complete breakdown of how much I spent to complete this bedroom makeover.
- Fabric- $42
- Foam- $35.05
- Headboard- Free
- Bedding-$34.50
- Blue Pillowcases- $12.61
- White pillowcases- $17.22
- Bed skirt- $20.66
- Paint/brushes/wax/My chalk powder-$81.86
- Legs on bedside tables- free
- Wood on dresser -$ 26.07
- Accessories- $25
- Lamps- $41.33
- Curtains- $57.43
- Art- $33.48
- Total: $427.21 (this includes our 15% sales tax)
I was able to finish this project for under $500 and I believe that it is a major difference and looks like I spent more than that.
Thanks for taking the time to read and take care 🙂